Showing posts with label Terrain. Show all posts

Thursday, 21 February 2019

Tyranid Tunnels

Hello!

I took a break from the Orks in order to do a bit of terrain building! These terrain pieces are to serve the purpose of entrances to a Tyranid tunnel network in an upcoming narrative game (that may or may not be the finale of a narrative campaign I'm part of on YouTube) though they could easily work as generic rocky crater things.


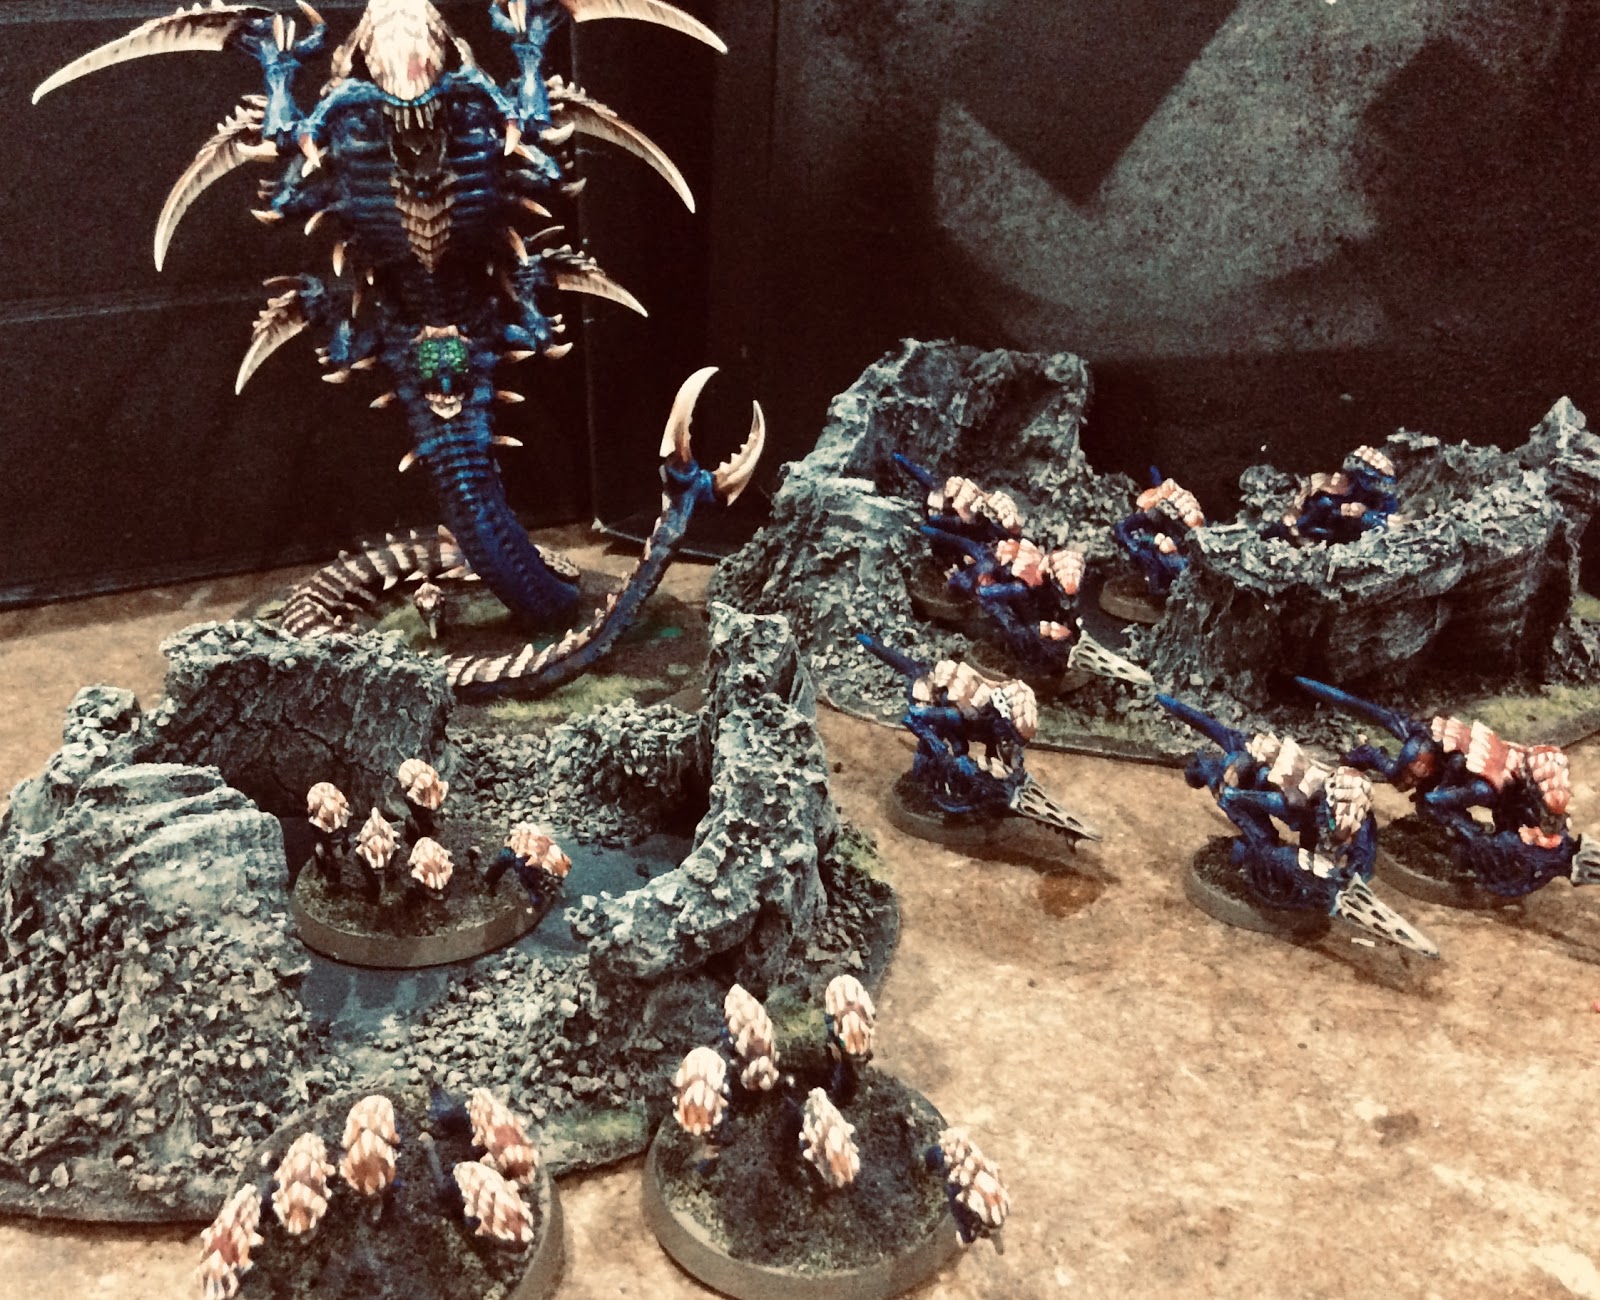
This is the finished product. I'm happy with how they turned out for relatively minimal effort. I think they will look good on a table swarming with Tyranids, pouring out of the ground to overrun the pathetic defences of the Cadian 404th. Or indeed, any enemy force...


This is how it started, some roughly cut segments of hardboard with chopped up chunks of dried bark slapped on in a loose circle. The bark is the stuff you can buy for vivariums presumably from pet shops - I got a big bag of the stuff off eBay ages ago for pretty cheap. It needed a bit of a clean up before hand - note that if you are going to do this you will want a mask to cover your mouth and nose for this, there is a LOT of dust. Chopping it up does have the advantage that you will have a flat-ish surface to attach to the board. The chunks were liberally glooped with PVA, and with a bit of superglue added to the least stable ones to keep them in place while the glue dried overnight.


Next stage was to fill gaps and make the shape with Polyfilla (or other brand of quick drying filler substance). If I were making nice smooth hills I would have sanded these areas down afterwards, but this is supposed to be the result of a huge monstrous snake creature rupturing the ground from below, so it is lumpy and uneven.


Next, I added a load of modelling slate, gravel, sand or whatever (plus more globs of PVA), and when that had dried, sprayed it all black. I mainly focused the rocky stuff around the base of the bark and over the filler, making sure that the centre of the tunnels was left bare.


Some drybrushing of light browns and assorted greys, and it's starting to look the part. 


Finally, a bit of a wash of Agrax Earthshade semi-randomly of the gravelly bits, and a bit of static grass around the edges, and we're done! It took a few days to put together, but most of that was waiting. Probably about an hour's work in total, and most of that was preparing the materials.


And here's what it looks like 'in action'. I think they look about the right size for Trygon tunnels, and are appropriately sized to allow small to medium bugs through. Hopefully they will look good in game, and if you like them, hey, now you can make your own!

Sunday, 21 October 2018

Orky Fortifications for Winters

Hello!

I recently took on a little project for the exceptionally busy Winters SEO to paint up some terrain for him and his channel. Winters asked for assistance on Patreon and I, among several others, took up the challenge. I accepted, partially because it's cool seeing stuff you painted turn up on the internet, partially because I felt a bit guilty about certain events during our battle report, but mostly because the terrain looks really cool and I fancied a go at it!


The scenery in question is a series of wall sections from Kromlech's Tabletop Scenics Orkenburg range. It's laser cut MDF sheets that, thankfully, Winters stuck together before posting, so it arrived as pictured above. There are loads of little wall sections that are all modular, having textured doors or barricades on each end so that they can be placed freestanding or as part of a larger fortification.


First step was to spray all the bits. A note to anyone trying this at home. Untreated MDF soaks up loads of paint. You'll either need to coat it in PVA glue or some kind of sealant first, or just be super aggressive with the spray paint to get any sort of coverage. Of course in true Orky fashion I just used an entire can of cheap spray paint getting them (and my fingers) black. The internet tells me that this is less of a problem if you use higher quality spray paint. In any case, after the first coat the rest of the painting was easy enough, just like painting undercoated plastic or metal. After the black I gave them all a blast of a dark metallic spray to get the base colour.


A whole lot of messily slapping on reds and oranges and a bit of white, followed by dry brushing with various metals, and this is the result. A dirty, rusty wall of scrap metal. I did attempt some coloured plates in among the rust and bare metal, but I didn't really think it was working out so I just made it all metal apart from the white for the skull symbols and 'tooth' spikes. I'm pretty pleased with how it turned out, and hopefully it'll look cool on the battlefield. Obviously though I had to set it up somewhere to see it 'all together'.


I built it up as a two staged defensive wall, imagining a larger fortress lay just behind the gate in the second line. One side was left open to allow access for larger war machines, while the other side was walled off. Seeing it all placed out on a table is pretty cool, but there was something missing...


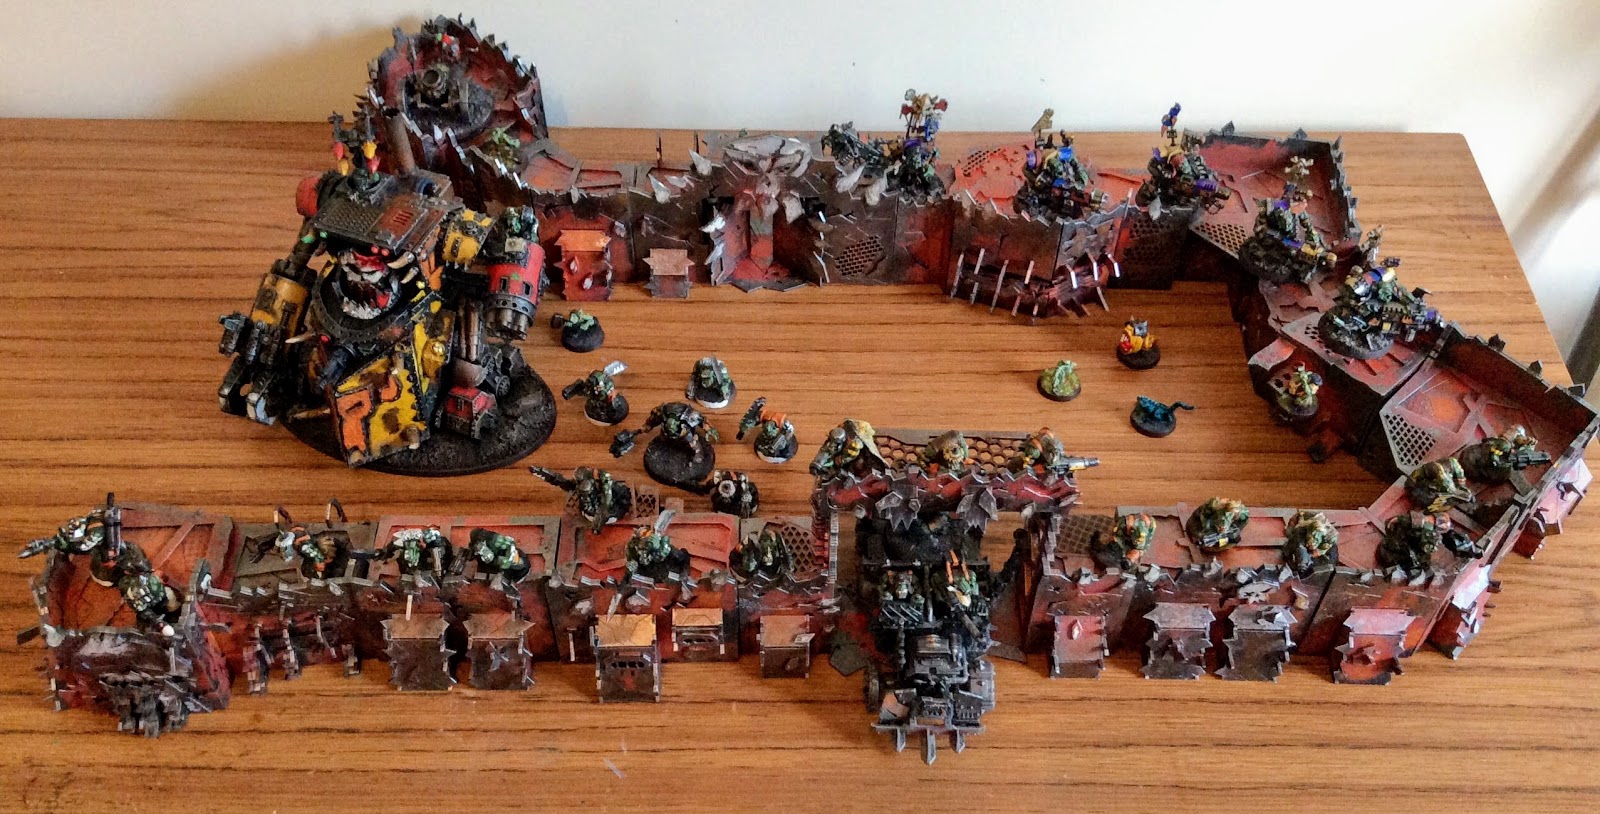
Yes, that's better! I couldn't help myself from populating it with my Orks before I packaged it back up for it's trip home. Maybe one day they will be reunited and I'll command the Orks on a Winters SEO battle report?

Given that I've named myself and this blog after my Ork Warboss, I've been somewhat neglecting them while waiting for the (now imminent) Codex. They have not really been seen on the blog, apart from the Gorkanaut. So as a special treat (mainly for myself), here are a load more pictures of Orks on a wall!