Hello!
I realised that it'd been a little while since the Death Guard had come out to play, the last game was
back in March, before Armour of Contempt, Objective Secured terminators and free stuff Plague Marines. So I decided to give them a go in a couple of games.
The first was a 50 PL Crusade game against Brad's Orks (as seen in the
recent Grim Dice Tournament), but sadly I forgot to take photos halfway through so I've only got a snippet of it covered over on
Instagram. It was a Recon Patrol mission from the main rulebook, the Death Guard were late to the battle, with no reinforcements arriving in turn one, allowing the Orks to do the full Recon Sweep to win the game, but the DG were busy clearing up Ork units on the last couple of turns to get some form of revenge!
A few days later, and I had a Tempest of War game lined up with
Sharpy (who I have pinched a couple of pics from again) and his new Codex Chaos Space Marines. I had previously faced them in a
narrative game with AdMech, but now they would have that all important second wound, so it would be more of a fair fight. I decided, why not bring the Death Guard again and have a Chaos-off?
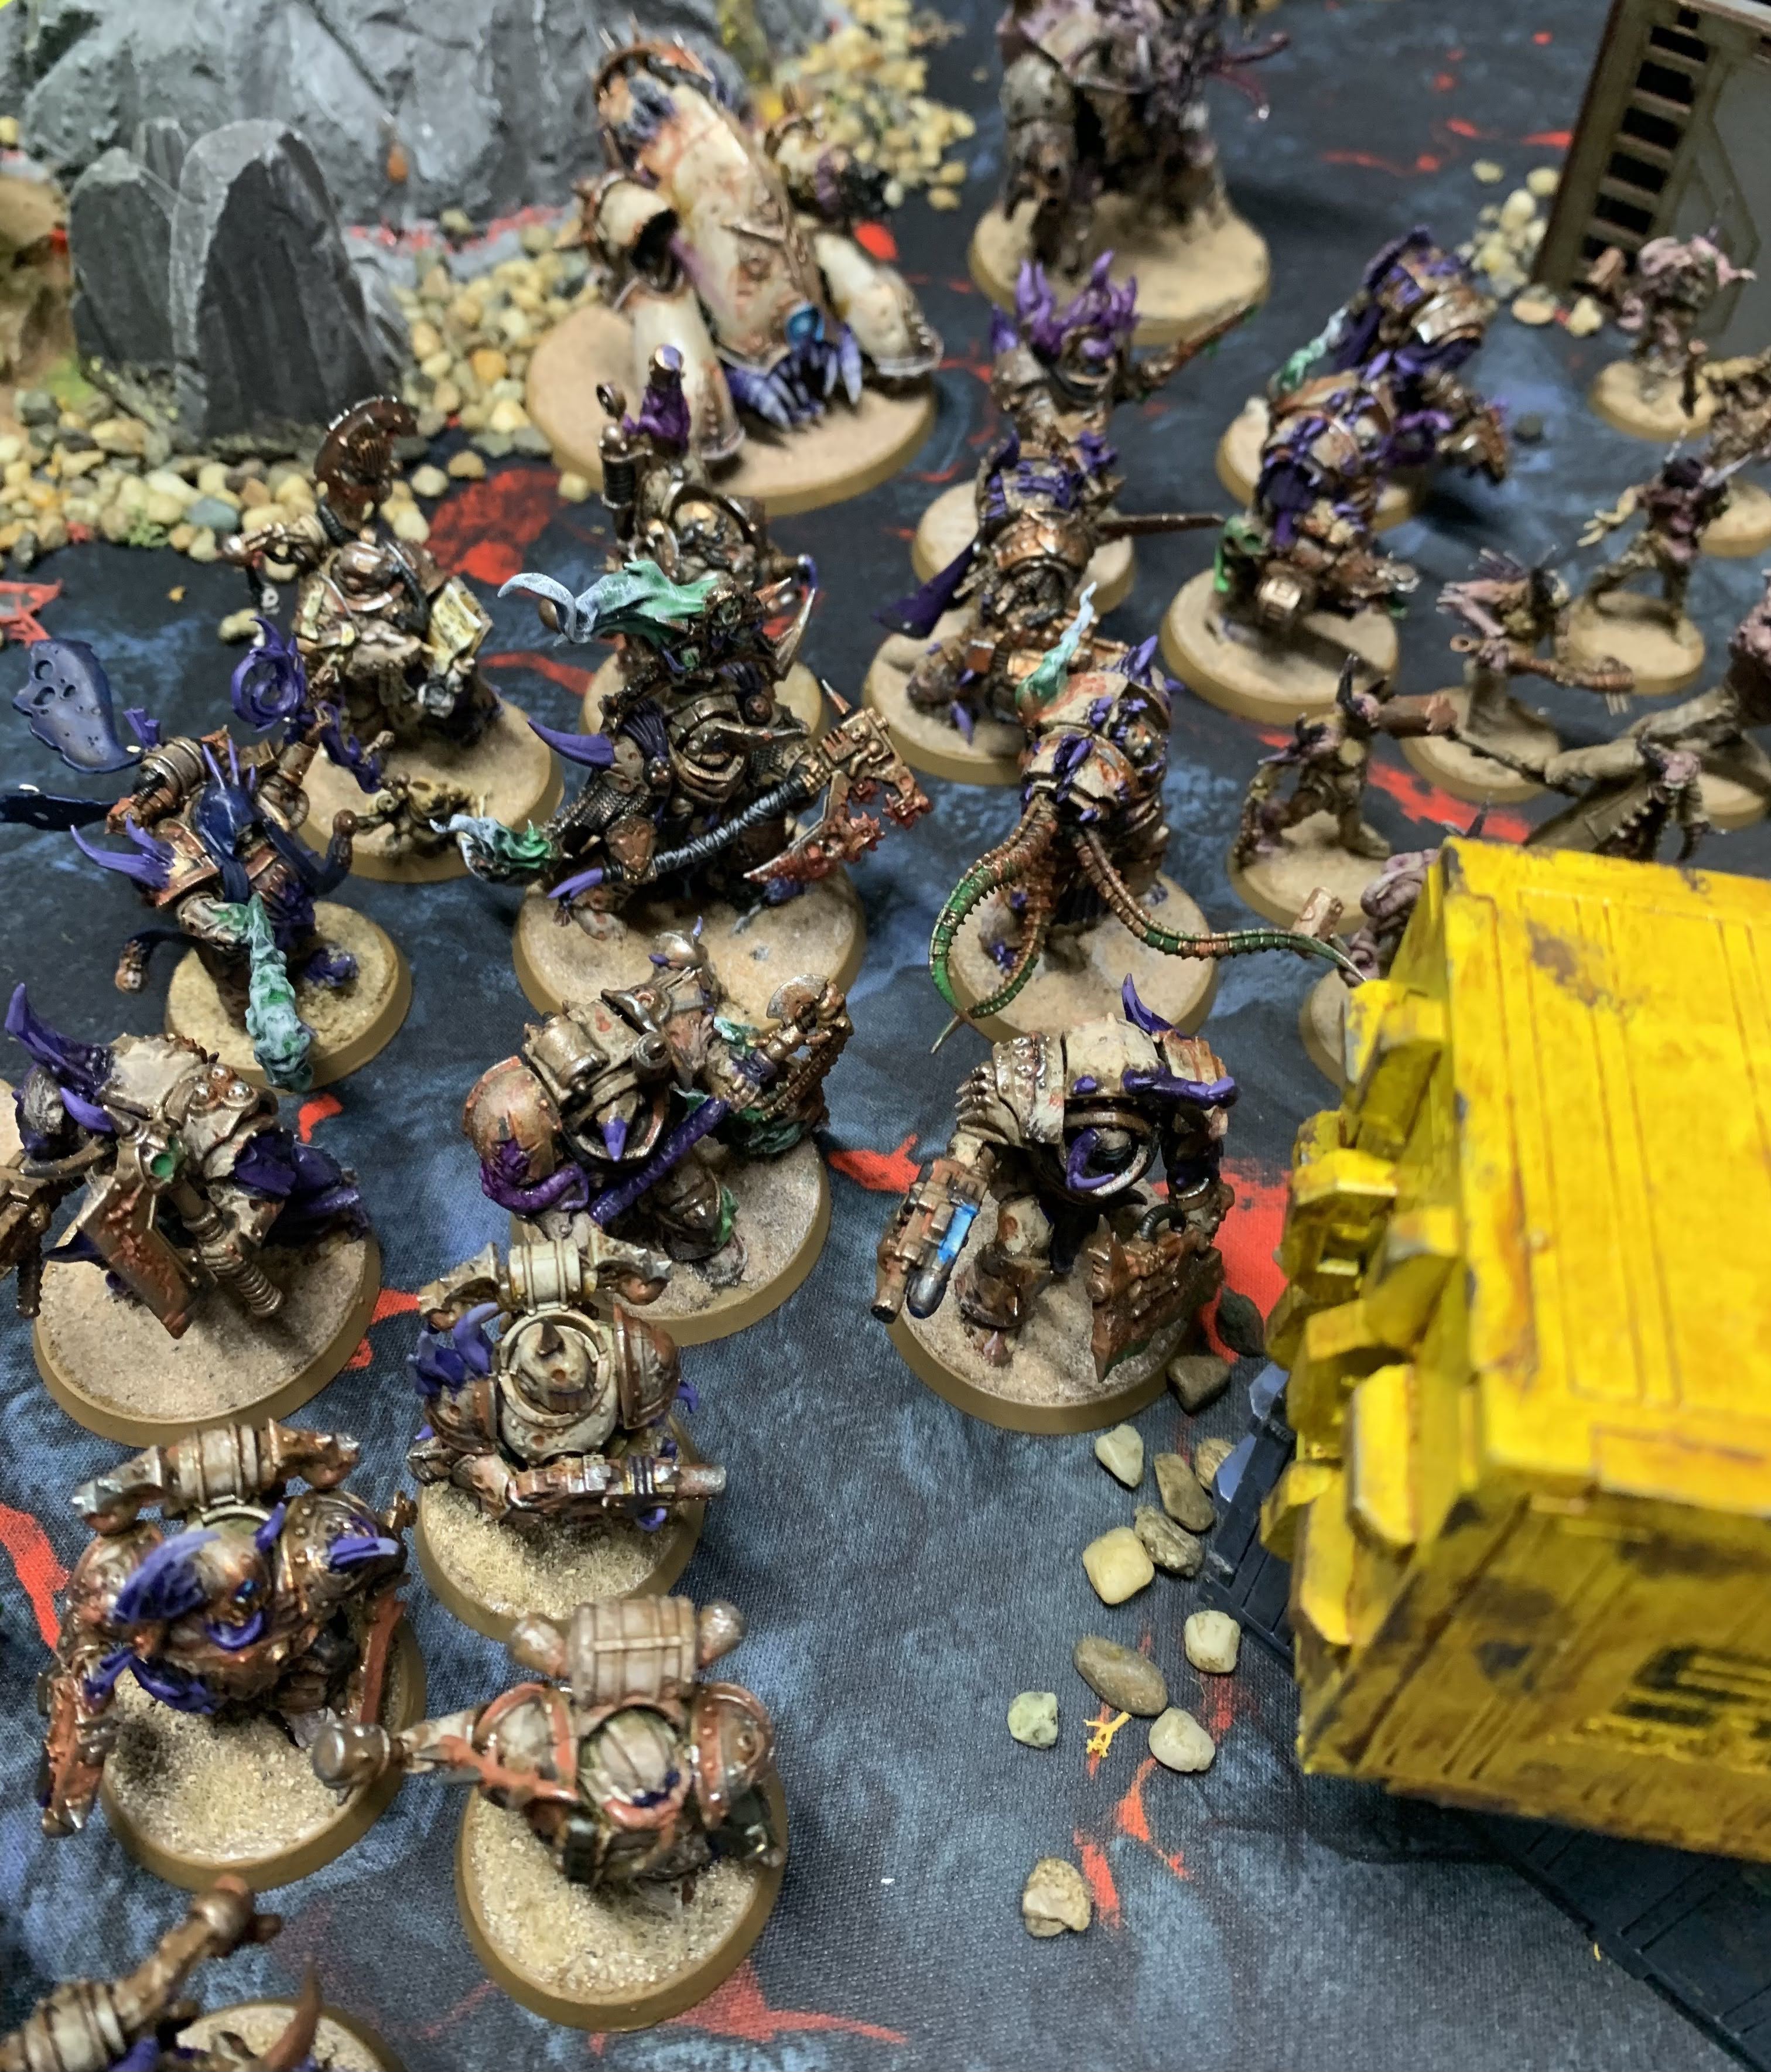
I ran a single battalion, using Mortation's Anvil as usual. Led by a Lord of Contagion, I had blobs of 10 Plague Marines, Possessed and Blightlord Terminators, and then three units of Poxwalkers. They were supported by a Malignant Plaguecaster, a Tallyman and a Foul Blightspawn, and a mixed batch of armour; a Helbrute, a Bloat-drone, a Blight-hauler, a Plagueburst Crawler and a Rhino. This is basically all the Death Guard I own, apart from cultists, five assorted marines and some characters.
The Chaos Marines were using the Alpha Legion rules and had a couple of detachments to fit in extra characters. They had a blob of 18 Cultists, a couple of mid sized Legionnaire squads, five Terminators, Havocs with mixed weapons, two Obliterators, a Rhino, a Venom Crawler, a Maulerfiend, and a Heldrake. They were led up by a Sorcerer, a Master of Possessions, a Lord Discordant, a regular Lord with a daemonic hammer, and the warlord, a Dark Apostle.
The primary mission was classic Take and Hold (five points for controlling one, two and more objectives than your opponent), deployed in Hammer and Anvil (short edges) with the twist of Vox Static - that Rerolls cost two command points instead of one.
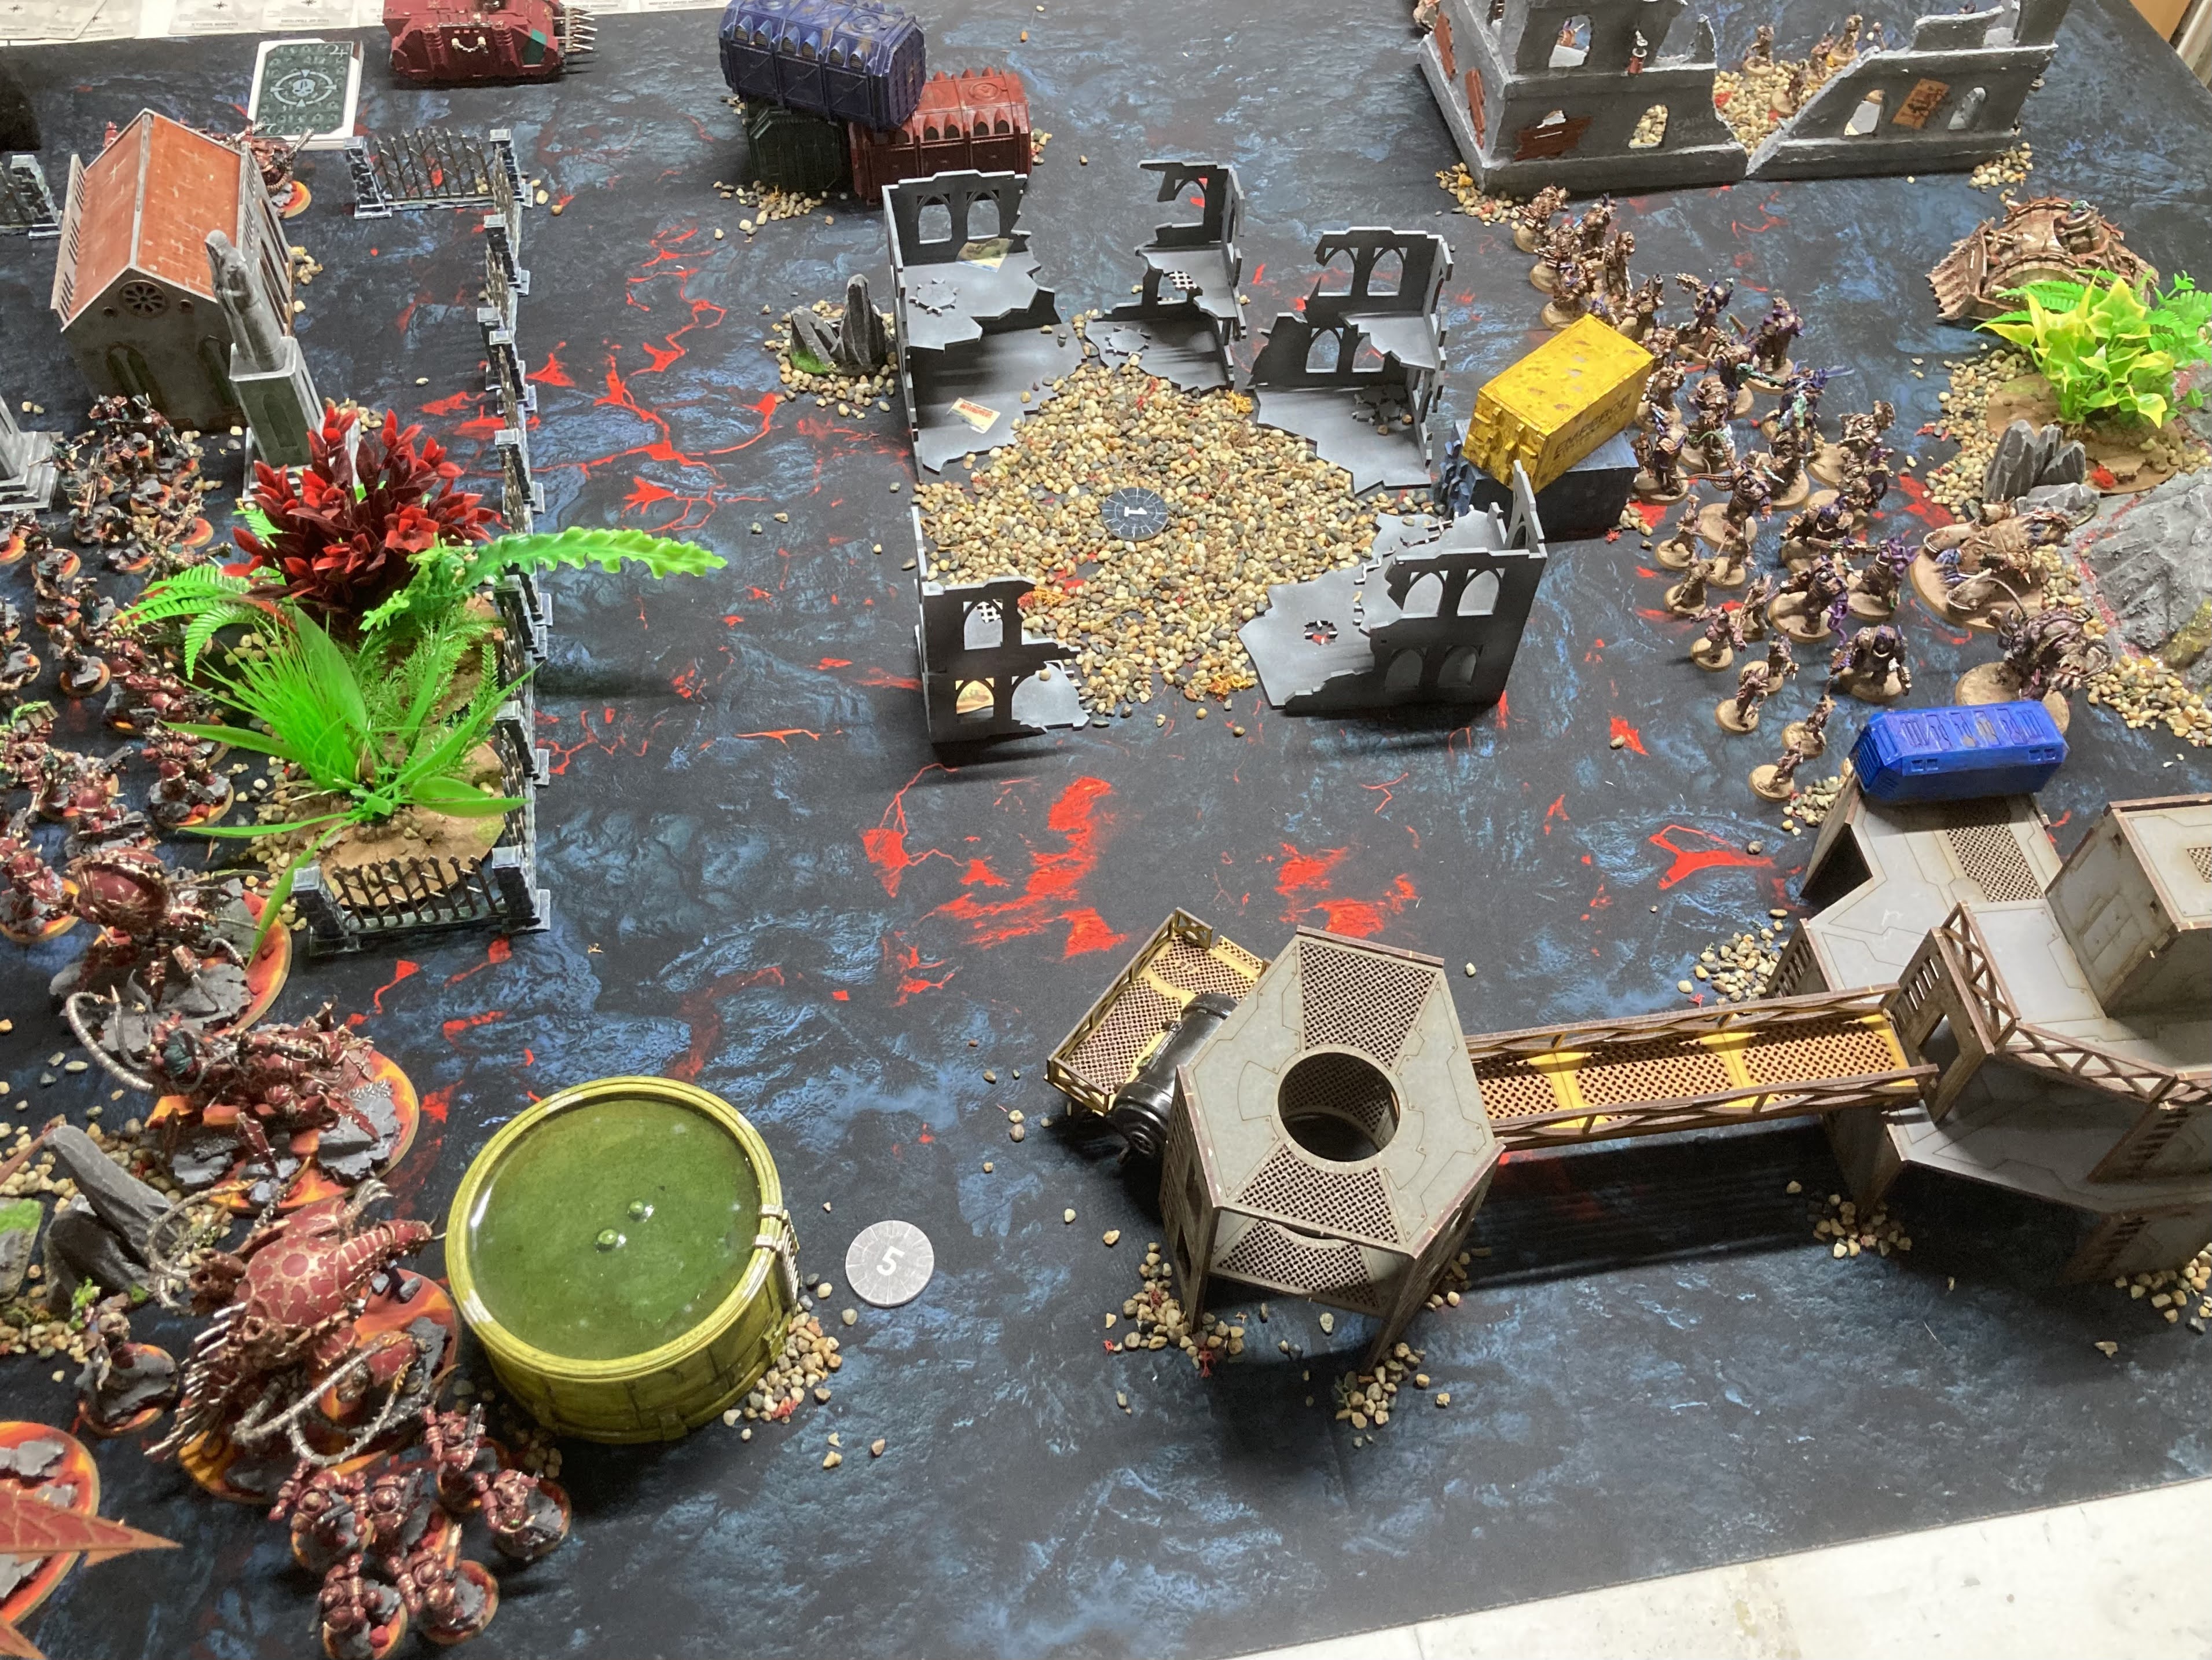
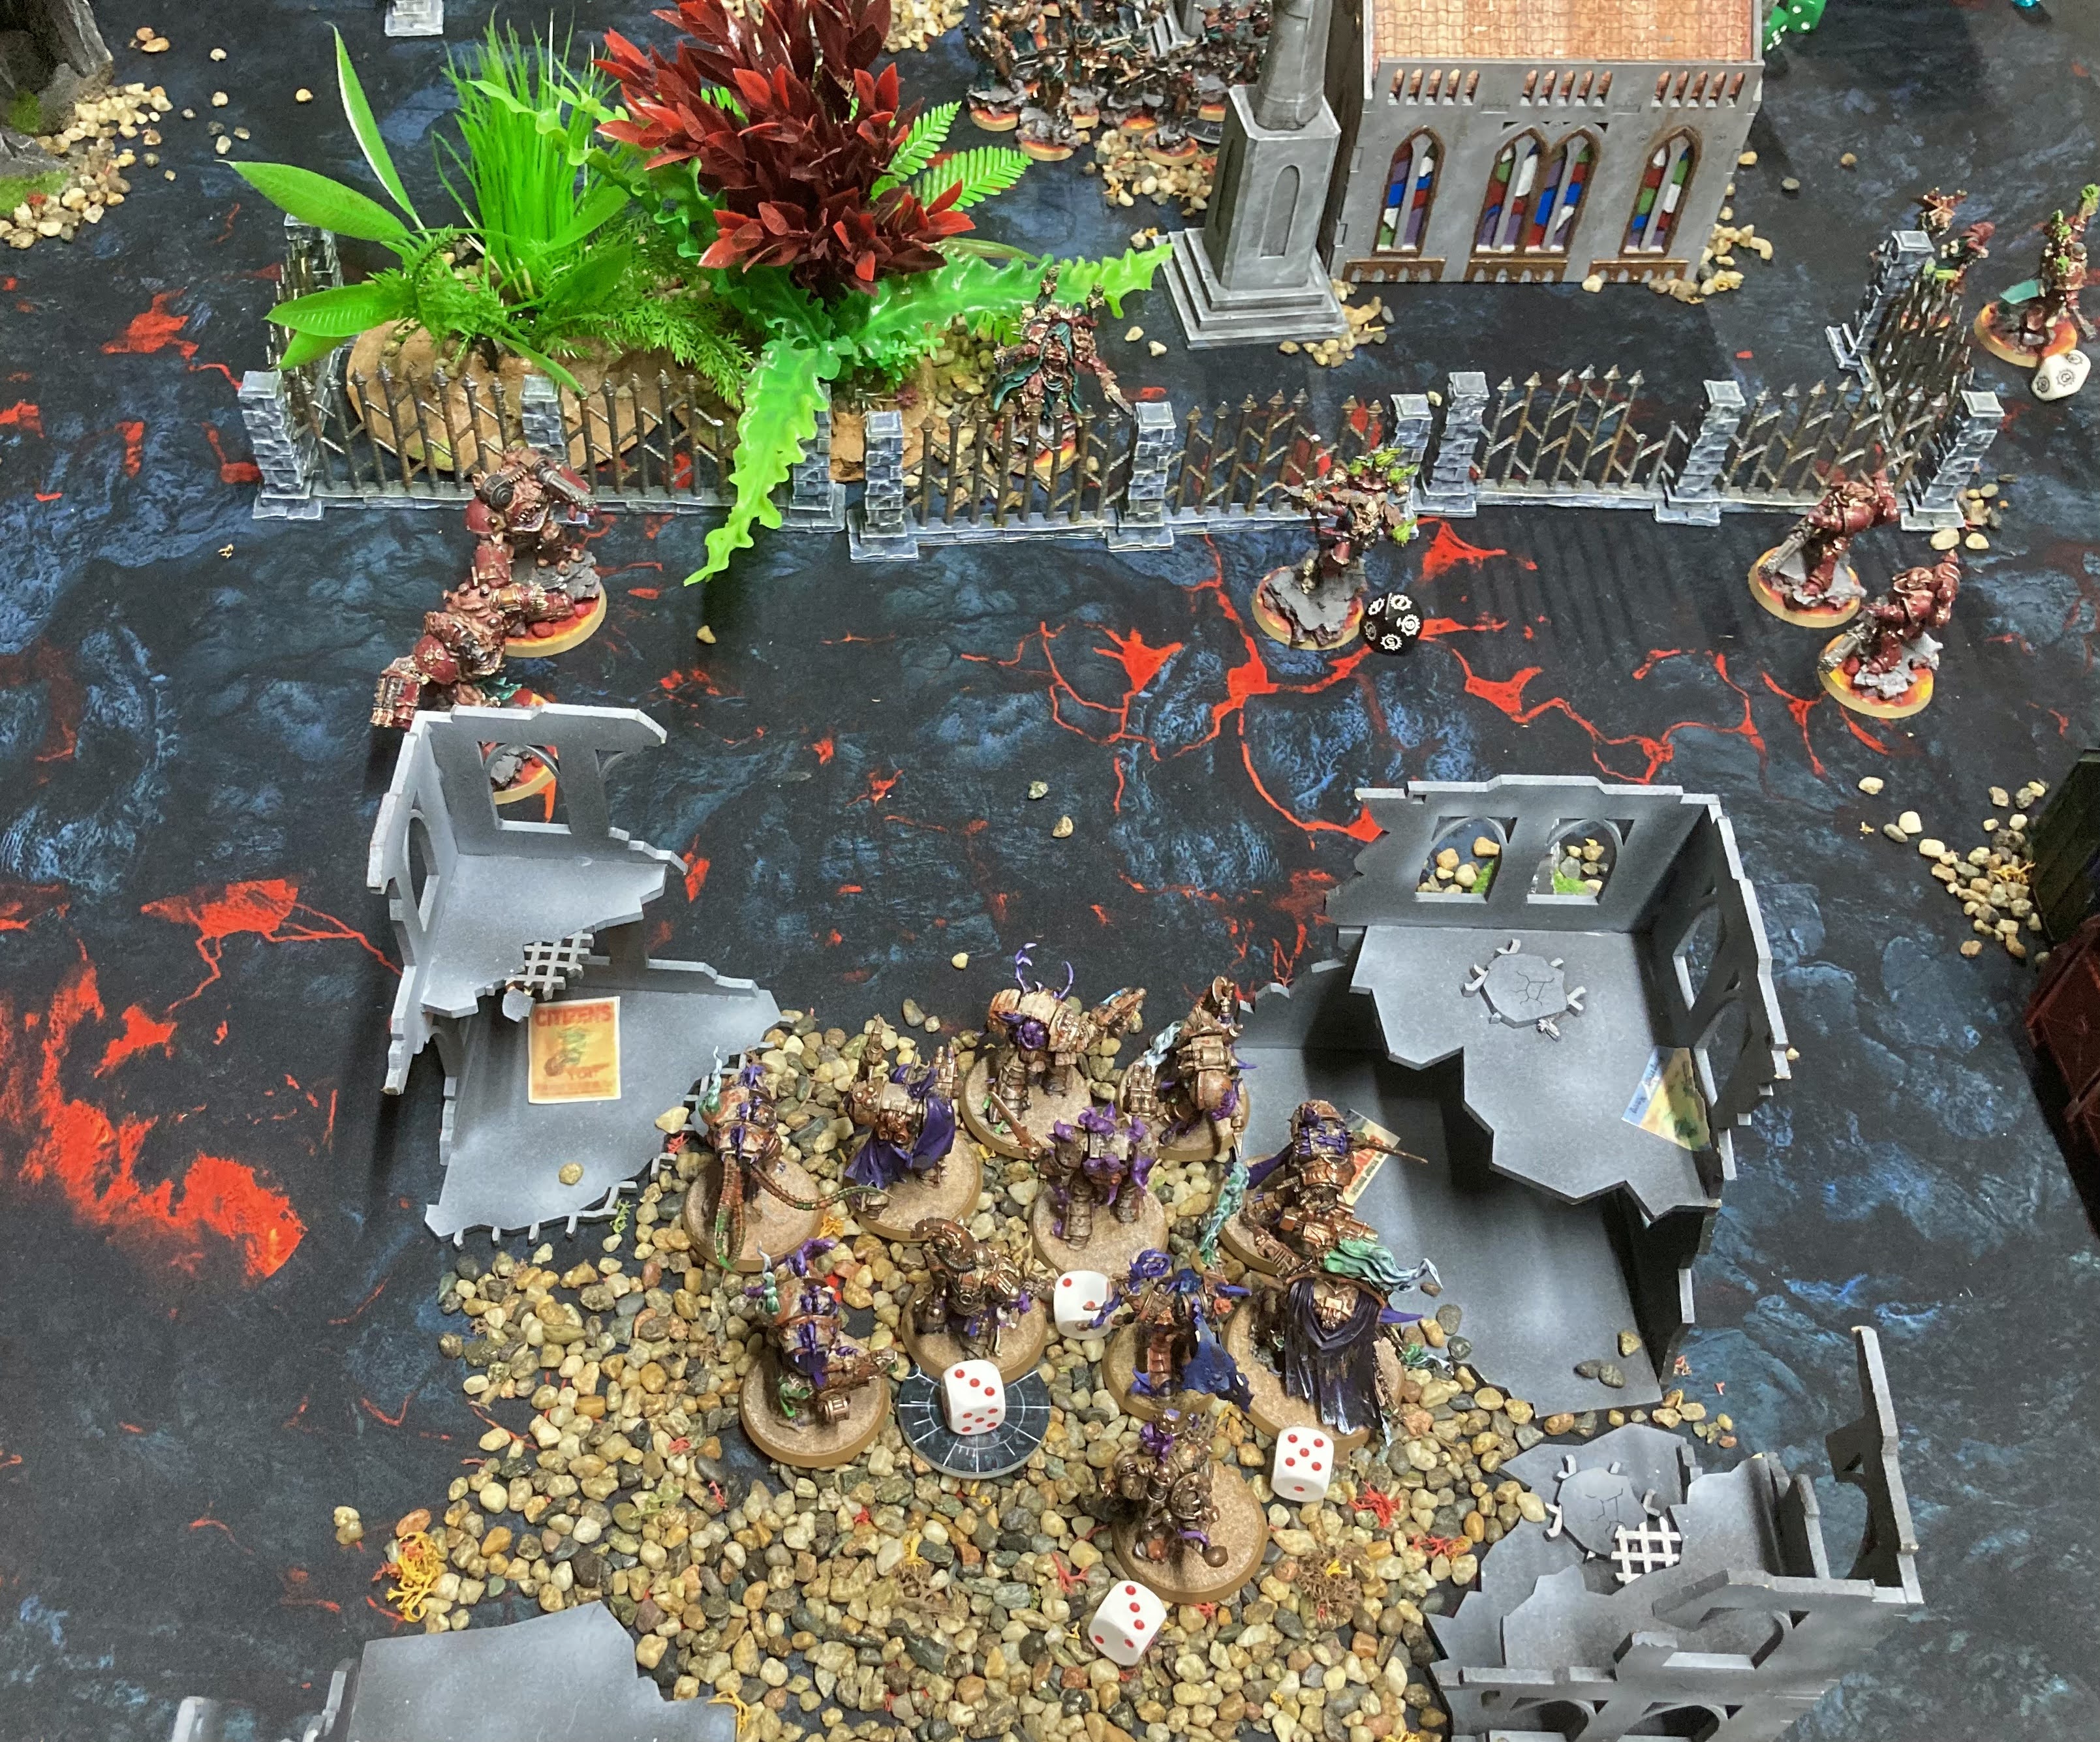
Here's the deployment, the Obliterators are off the board, while the Possessed are in my Rhino, and the enemy one is filled with Khorne marked Legionnaires and the hammer Lord. The objective placement featured one deep in each deployment zone, one in the centre ruin, and one on each flank, by the crates and the ooze vat, both a bit closer to the CSM lines than the DG. I had some cheeky Poxwalkers out on my flanks to stop the Obliterators coming in to my deployment zone, and a major thrust down the middle. Melta armed vehicles opposed the daemon engine flank, while the Possessed Rhino was opposite the CSM one.
After the roll off, it was Death Guard turn one:
Not much to shout about in turn one, my army advanced forward for the most part, with a bit of token shooting from the Plagueburst Mortar and a missile launcher. I had drawn a few objectives that looked doable on the next turn, but also Grind Them Down, which would prove difficult after killing zero units! I had moved onto one of the no-man's land objectives though.
Turn one for the Chaos Space Marines also featured Grind Them Down, which they at least got on the board with after the Heldrake and Venomcrawler blasted away some Poxwalkers. The Khorne squad and Lord disembarked from the Rhino to take on my one, but embarrassingly the Havocs failed to soften it up and after the fight phase it was only down to a single wound.
In turn two I picked up some vaguely achievable secondaries, among them No Prisoners (just kill stuff up to a 30 wound tally) and Behind Enemy Lines. With a good charge roll my Possessed out of the Rhino and the Bloat-drone could use the enemy Rhino to slingshot into their deployment zone!
Shooting was decent, killing off the Heldrake and chipping away the Khorne squad by the crates, before the Plague Marines charged in to control the objective (but whiff their attacks against the Lord). The big charge wasn't quite big enough for the Possessed to get fully into the enemy deployment zone, and to add insult both units bounced off the Rhino, leaving it still above half wounds.
Turn two for the Chaos Marines saw them, appropriately, draw
Hold the Line and so attempt to clear the Death Guard from their lines. The Maulerfiend also went for the Helbrute, and notably the Obliterators stayed in reserve. The CSM also had Blood and Guts, so were looking to finish off units in the fight phase.
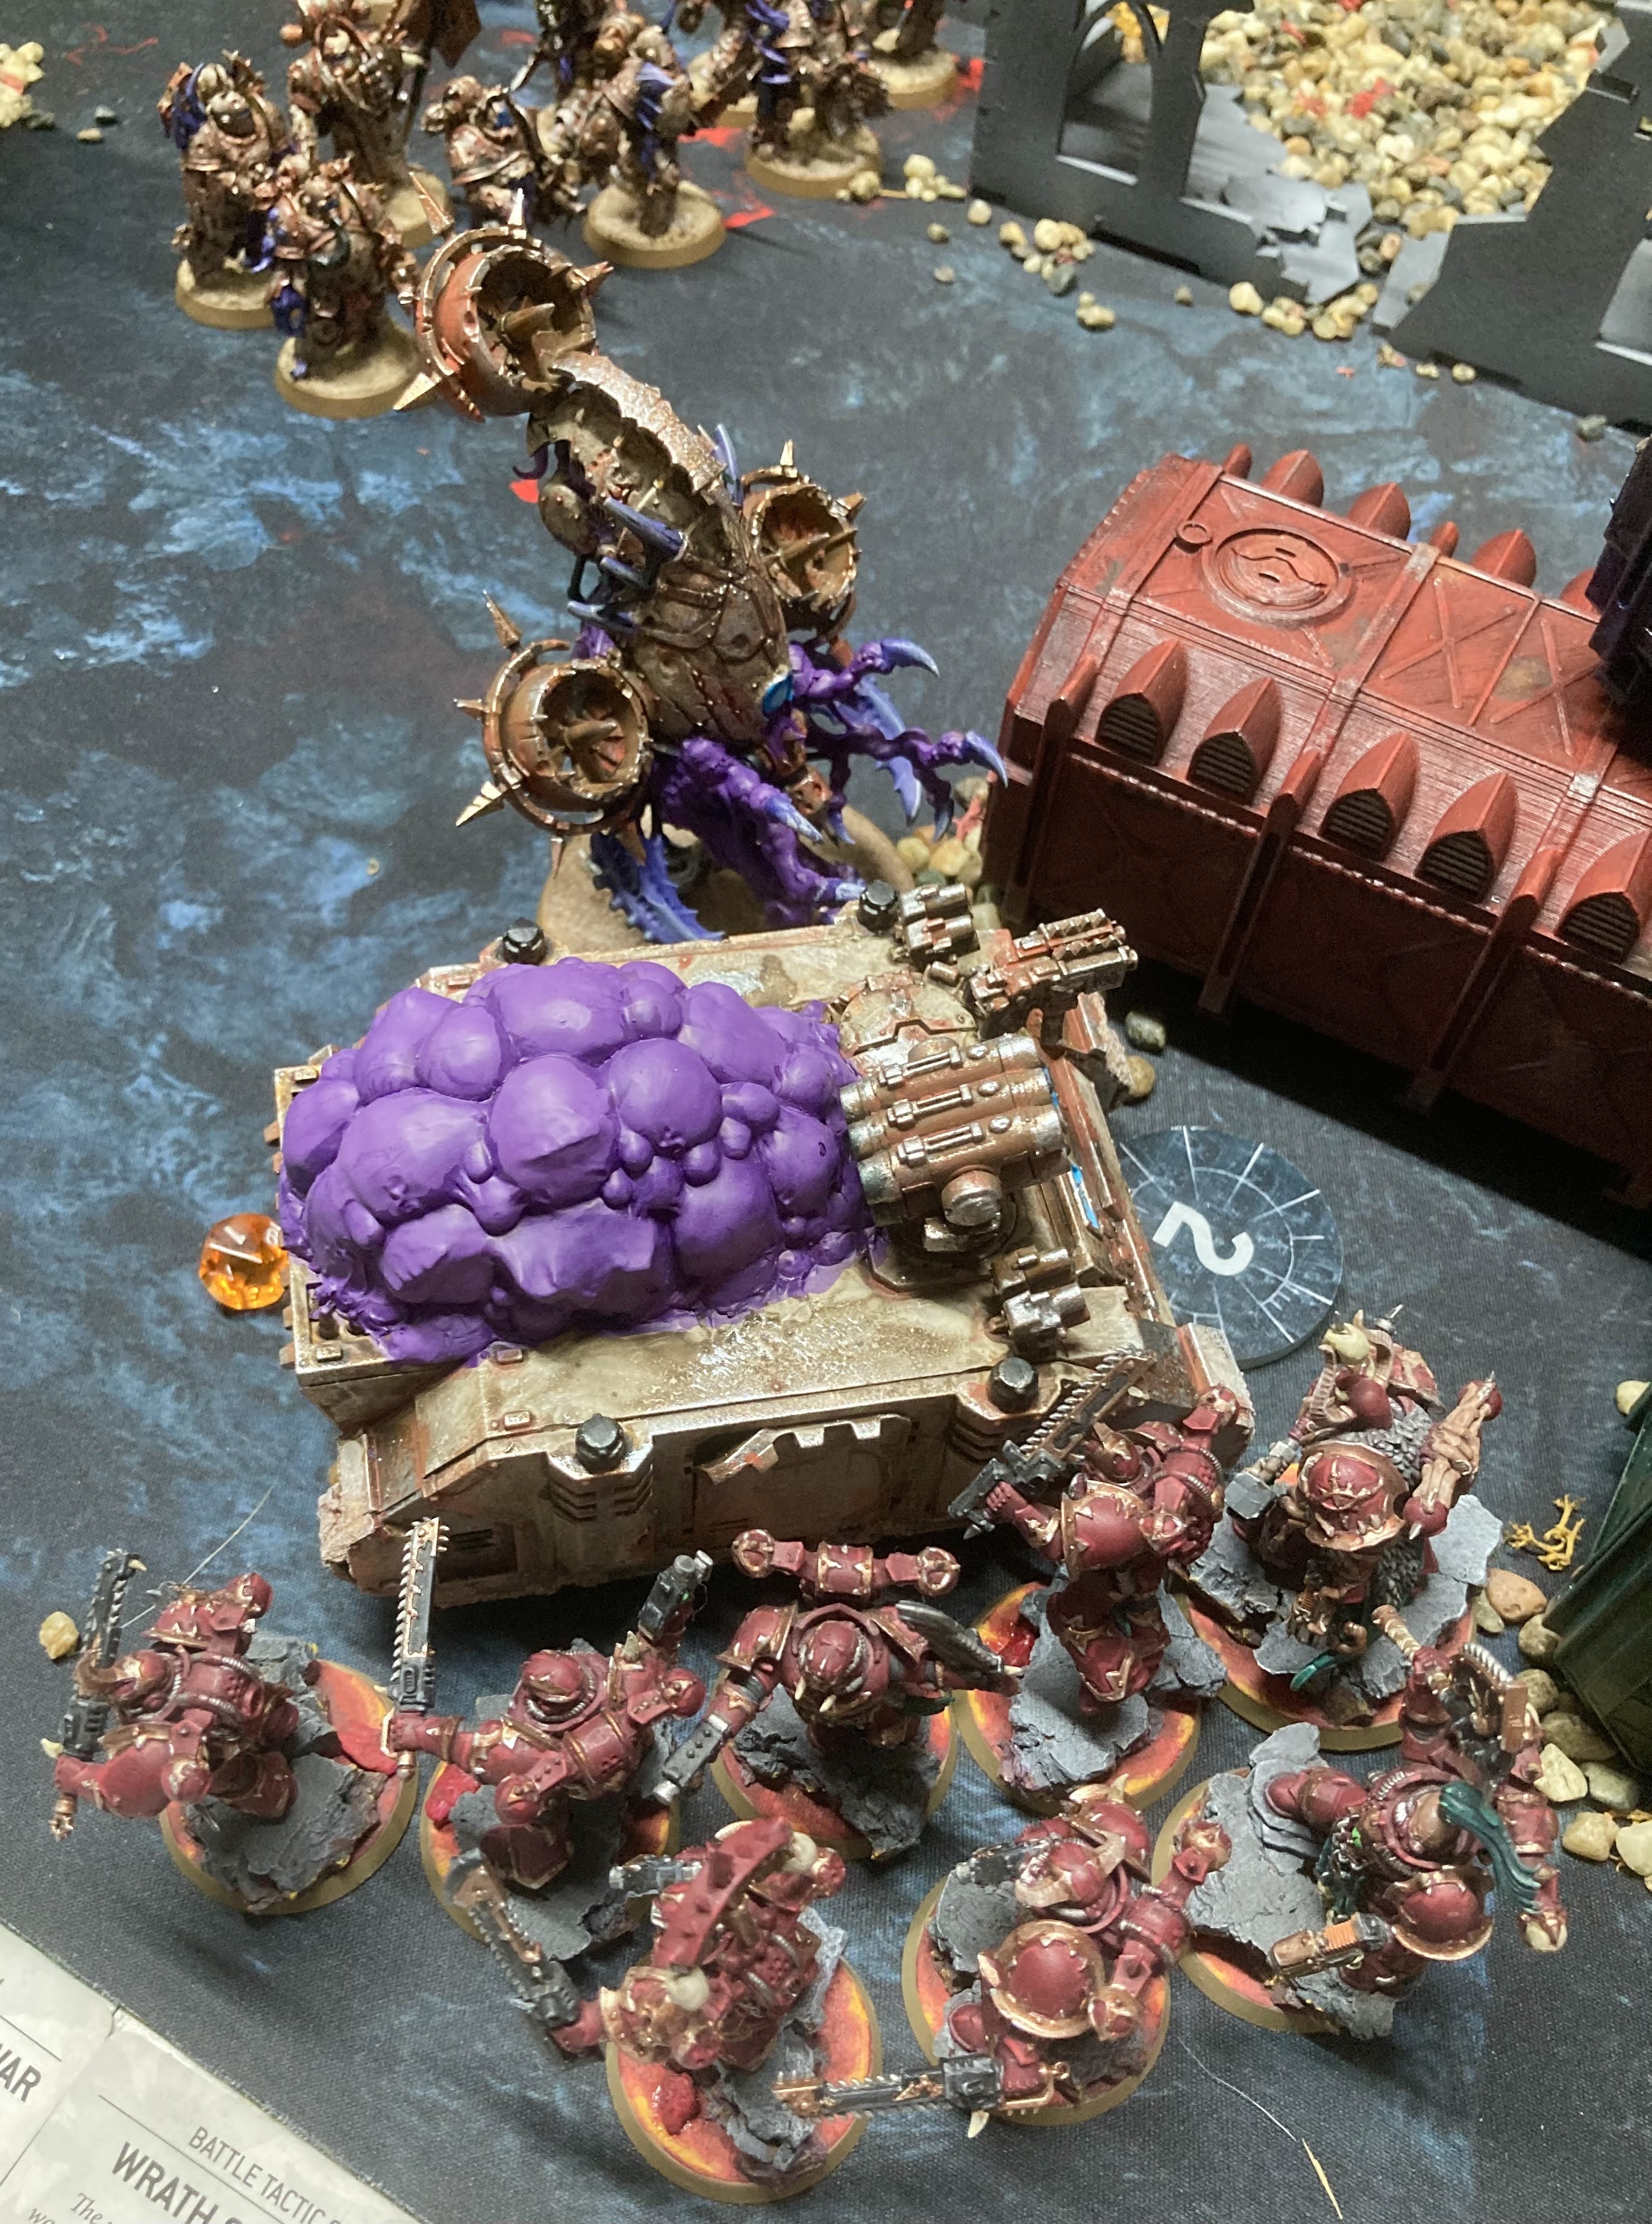
Some shooting damaged the Helbrute and chipped away at the Plague Marines on the objective, but with the Possessed and the Drone locked up with the Rhino options were limited. The Maulerfiend charged the Helbrute, but got caught with a Multimelta in overwatch and lost a bunch of wounds, before being taken out by the 'brute in melee, after being slowed by the Foul Blightspawn's Stenchvats aura. The Terminators and Lord Discordant managed a little better, reducing the Possessed down to a few models, while the Lord with the hammer powered up to mash the Bloat-Drone. I paid to auto explode it, mostly out of spite. This meant the secondaries were still ongoing.
Turn two for me saw the Terminators fully take control of the centre, while the remnants of the right flank units went into the enemy deployment zone to secure the Behind Enemy Lines objective - the Possessed using their long movement to safely disengage from combat, and the Plague Marines charging into the Havocs - the powerfist champion taking a couple down on the way.
Shooting was inconsistent, but the melee from the Terminators was decisive, removing the damaged Venomcrawler with just the flail attacks, completing No Prisoners for me.
Turn three for the CSM, finally the Obliterators came down, and once again they tried to Hold the Line and score Blood and Guts, while also drawing Overwhelming Firepower. One score got marked off for the latter as the Obliterators blasted the Helbrute, while the Havocs, Terminators and Dark Apostle failed to remove all my infantry from their zone. Disgusting and Resilient indeed!
The CSM were a bit behind on the secondary objectives at this stage, but they were scoring consistently on the Primary thanks to a Legionnaire squad holding the safe objective by the ooze vats all game (and placing a banner there at one point). To that end the Lord Discordant had scuttled round to control the hotly contested crate objective. In a decision that would come back to bite him, Sharpy discarded Overwhelming Firepower at the end of the turn.
Turn four, I picked a couple of favourable secondary objectives that basically involved holding the centre - job done with the Terminators. I also set my sights on taking back those damn crates! As luck would have it shooting reduced the Disco Lord to a single wound, and I was able to get some Poxwalkers to charge in. Overwatch from the Lord's Baleflamer killed six of them, but the remaining four managed to take him down with the Mutant Strain stratagem.

In CSM turn four, the Terminators moved up to claim the crate objective once and for all, wiping the Poxwalkers with ease, and along with the removal of the Plague Marine champion and single Possessed Marine, finally scored Blood and Guts and Hold the Line. The Obliterators removed the other remaining Poxwalker squad as well to ensure the safety of the ooze objective, which would have been Overwhelming Firepower if it had still been in play (though in fairness if it had I might had hidden the Poxwalkers rather than running forward with them.)
Turn five, with the centre objective and my deployment zone one well and truly locked down, my job became trying to shift the Terminators off the crate objective, while everything else stayed still to score No Retreat, No Surrender, that I'd been holding on to for a couple of turns. I killed a couple of terminators with shooting but sadly the Mephitic Blight-hauler wasn't up to the job of finishing them in melee.
Into turn five for the CSM, starting on three objectives already meant the end of turn score was a pretty safe 15 for Primary, maxing it out. The secondaries were unhelpful however, leading the CSM forces to try and force a morale failure on the Blightlord Terminators, and even after the Obliterators got their fists dirty, they were unable to do so.
With that the game ended. The Death Guard were slightly behind on the Primary mission, 40-45, but made up for it on the Secondary mission, 35-25, leading to a close final score of 75-70, and a narrow win for the Death Guard!
Well that was a real banger of a game, nice and close, good back and forth action. We discussed afterwards that it didn't feel like anything totally over or underperformed, everything just kind of did what it was supposed to do, more or less. It felt really cool to both have the extra wound and Armour of Contempt, meaning stuff like the Reaper Chaincannons were bouncing off Plague Marines and the Legionnaires were much more resistant to my Plague Knives. Also
once again Tempest of War provided a close, fun game where victory was not determined by the actions of the first turn or two. I'm very much liking it as the default 'matched-play-but-not-tournament-style' game.
Hope you enjoyed reading, thanks for doing so, and stay safe out there.