I took a break from the Orks in order to do a bit of terrain building! These terrain pieces are to serve the purpose of entrances to a Tyranid tunnel network in an upcoming narrative game (that may or may not be the finale of a narrative campaign I'm part of on YouTube) though they could easily work as generic rocky crater things.

This is the finished product. I'm happy with how they turned out for relatively minimal effort. I think they will look good on a table swarming with Tyranids, pouring out of the ground to overrun the pathetic defences of the Cadian 404th. Or indeed, any enemy force...

This is how it started, some roughly cut segments of hardboard with chopped up chunks of dried bark slapped on in a loose circle. The bark is the stuff you can buy for vivariums presumably from pet shops - I got a big bag of the stuff off eBay ages ago for pretty cheap. It needed a bit of a clean up before hand - note that if you are going to do this you will want a mask to cover your mouth and nose for this, there is a LOT of dust. Chopping it up does have the advantage that you will have a flat-ish surface to attach to the board. The chunks were liberally glooped with PVA, and with a bit of superglue added to the least stable ones to keep them in place while the glue dried overnight.

Next stage was to fill gaps and make the shape with Polyfilla (or other brand of quick drying filler substance). If I were making nice smooth hills I would have sanded these areas down afterwards, but this is supposed to be the result of a huge monstrous snake creature rupturing the ground from below, so it is lumpy and uneven.

Next, I added a load of modelling slate, gravel, sand or whatever (plus more globs of PVA), and when that had dried, sprayed it all black. I mainly focused the rocky stuff around the base of the bark and over the filler, making sure that the centre of the tunnels was left bare.

Some drybrushing of light browns and assorted greys, and it's starting to look the part.

Finally, a bit of a wash of Agrax Earthshade semi-randomly of the gravelly bits, and a bit of static grass around the edges, and we're done! It took a few days to put together, but most of that was waiting. Probably about an hour's work in total, and most of that was preparing the materials.

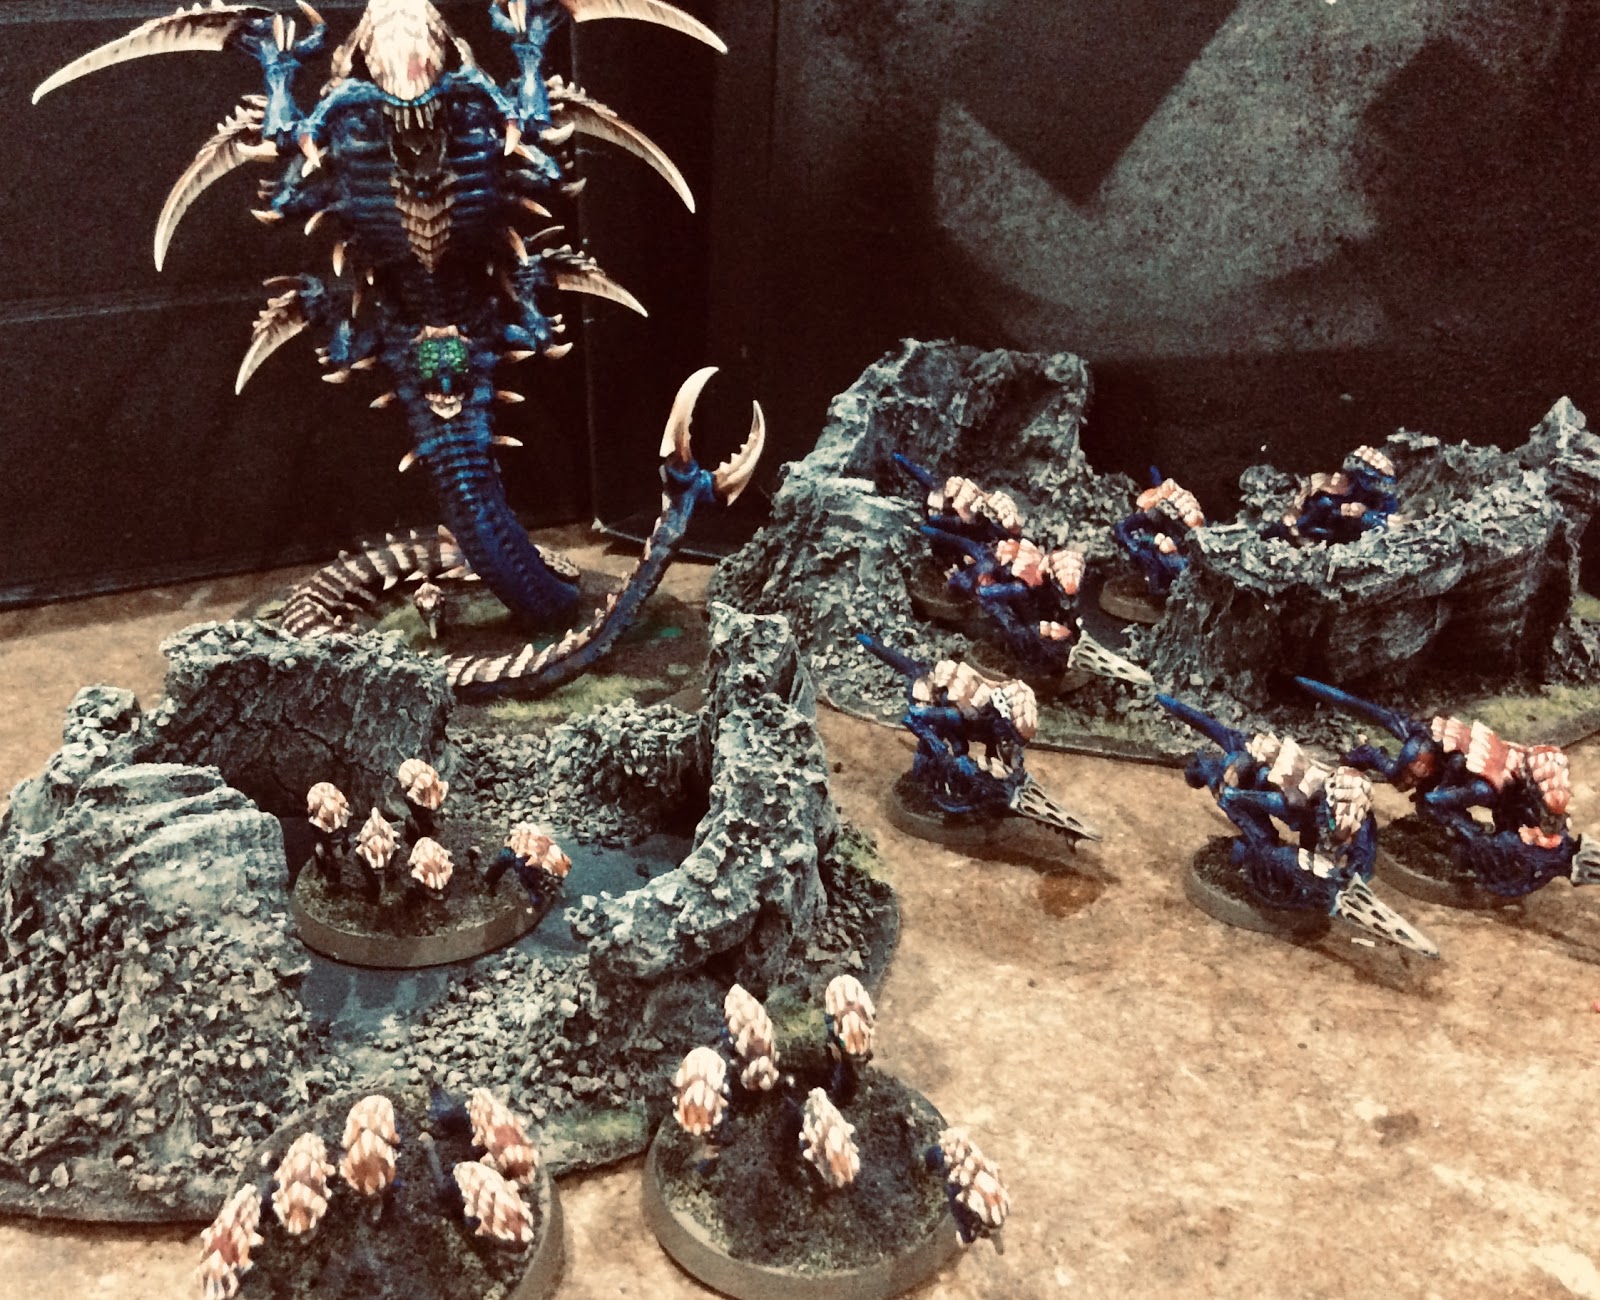
And here's what it looks like 'in action'. I think they look about the right size for Trygon tunnels, and are appropriately sized to allow small to medium bugs through. Hopefully they will look good in game, and if you like them, hey, now you can make your own!
Great ruptures! Thematic too, you can add after each surfacing to the table and if opponent agrees, actually give the benefit of cover?
ReplyDelete