Tuesday 31 May 2022

Crusade Battle Report - Tyranids vs Aeldari

Hello!

As you may have seen recently, I've been enjoying getting the Tyranids back onto the table (they're a bit good!) - but so far it's been matched play, and as cool as that is, the Crusade section of the book has got me quite excited. So I was pretty happy to have the opportunity for a Crusade game against Sharpy and his Aeldari. (I also borrowed some of his pics for this report!)

Now firstly, before a Tyranid Crusade force takes to the field, you need to generate a planet to eat. I rolled up a Hive World, and the various amounts of Biomass and Crushed Resistance I'd need to acquire in order to gobble it up. The process is split into three sections, Invasion, Predation and Consumption, each of which with a bonus stratagem and some changes to the 'thanks for playing' experience points to encourage certain units. For instance in the Invasion stage I got additional XP for Genestealers, Endless Multitude units (in this case Gargoyles) and the Hive Crone, while if I'd taken any Hive Tyrants or Tyrannofexes, for example, they'd not get the free XP at all! I think the intent is that as you go though your Crusade you cycle out units that haven't gained much XP or picked up battle scars for new ones that benefit from the next stage. I'm sure I'll get the chance to go through it in a lot of detail on an episode of the Narrative Wargamer Podcast, but for now what you need to know is that I've taken a very fluffy early stage invasion Tyranid list, that is also appropriately rewarded in the Crusade system.


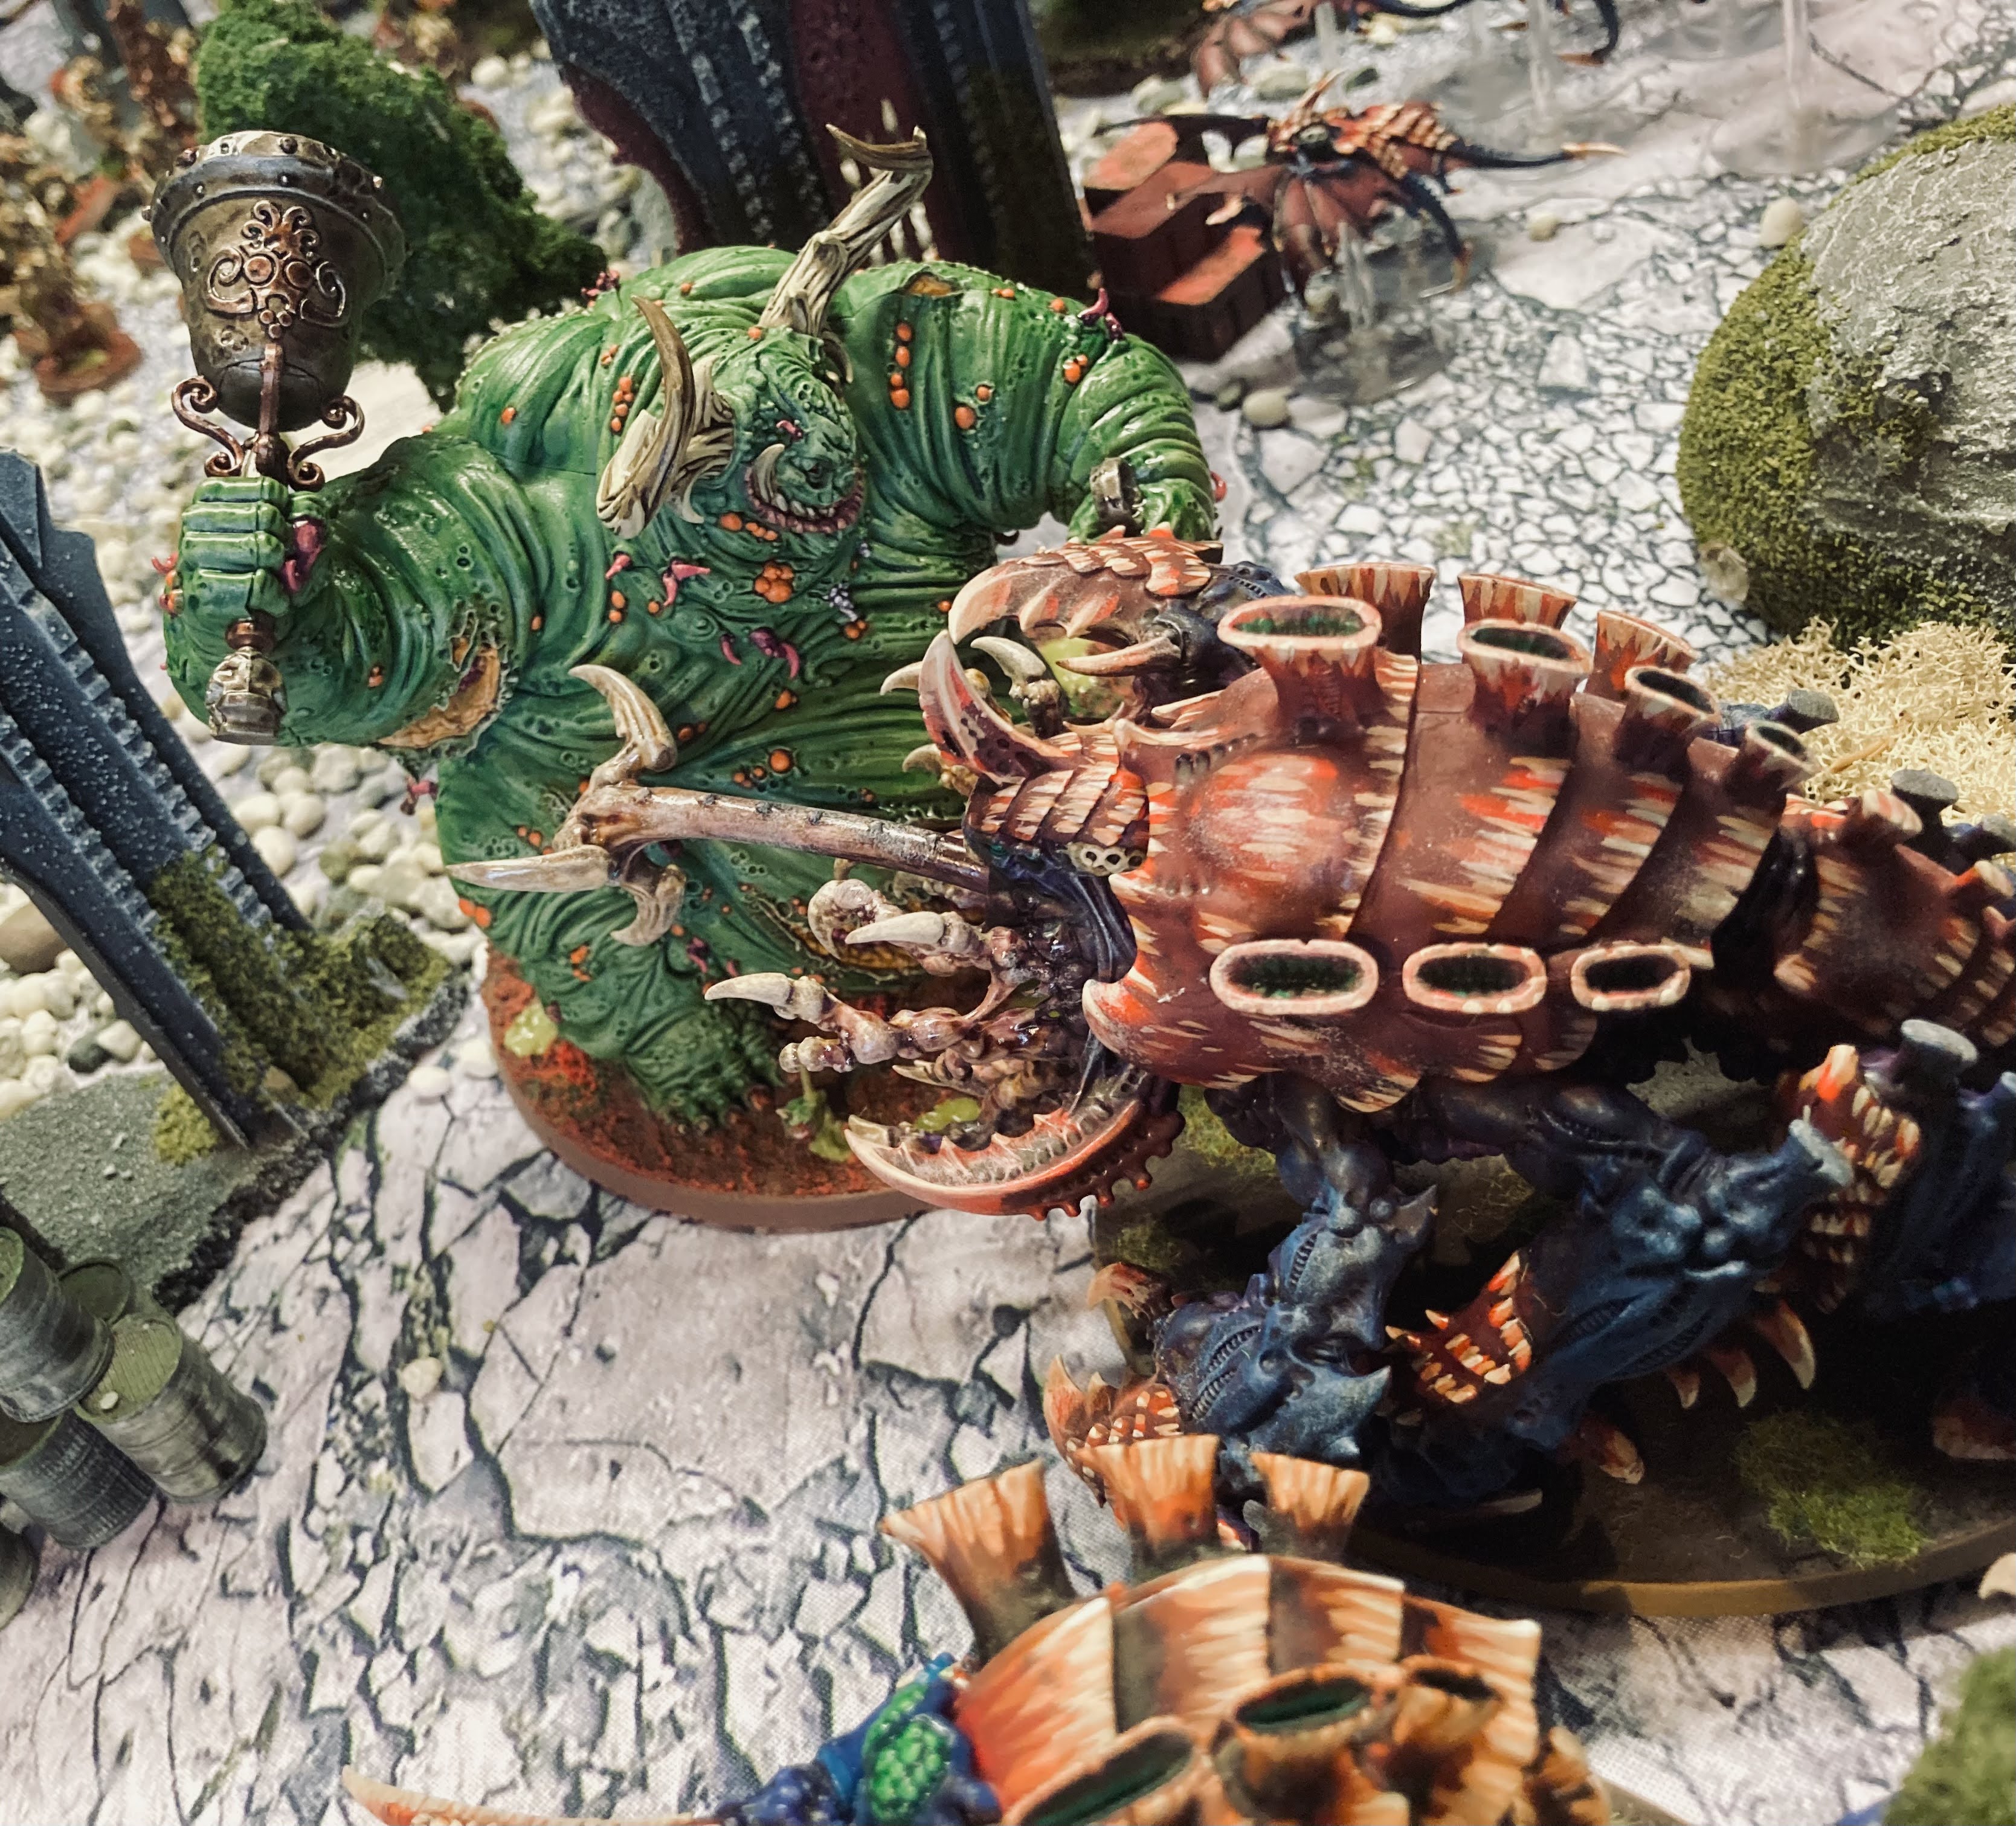
So my initial 50 power level Crusade consisted of a unit of Warriors, a full unit of ten Genestealers, three broods of Gargoyles, a trio of Raveners, a big old Hive Crone with the Dermic Symbiosis upgrade, and led by a Broodlord with the Ymgarl Factor and a Tyranid Prime with Direct Guidance. Hive Fleet Goliath is a Behemoth splinter fleet, so I used their rules.


Sharpy's Eldar leaned heavily into Aspect Warriors, with units of Dire Avengers, Swooping Hawks, Warp Spiders, Fire Dragons and Howling Banshees. Two units of Guardians and some Windriders filled out the core of the force, led by a Farseer with a couple of Warlocks and a kitted out Autarch as the warlord. They are a custom Craftworld using the traits for sixes to hit are auto wounds on shuriken, and a 6+ invulnerable on everyone, plus some mortal wound protection. I'm not entirely sure how their Crusade rules work, but apparently the Dire Avengers were on the Path of the Warrior, so would get points for killing stuff or something. He was also looking to upgrade some Guardians to Wraith units at some point if they took enough punishment.

For the mission, we played The Relic from the main rulebook. Nice and simple, one central objective to pick up and walk off with - if you can. For my agendas I picked Infest the Prey World, which gives Biomass and Crushed Resistance points for having Endless Multitude units in quarters of the board, and then XP for having units in the opponent's deployment zone at the end. I paired it with Breakthrough - more XP for being in the opponent's zone. The Aeldari went for a codex agenda to pick up the spirit stones of fallen units, and the classic Reaper for some nearly guaranteed, zero thought XP.


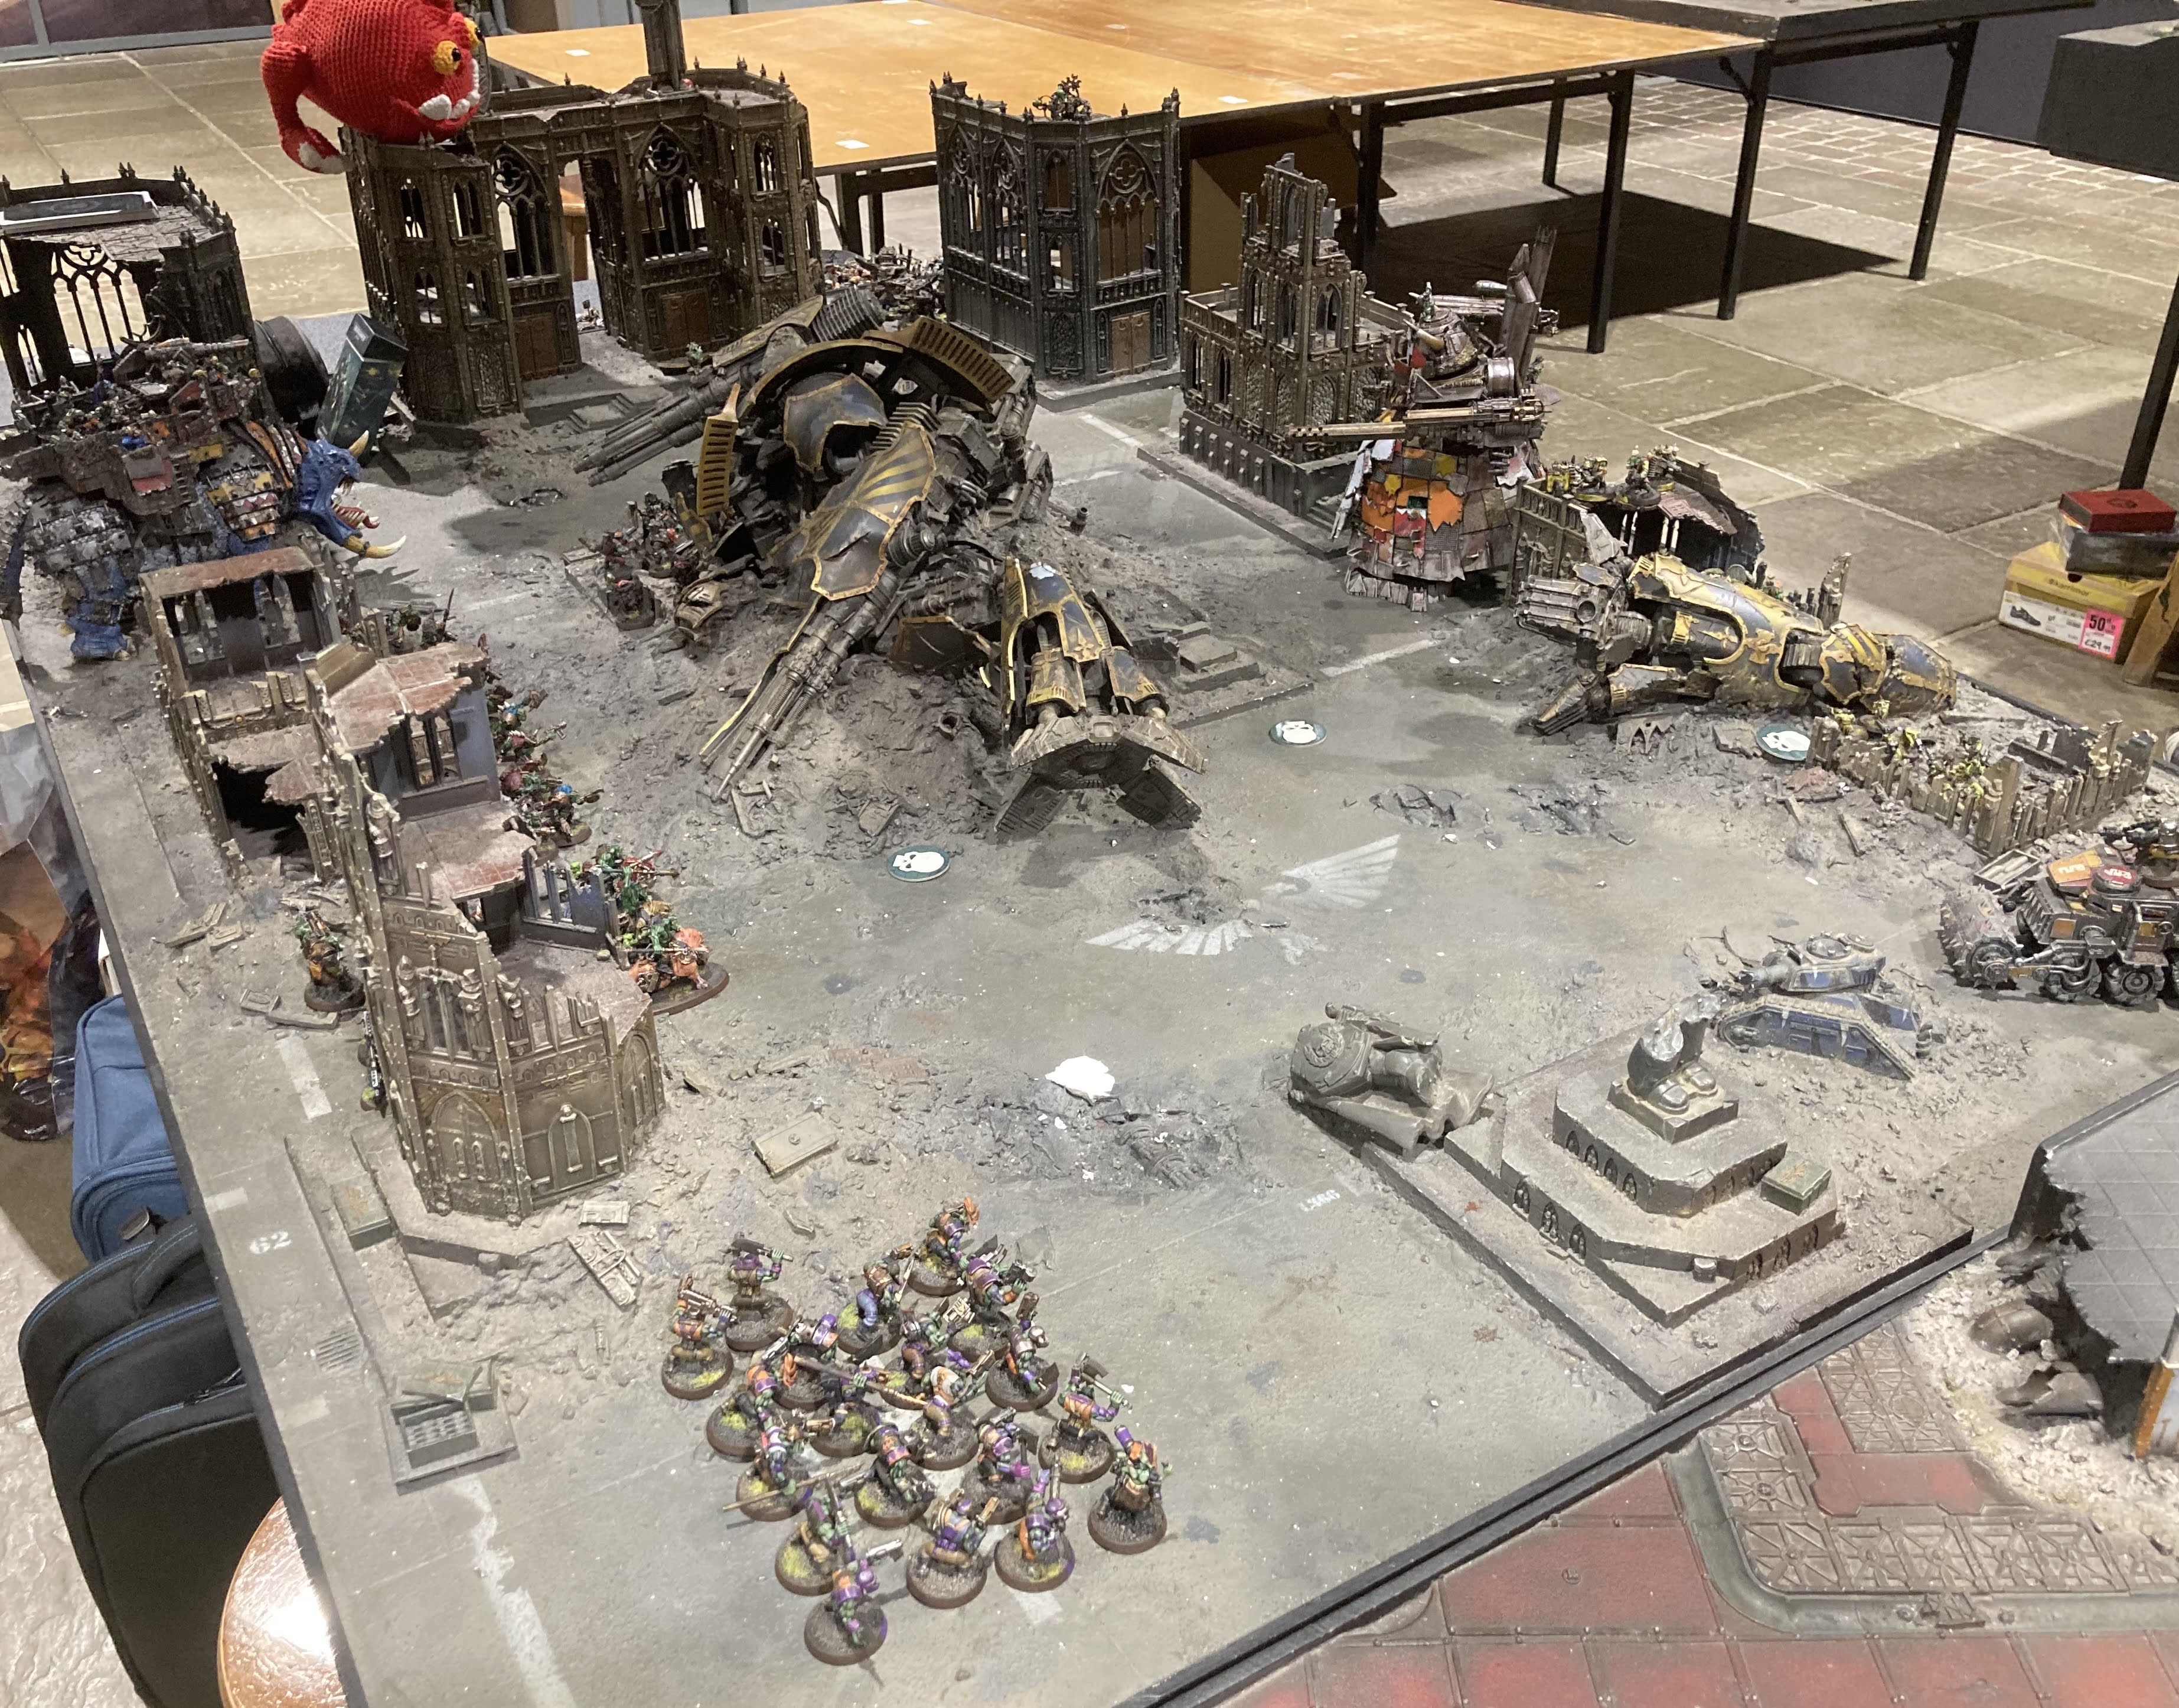
Deployment - the Fire Dragons went into the Webway, while the Raveners were digging underground. We'd both deployed taking advantage of the forests, while I forward deployed the Genestealers and Broodlord onto the 'safest' flank to do some sneaky stuff. I won the roll for first turn, and opted to give it to the Eldar, since I didn't fancy a turn of just shooting through the woods.

The Craftworlders took advantage with their movement to pop the Dire Avengers on the Relic, while they combined with the Swooping Hawks to cut through most of the Genestealers, leaving only two remaining. On the other flank the bikers cut down a few Gargoyles.


Tyranid turn one and it was time for a bit of a counter attack. The Crone flew into the centre to dish out some damage - killing off three Banshees and a couple of Avengers and Jetbikes. Gargoyles moved up into the woods with the Broodlord to pepper the remaining Avengers, while the Warriors finished the job. Another Gargoyle unit moved up to harass the Swooping Hawks - swarming them in melee for minimal damage. The third unit flew up to Encircle the Prey, while the last couple of Genestealers made a break for the Eldar deployment zone, putting as much ground and terrain between them and the space elf guns - obviously off to go find some undefended genes!

It was a reasonable counter attack, clearing the objective, but neither of us had lost that much yet.


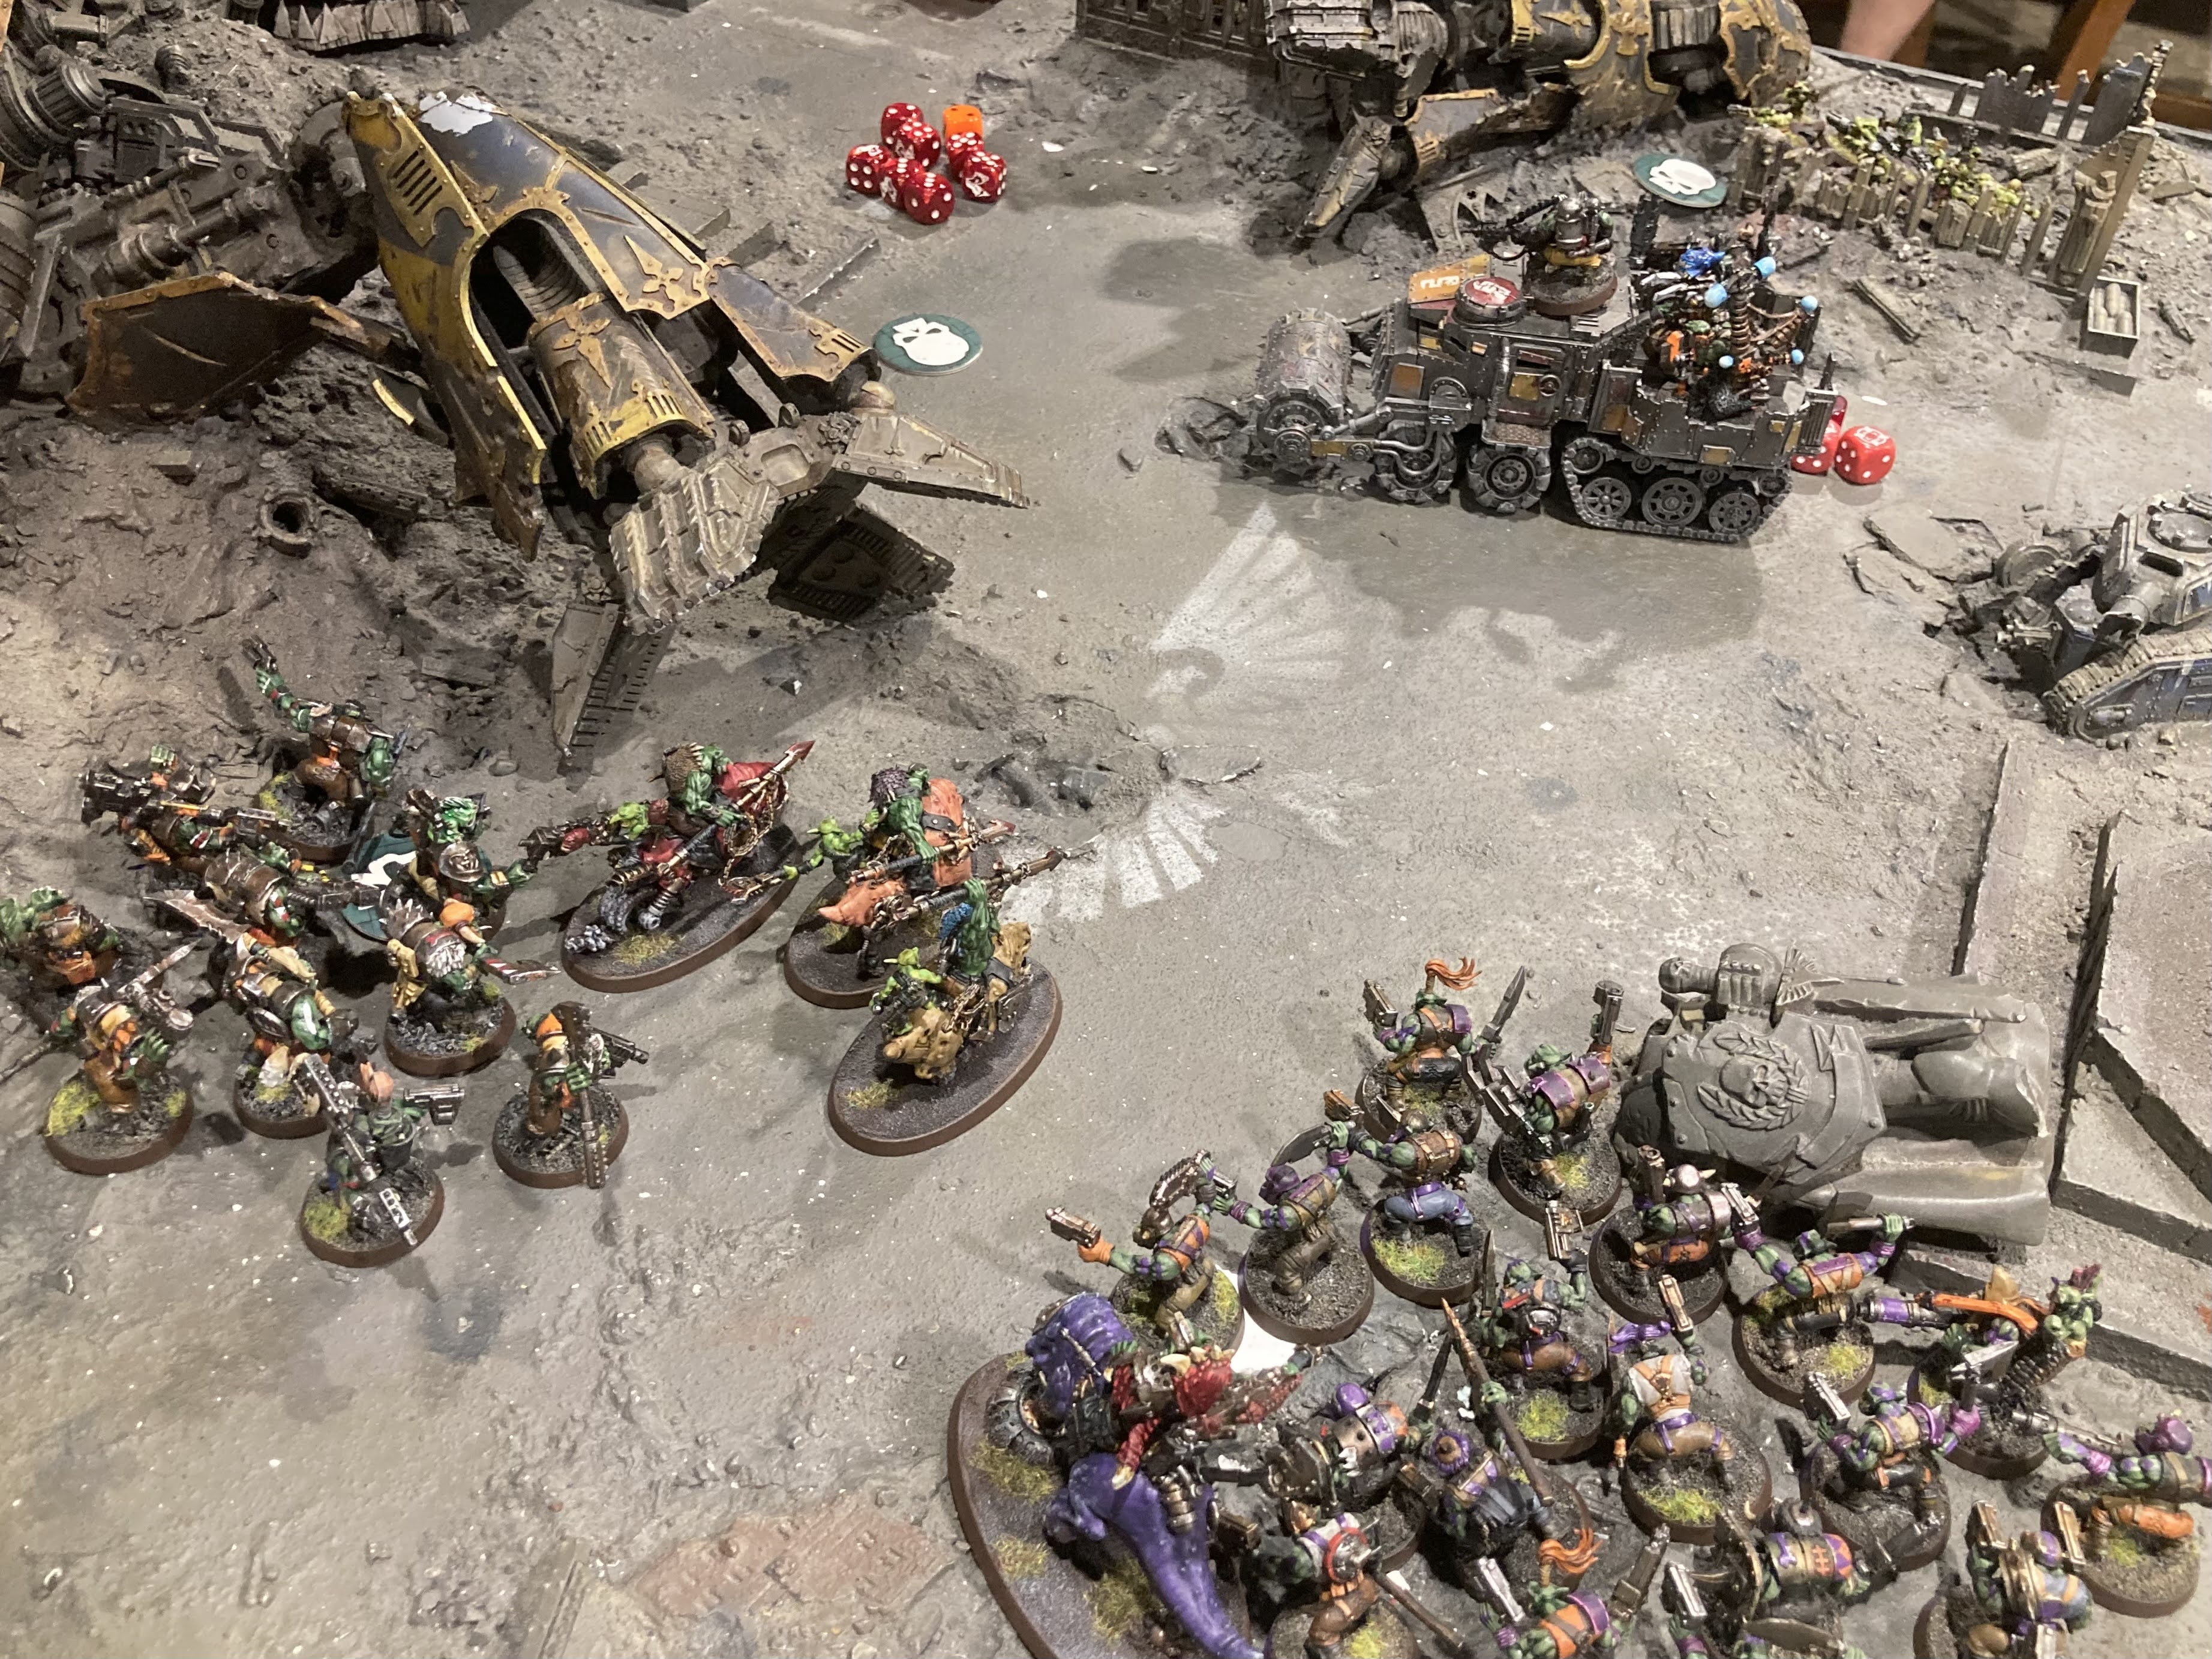
Turn two, and the Eldar counter-counter attacked! The Fire Dragons stepped out of the webway to melt the Hive Crone out of the sky. The Hawks jumped out of combat to allow the Warp Spiders to make an absolute mess out of those Gargoyles. One of the Guardian units, supported by the last couple of Banshees, stepped out of cover onto the objective to blaze away at the unit of Gargoyles with the Broodlord, but thanks to Catalyst they just about hung on.

With my biggest model down, it looked like the Aeldari were back on top, but then it came time for the jaws of the trap to close...


The third Gargoyle unit dropped in behind the Guardians, while the Raveners dug up to flank the Fire Dragons. The Warriors moved up to get some melee going. Thanks to being an Endless Swarm, the damaged Gargoyle brood went back up almost to full. Shots fired all over, killing a bunch of Guardians but not totally removing them, and the Warriors killed a couple of Warp Spiders. I also shot a cheeky shot from the Prime into the Fire Dragons to activate Shard Lure and give the Raveners an easier charge - which they made.


In melee most of my units got stuck in. The Raveners killed all but the Exarch of the Dragons, while the Warriors went into Guardians to make a mess of them, tagging the Spiders as well. The Gargoyles and Broodlord swarmed the centre, killing off the last of the Banshees and leaving a single Guardian to flee the scene. Finally the Prime made a charge on the Swooping Hawks, cutting down enough of them for their leader to fail morale and flee the scene.

A brutal turn for the Nids, leaving only Eldar characters and a few remnants of units. But of course Eldar psychic powers are a thing and those Spiders were still active...


Into Eldar turn three and a valiant effort saw the three remaining Warp Spiders shred the blue winged Gargoyles, while the Autarch shot and then charged the Prime to kill it. The Seers though whiffed somewhat against the Warriors, killing one and then eventually another, while getting cut down by the boneswords over the next few phases.

Tyranid turn three was spent turning the screws and finishing off some odd one man units, but the Warp Spiders jumped out of a charge from the Broodlord to keep the fight just about alive.


Turn four saw the Spiders make a dent in the Raveners, the Farseer having a smite denied to kill the last warrior (and then falling to it) and the Autarch bravely going toe to toe with the Broodlord. The big genestealer dodged the fusion blast and survived the melee, to strike back and bring down the enemy warlord.


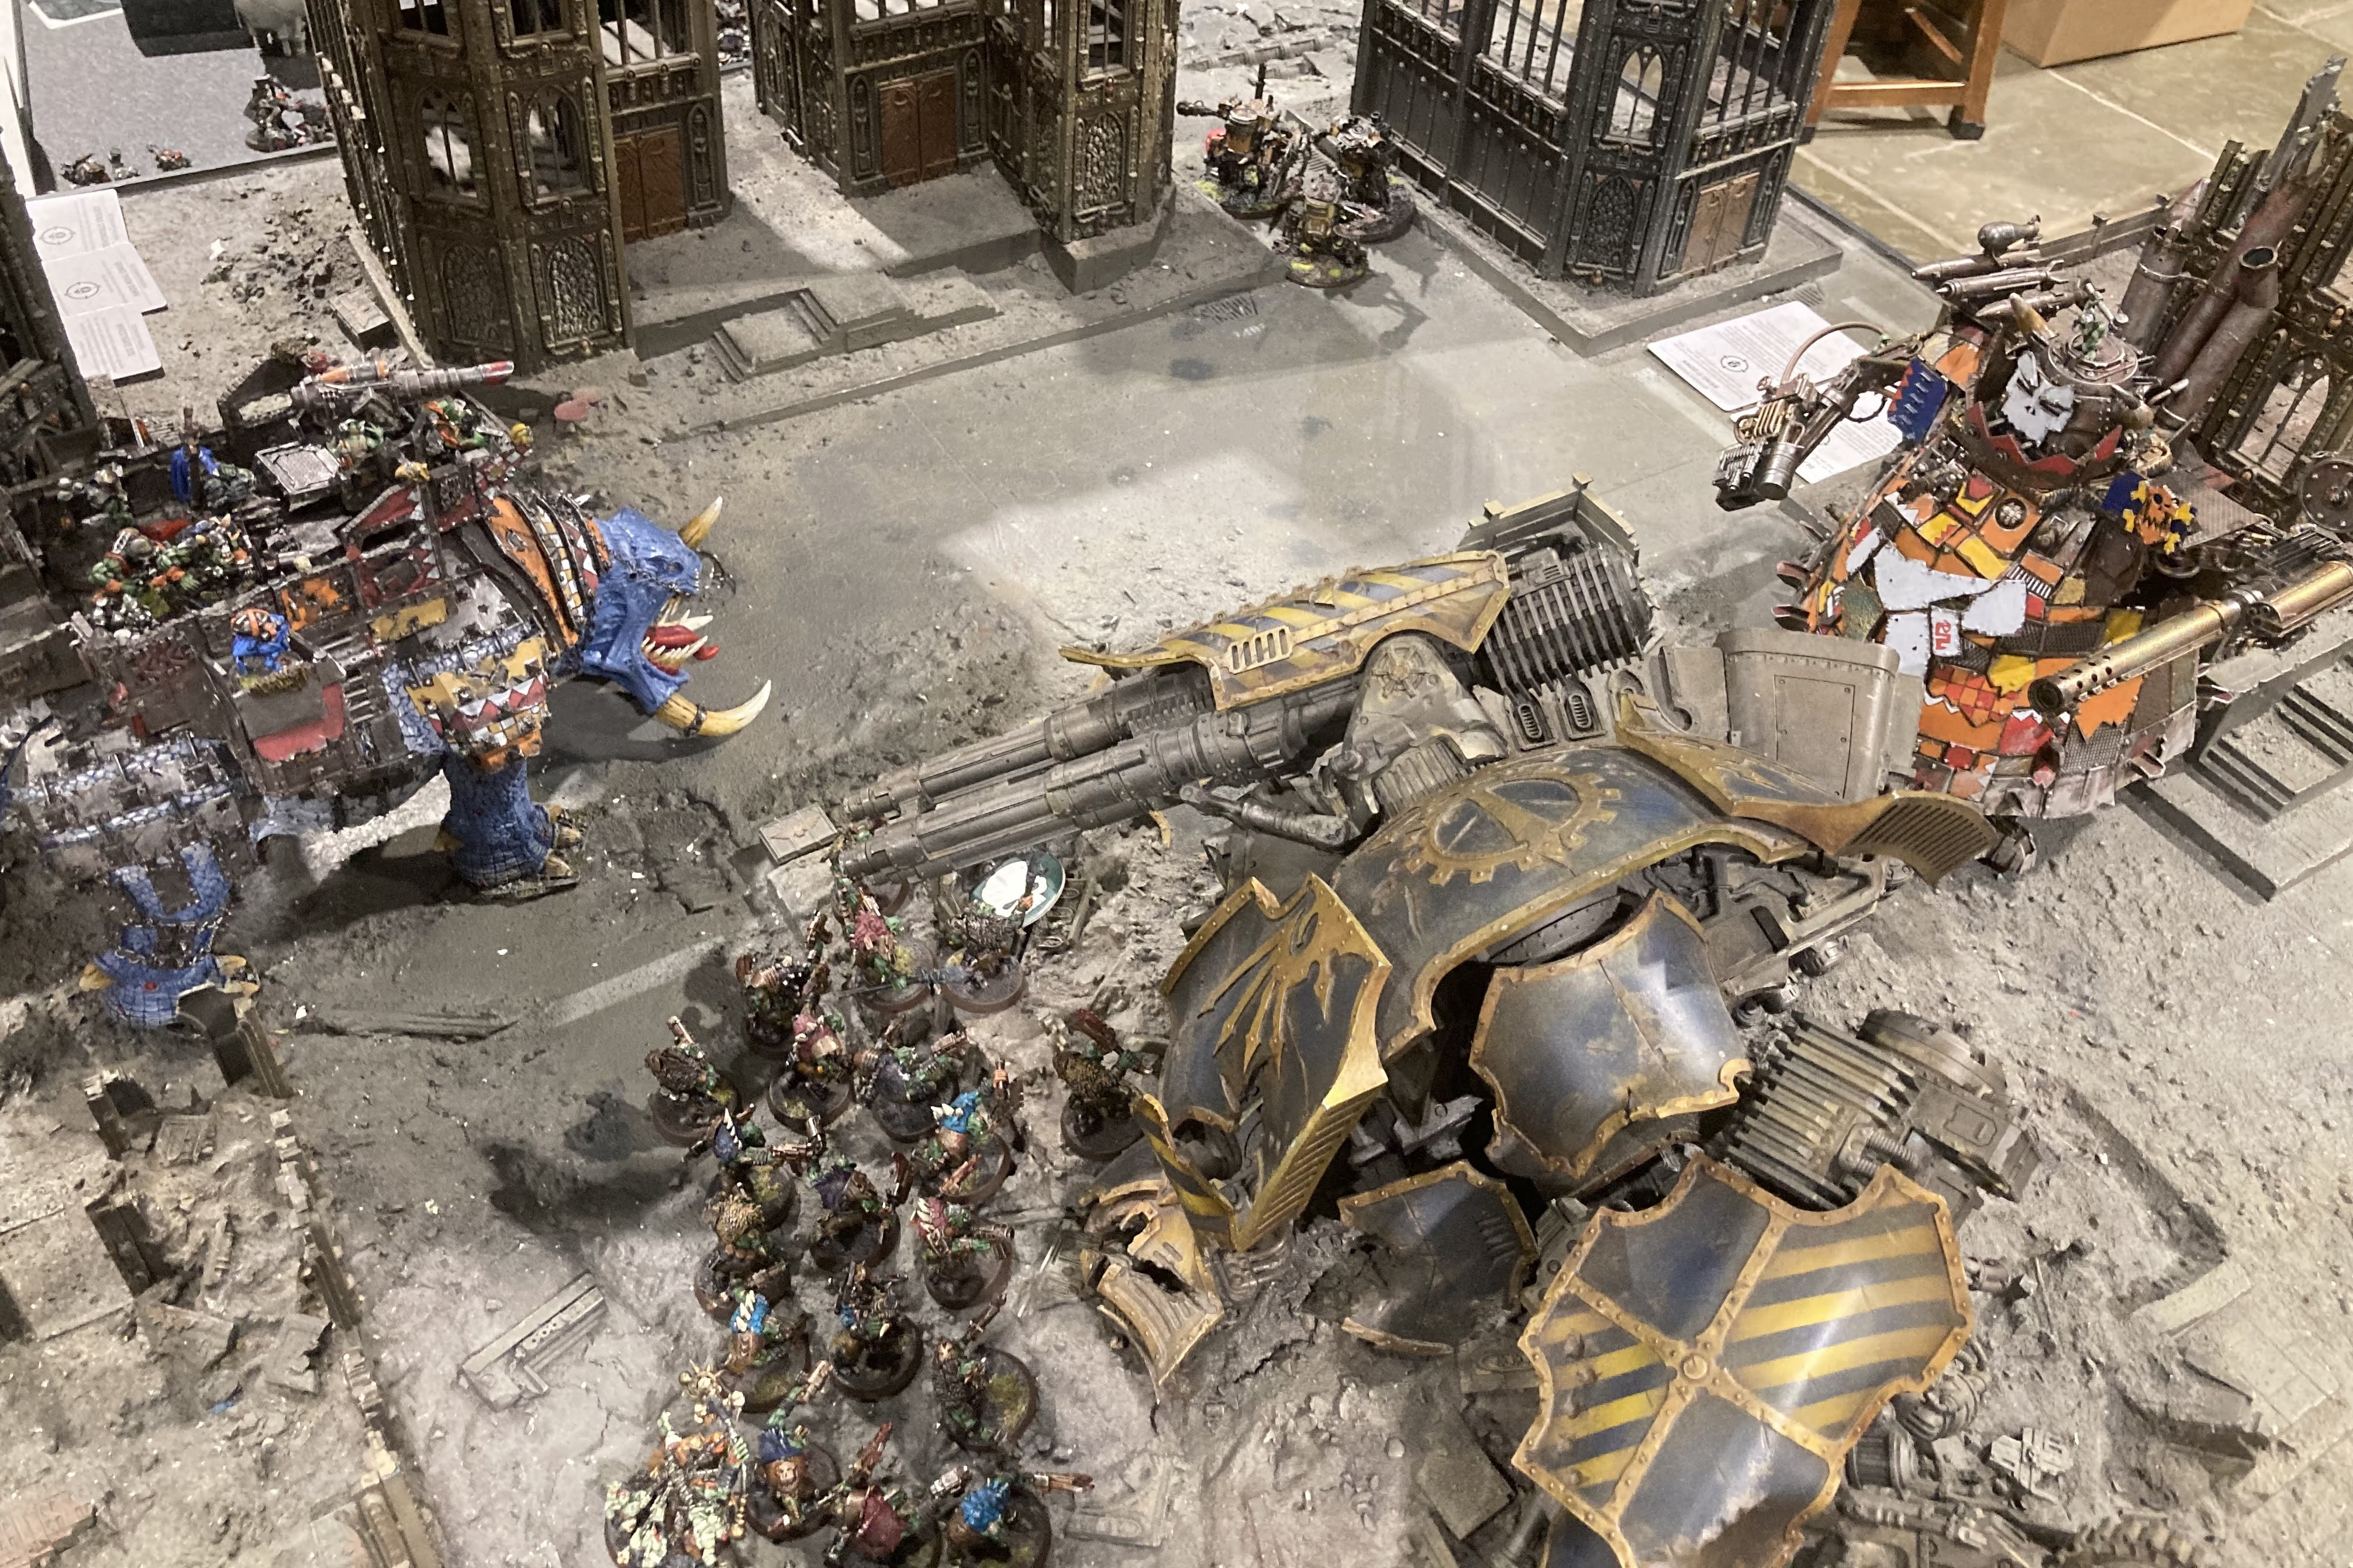
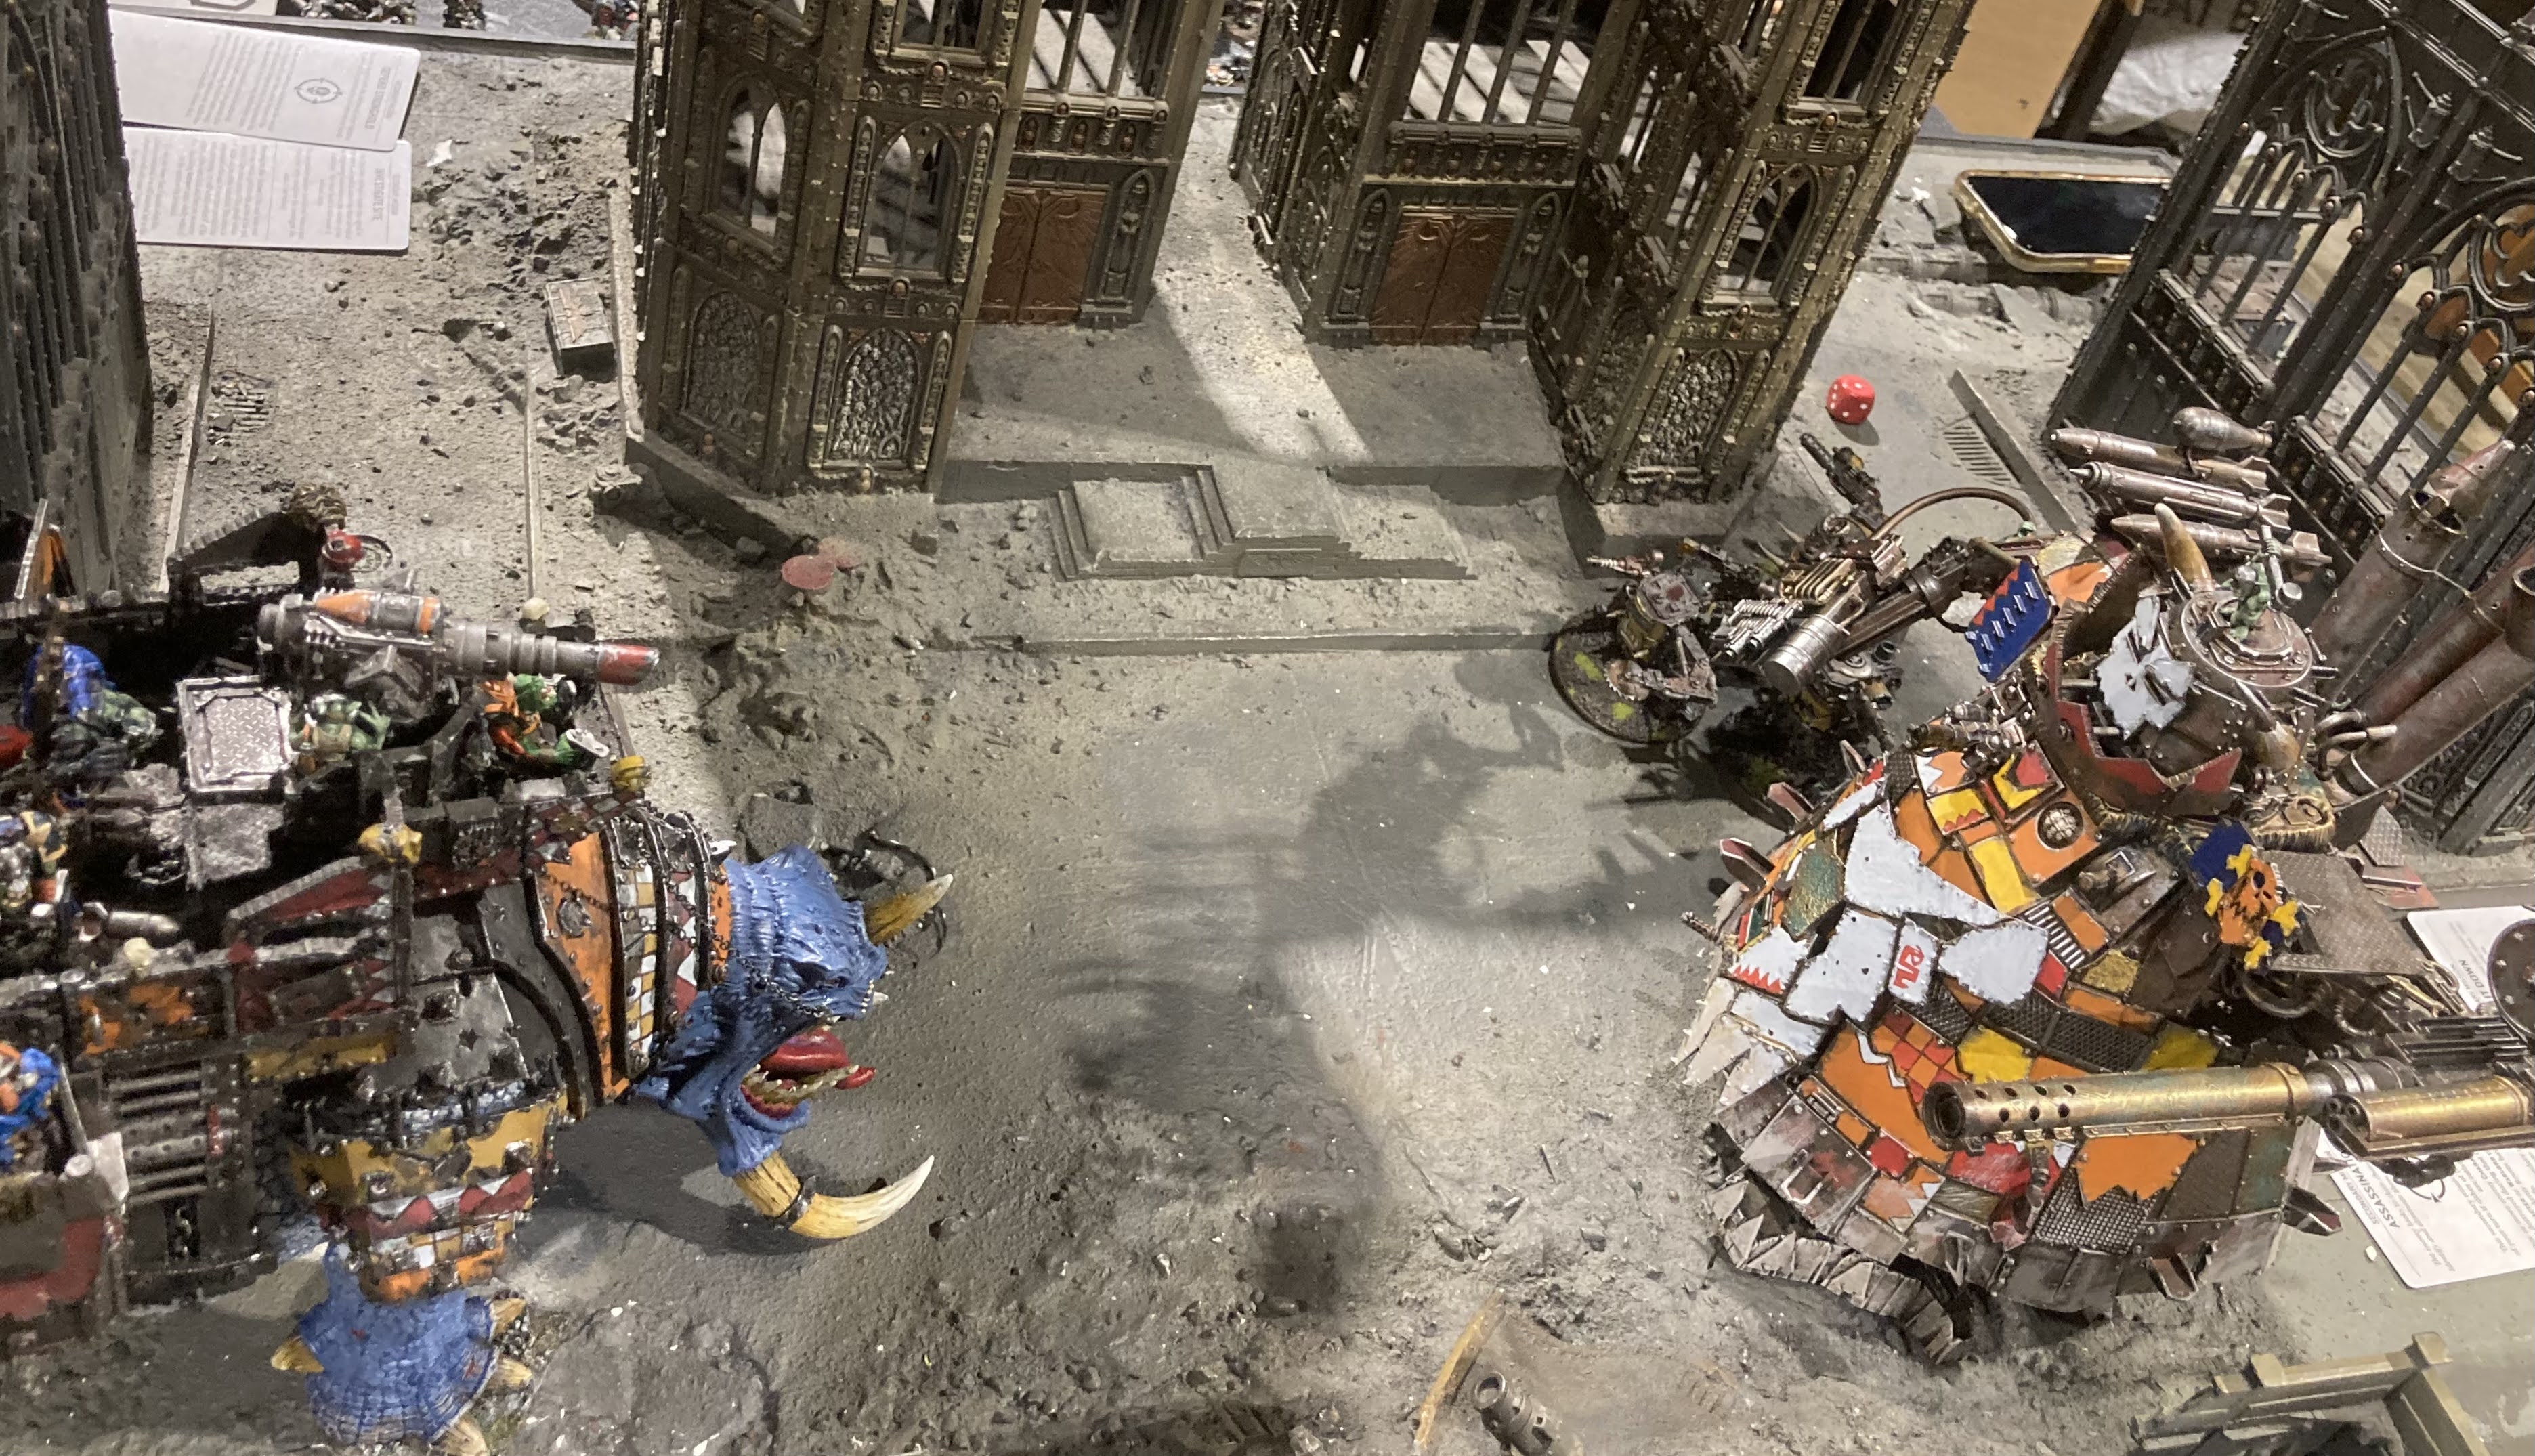
With that, the last couple of turns were just clear up for the Nids, removing the last Aeldari, the Broodlord grabbing the relic and then the Genestealers, Raveners and remaining, red-winged Gargoyles hanging in the Eldar deployment zone for experience.

In the end a comfortable victory for the Tyranids, but it certainly didn't look that one sided in turn one and two!

Another great game, Sharpy always sets out an excellent table so it looked great, and was fun for us to both make our first steps on the Crusade with our new books. After that the Broodlord claimed the relic, earning a free Crusade Relic - I chose the Spirit-Leech Cortex, which gives him the ability to regain wounds and increase his strength for dishing out mortal wounds in the psychic phase - feels appropriate for some kind of aeldari soul-gem relic!

With those pesky Aeldari sent packing back to the Webway, the Nids picked up two each of the Biomass and Crushed Resistance points, which is half way to completing the Invasion stage. I also got enough XP for upgrades on the red-winged Gargoyles and the Genestealers thanks to the stacking agendas and their XP for taking part bonus. They got Fleet of Claw (advance and charge dice are minimum 3) and Ranged Resistance (+1 save vs shooting) respectively. For the Aeldari, the Warp Spiders really outdid themselves, going up to Blooded rank and becoming Headhunters (+1 to hit and wound vs characters).

Anyway, that was fun! There will be more Crusade content coming soon as the AdMech will be back in action again, but until then, thanks for reading and stay safe out there!

Friday 27 May 2022

Tempest of War Battle Report - Orks vs Orks

Hello!

I recently took a trip down to Warhammer World to play a game on their Warlord Titan board with my Orks vs... my Orks ! Orks vs Orks is always a bit of a wild ride, so it was bound to be a bloody one! My opponent was Grijbog (another member of the Old Wolves group) over here on holiday from Australia. As such, he didn't have an army with him so I lent him one, and we decided Orks vs Orks would happen.

We played with the Tempest of War cards, but rather than randomly choosing a primary mission we picked some appropriate cards. We went for a classic 'dawn of war' deployment, a twist to have an additional objective marker - placing all four no man's land ones around the fallen titan, and the mission Priority Targets - giving 5 points for holding an objective, 5 for holding more than your opponent, and up to 20 at the end of the game for holding objectives. It felt appropriate that the game would likely be decided by who held the massive loot pile at the end!


The armies were both Snakebite Battalions with Super Heavy Auxiliaries. In a battle of squigs vs steel, Warboss Redtoof took the Stompa and other armoured elements vs Beastboss Redtoof with Nipper and a load of Beast Snaggas. Redtoof had a couple of Big Meks, two lots of 20 Shoota Boyz, some Grots, Burna Boyz, Meganobz, five Killa Kans and a Deff-rolla Battlewagon in addition to da Toof-Krusha. On the other side, Redtoof brought Durrork the Weirdboy, 20 Beast Snaggas, two lots of 20 Slugga Boyz, ten Nobz with big choppas, Squighog Boyz, a Nob on Smasha Squig, decent sized mobs of Kommandos and Tankbustas, and of course the Gargantuan Squiggoth.

We rolled to see who was controlling what, and I ended up with the Beastsnagga/Squiggoth faction.


Deployment saw the Tankbustas get on the back of Nipper's howdah, while the Stompa got filled with Boyz and the Burnas plus Warboss and Big Mek jumped in the wagon. The Meganobz got themselves a spot on the tellyporta. The Kommandos forward deployed into cover by the Warlord's head.

The dice were rolled, and Grijbog's Redtoof was going first. Movement happened, and then the Stompa opened up. All the anti-infantry fire blitzed the Kommandos before they could do anything, but the big guns whiffed against Nipper, only taking a couple of wounds off in the end.


In response, my Redtoof ordered the boyz forward, with Nipper shuffling slightly cautiously. Tankbustas and the Squiggoth's Super Kannon blasted a couple of Killa Kans to bits, and the Squighogs got a big charge against the Battlewagon, doing a bit of damage but between overwatch and the roller they all perished.

I think we both picked up a 'hold your own objective' card so grabbed some secondary points but after turn one I had more of the objectives.


The Battlewagon, Stompa and Kans rumbled up into range for charges, while the Burna Boyz got out to do some burning. Lots of firepower blazed out, killing off a whole bunch of boyz and Beastsnaggas (I ended up spending CP to keep the last few Snaggas around on an objective for points in my turn).


The charges all got in, putting the Squig side under a fair bit of pressure! The Wagon went first to try and deal with the kitted out Smasha Squig Nob, but left him on a single wound. Nipper interrupted to gouge a chunk out of the Stompa, though not enough to save him from the nasty 9 damage choppa! Nipper did manage to thrash out as he fell, killing off a couple more Kans and some of my Boyz.

I got very unlucky with the Tankbusats falling off the Howdah, losing five of them in the fall then a couple more from morale. A rough turn for my Redtoof! As a bonus though the last Killa Kan failed morale and klanked off.


Going into my turn two, the secondary cards weren't helping much but I did pick up the full 10 points for primary. Having lost quite a chunk of my force it was time to go all in and get rid of the Stompa, plus as much as I could on the right flank with the Battlewagon.


The big unit of Nobz managed to finish off the Wagon after the Smasha Squig had done some damage, while my remnants of a Boyz unit there were slowly overcoming the burnas.

Against the Stompa though it was anything but slow going - Beastboss Redtoof, having declared a WAAAGH!, buffed up with Fists of Gork, armed with the Beasthide Mantle and being a Big-Killa Boss, absolutely smashed his way through the big beast!


A big mob of shootas came tumbling out, forming up into a sort of firing line against my blue Boyz.

It was a strong counter punch, but the fresh Boyz mob and a teleporting unit of Meganobz might give us some issues.


The Shokk Attack gun Big Mek for the 'stompa' side had been having a quiet game so far, and that continued as he watched on to see the shootas pour fire into the blue Boyz and only felling one of them.


The Meganobz dropped in, skorching the last of the Beast Snaggas, but failed to charge in an assassination attempt against my Redtoof.


Most of the action this turn revolved around the big foot, where the two characters had some tough decisions about who to shoot and charge. The Boyz got pretty much removed to enable some shots on the Smasha Squig, but the firepower was ineffective. The Big Mek made it into melee and finished the job with his choppa, while Warboss Redtoof charged the Nobz Mob, got interrupted on, and cut down under a flurry of big choppas.


That actually turned out to be a good turn for me, though with not many units left I'd have to make the most of them. Going into my turn three I got a couple of secondary objectives that might be achievable if I pressed forward - to get into the opponent's deployment zone and to control their objective.


With really just a couple of significant units and characters, I decided to abandon my objectives and go full Waaagh! to try and claim the ones on the other side. The Boyz and Bosses powered through the shoota Boyz by the top of the Titan, while the Nobz chop their way through the other unit of Boyz, but leaving enough of them alive that they still held the objective.


After a big comeback for the Squigs in turn three, the Stompa side were suddenly on the back foot. They did however find themselves holding more objectives, putting the score pretty close. The Meganobz moved in to hold an objective and skorch Durrork the Weirdboy away. The last of the shoota boyz fell back from the Nobz, in order to give them a bit of a choice in my next turn about which objective to go for. That Shokk Attack gun Mek fired a token shot over at the Nobz. Just a casual strength 11, 6 shots! That means in addition to being super deadly in it's profile the SAG dished out a bunch of mortal wounds, reducing the Nobz to a mere two models. Who them promptly fled to morale!

That was another huge swing, removing one of my few units left - remember, we've both been missing a lot of secondary points but there's a lot on offer for holding objectives at the end of the game.


With not much left to do, Beastboss Redtoof and his Boyz pile into the Meganobz. They grind away in the last couple of turns but Redtoof finishes them on my turn five, leaving him the last boss standing, claiming an objective.


However, with a unit of sneaky grots and the remains of the yellow Shoota Boyz mob both holding objectives, the 'stompa' Snakebites took the win, 50 - 45! Orks win!

While technically I lost, my Redtoof was the last one standing, and more importantly, there was a big fight, so everyone's a winner! This was a real spectacle of a battle with that fallen titan in the middle of the board - though there wasn't much left at the end to loot it! In any case, an awesome fun game and part of a nice trip to Warhammer World where we also took a visit to the exhibition and had a tasty burger and a pint in Bugman's! Thanks for reading, and stay safe out there.

Sunday 15 May 2022

Tempest of War Battle Report - Tyranids vs Nurgle Daemons

Hello!

GW released the Tempest of War cards recently, seen as a kind of blend of the current GT pack style matched play games and the old maelstrom cards. I bought it pretty much immediately, since I used to love the Maelstrom style of random objectives and, though I do like the GT pack missions, I dislike having to build an army around your chosen secondary objectives. With that in mind I've been looking to give them a go for a while, so when I was invited back to JP's garage for a game, we gave them a go!

Having recently got a shiny new book, I wanted to run the Tyranids again, though a little wary of what new 9th ed books can do, I took a mix of mostly the units I didn't take to the Grim Dice tournament. Though that's not to say I didn't want to win - this was the site of my only previous Codex, 9th ed game with Tyranids, where they got battered by JP's Cadians, so I was out for a bit of revenge!


I took a Behemoth list again with a battalion, using a walking Hive Tyrant to lead the force, an old Hive Tyrant aka Tyranid Prime, and Old One Eye filling out the HQ slots. Two units of Termagants, two of Warriors and two of Gargoyles made the core of the force, supported by a pair of mixed Carnifexes, Raveners, Hive and Tyrant Guard, a Mawloc and the first showing of the Haruspex. Notably I took the Shardgullet relic Venom cannon on the Tyrant, thinking that traditionally gun relics are a bit mediocre...


JP took a whole load of Nurgle Daemons to the party. Two full units of Plaguebearers and a big blob of Plague Drones made up most of the numbers, supported by several units of Nurglings, a few Beasts, and led forth by the trio of Nurgle heralds and two Great Unclean Ones - an Exalted one with a 4+ feel no pain and Rotigus the special character version.

Though obviously this now represents one of the oldest and least powerful books, I was aware that the Nurgle forces were surprisingly fast and would be swarming all over objectives from the go. Notably one of the little characters was able to let the two GUOs advance and charge, which could be significant...


So here's the mission the cards gave us. Direct Assault pretty much in line with a GT pack mission, Scrambler Fields restricting pregame movement and mid game deployment somewhat from being placed near objectives (I think this version is a bit more interesting than the flat 'no forward deployment' clause they've used in GT packs) and finally a slightly funky but not too challenging deployment map.


Deployment - I stuck my snakes underground, and everything else was popped on the board. We decided the front 'gate' to the big ruin section of the board would be navigable by all the big monsters, but even with that there would be some interesting choke points.

JP won the roll for first turn, and the Daemons surged forward!


The Nurgle forces quickly moved out to cover all of the objectives aside from the one in my deployment zone, picking up some secondary points in doing so. There was also a secondary objective to Bring It Down, where It was the Haruspex. You remember the Great Unclean ones were able to advance and charge?


Yeah, that big boy made it in to melee! A few big cuts with the blade (added to some earlier smite damage) and the newly painted Haruspex went down in turn one! It did somewhat make up for it with the Acid Blood stratagem stripping five wounds off the GUO.

A glorious first round for the Daemons, though luckily Rotigus failed the charge to one of the Carnifexes, and was sitting in a similarly forward position to it's brother.


Tyranid turn one, and time for revenge. Thanks largely to the Shardgullet (damage 5?) and buffed to hit on 2s Carnifexes, my shooting and psychic took out Rotigus with little wasted effort, then Old One Eye and a 'fex piled into the remaining, wounded GUO and tore him down.

Elsewhere the Nid forces ran into blocks of Nurgle daemons and didn't make much of a dent. So that was most of the Nurgle damage potential used and removed in the first battle round, but a whole lot of board control for them requiring a bit of a grind to deal with.

Turn two for the Daemons was basically a bit of shuffling, scoring a secondary or two, and a whole bunch of primary points.


Tyranid turn two, the reserves arrived and the forces pushed in. Lots of Plaguebearers died, but not enough to push them off the points yet. I found out that Raveners are pretty tasty now, massively improved in both output and defence. Tyrant Guard also did some work.

Daemons had another quick turn three, wracking up more Primary points, putting them into a fairly significant lead at this point.


Tyranids turn three however proved to be a decisive blow. Old One Eye managed to remove pretty much the entire squad of Plague Drones, the Mawloc made it in an blended some Plaguebearers, and the Fexes/Tyrant continued to deal consistent damage. By the end of the turn the Nurgle forces consisted of just the three Heralds. Ouch!

With two turns basically unopposed to wrack up points, it ended up in a stonking victory for the Nids. 95-55.

Well, that was looking like a tight game, until it wasn't. An amazing first turn turned into a bit of a pasting as the old 8th ed rules just couldn't hang with the huge weight of quality attacks from the Nids. Stuff like 16 attacks on the Mawloc made a big dent where they might otherwise have been less impressive vs any of the Armour of Contempt factions for example. I think whenever the Daemons book rolls around it's going to have to have some massive changes.

As for Tempest of War - I enjoyed it, but I don't think this was a very good test for it. It's also worth noting that we didn't find it significantly easier in terms of book keeping than the GT missions - it just shifts a lot of the decision making from list building/the start of the game to mid game, basically every turn. Personally I'm ok with that, but I don't think it's entirely fair to say that Tempest is 'easy' matched play.

Anyway, thanks for reading and hope you enjoyed. Even though the game was one sided, we still had fun - it's always a treat to play on a beautiful table with two fully painted armies after all! Stay safe out there!