Back to battle reports, back to Tyranids against John's Chaos. This one is a little bit different, as we used the Open War cards, which were completely new to me. (John had recently been to a tournament at Warhammer World that used them and presumably enjoyed it.) We played at 2000 points, and let the cards decide the mission. Turns out it was short edges for deployment, with a central objective that could be carried off like the Relic. The twist was that our forces were split into three, deploying up to half of the units, then the other portions coming in on turn 2 and 3. Adding up power level we found my list was slightly lower, so I got a ruse card - if my warlord were killed, the rest of my army would get a bonus (I think it was reroll wound rolls of 1). Also to note, the game would automatically end after turn 5.
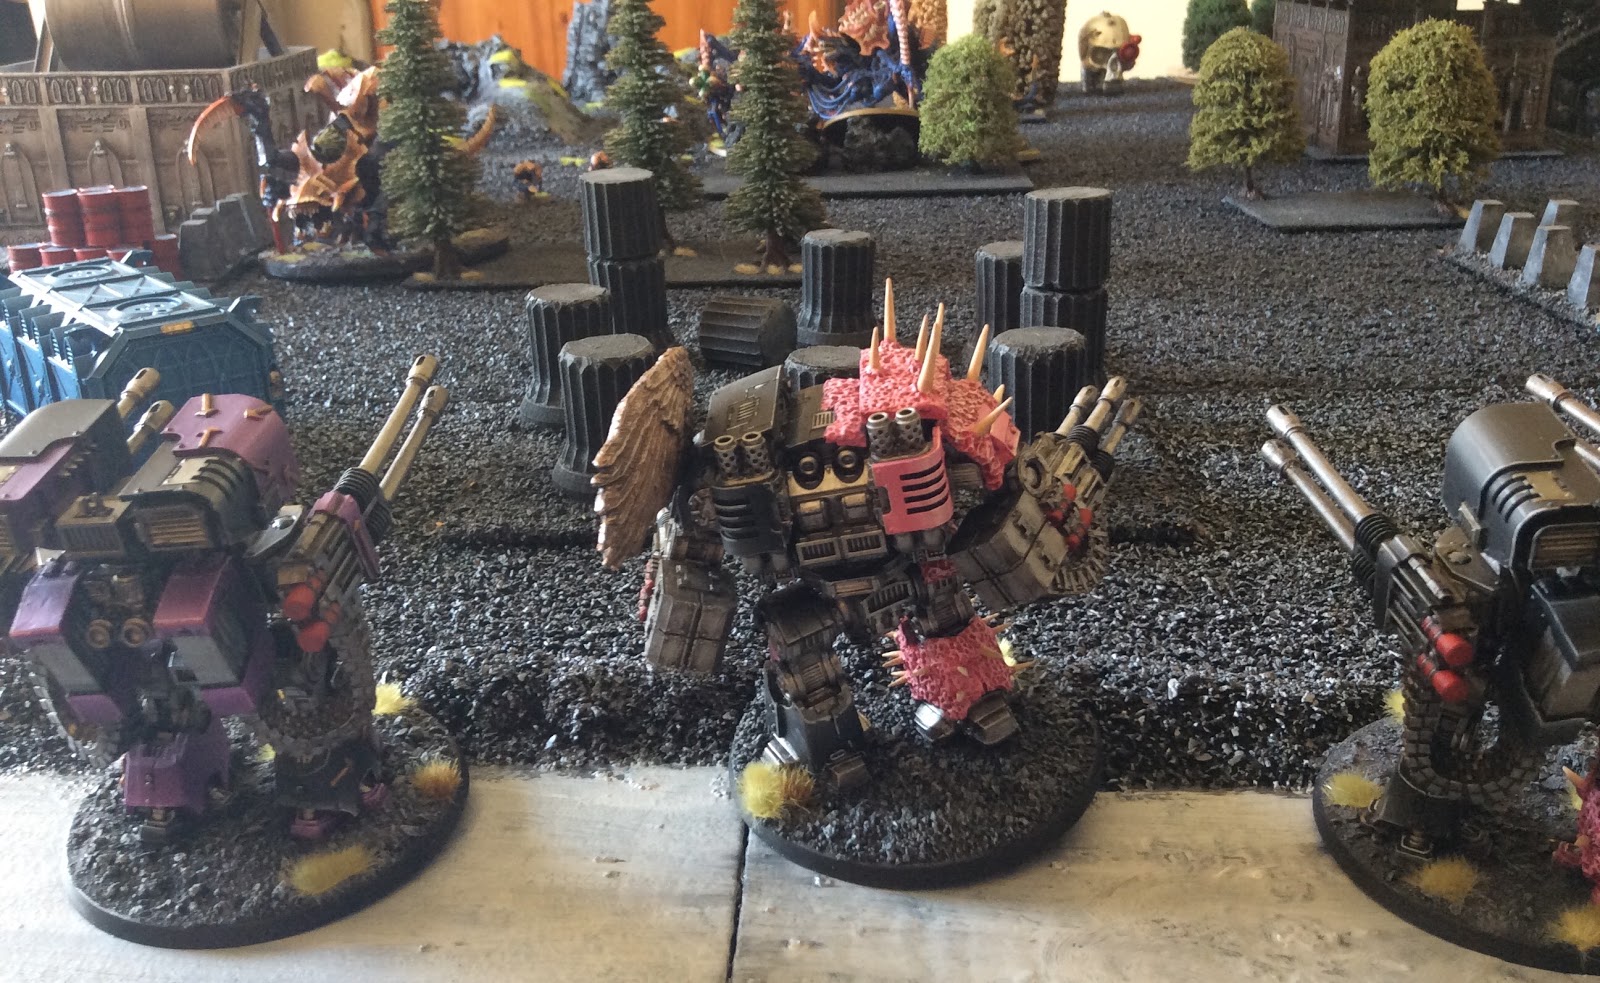
This game was also the first time John's new table was unveiled. It's all pretty and textured and in 6 sections so you can move bits around. A bit of a pain for rolling dice on so we used a tray, but that does have the bonus of not seeing dice all over the board in the pictures.
Lists:
Tyranids, Hive Fleet Jormungandr, Battalion, Spearhead, Superheavy Auxiliary
HQ: Malanthrope (Warlord Trait: Insidious Threat), Hive Tyrant with claws and the Miasma Cannon, Hive Tyrant with wings, claws and brainleech devourers.
Troops: 20-ish Termagants, 10 Termagants, 10 Termagants
Elites: 3 Venomthropes
Heavy Support: Tyrannofex with acid spray x2, Trygon, Trygon Prime
Lord of War: Scythed Hierodule
Chaos, Emperor's Children Spearhead, Renegade Knights Superheavy Detachment
HQ: Chaos Lord, Sorcerer (Warlord trait and stuff)
Heavy Support: Deredeo Dreadnought with Butcher cannons and missiles x2, Leviathan Dreadnought with Butcher cannons
Lords of War: Renegade Knight Acheron, Renegade Knight 'Gallant', Renegade Armiger 'Warglaive'
I deployed my Tyrannofexes, the walking Tyrant and the bigger gant unit around the Malanthrope. I chose to have the Trygons come in next, along with the little gant units in the tunnels and the Venomthropes who I spent a command point to also put underground. Last would be the flyrant. John popped the three dreads in a deep firing line and the Acheron on the edge of the deployment zone. The characters and Armiger would come in next and the melee knight would turn up on turn 3. John managed to get first turn, and we were off.

The Acheron moved up, then everything opened fire. Thanks to the Malanthrope, the Jormungandr trait and high toughness, the targeted Tyrannofex survived on a couple of wounds remaining.

My turn, and I decided that Acheron must go! The Hierodule broke cover and moved towards it, while the Termagants strung out and the monsters shuffled where appropriate. Bioacid melted some wound off the Knight, but still left the Hierodule with work to do.

The Hierodule took the overwatch from the big flamer like a boss, and charged comfortably into melee. Popping Voracious Appetite, those big Scythes managed to bring the big knight down. This put my force considerably closer to the centre than John's dreads.
The Scythed Hierodule had done his job, but now he had to face a fearsome gunline...

Unsurprisingly, with buffs from the newly arrived characters and an assist from the Armiger, coming on from a flank (part of the rules of the twist in play), the Hierodule fell. However he had effectively forced John's force to keep back, and the central objective was now well within my reach. (It's the fallen marine amongst the trees.)

My turn 2, and the diggers arrive. Trygons pop up to form a barrier in front of the objective, screened by Termagants and protected by Venomthropes. On the other flank the Termagants strung out to ensure a Knight could not walk on there, while the Tyrant left the safety of the Malanthrope in order to do the same job behind the Trygons. My slow moving 'castle' moved up slowly, and there was a little bit of token shooting. Time to weather the storm...

John's turn three, and the butcher cannons lit up the Tyranids. The Knight was forced to move on from John's edge, the Armiger moved up but the dread line stayed back and received their buffs. The Venomthropes were first to go, all brought down by a single dread. Next the Prime dropped, while the Termagants around it were killed off with missiles. Some long range fire killed off the injured Tyrannofex for good measure. Finally the Armiger charged the Trygon and the last of it's remaining Termagant screen, killing off the monster before it could strike and leaving the Termagants to flee, now out of Synapse range. That was brutal, but I wasn't out of it just yet.

My turn 3, and the Flyrant arrived near the dread line. The Malanthrope finally reached the objective and the remaining Termagants ran in front to screen. Shooting and Psychic dropped the Armiger down to a single wound, but the infernal machine would not fall! In what might have been the play of the game, the Flying Tyrant got a 12 inch charge on a Deredeo and managed to pile in to tie up the Leviathan as well, John realising too late his error in positioning them so close.

John, now running out of time, focused his remaining firepower on removing the Termagants, reducing them to a single model (who survived with the use of a command reroll!) The Armiger managed to get a long enough charge to get into the Malanthrope by piling in to the gant at a weird angle, but failed to kill it. In return I sadly failed to kill the 1 wound Armiger with the Malanthrope.

Elsewhere the Knight charged the Tyrant, but somehow failed to kill it. I was all ready to lose the Tyrant here but it's 4+ invulnerable saves held out, with a bit of command point help. More importantly the Knight had to stay back rather than moving further up the board.

In my turn 4 I moved the Malanthrope back and tried to shield it with everything. The Flyrant managed to kill the Armiger in the psychic phase, while the one remaining Termagant moved directly in the Knight's path to hopefully force it to take a slightly longer path to the Malanthrope.

John's shooting phase was expectedly brutal. The two Tyrants and the gant were killed, leaving the Knight looking to charge the Tyrannofex and also hit the Malanthrope. We measured it up, and the Knight was just outside of 12 inches of the Malanthrope, and therefore unable to declare it a target of a charge. That one Termagant had just about forced it's movement to deviate enough to keep it at bay! The Knight got a big charge anyway, crushed the Tyrannofex with the fist and attempted to throw it at the Malanthrope, but it wasn't enough damage to kill the warlord.

And with that, my last model remaining floated out of combat with the Knight, carrying the objective with it (apparently you can do this in the Open War version of the Relic). Victory for the Tyranids, just about!
In the end this was a fun game, a bit of a shooting gallery for John but in the end playing to the mission paid off. In hindsight John thought he should have put both his Knights on in turn 1, which I think I agree with, it would have been very tricky to stop him rampaging all over the objective had he done so. The Open War cards were a bit random, but also quite fun, though my ruse went unused - I considered throwing the warlord in to get killed, but in the end I needed an untargetable character too much. I think we will give them another go soon.
No comments:
Post a Comment
Due to spam messages I’m trying to use the comment moderation system. Hopefully this works!