Hello!
This is a battle report from Double Trouble 3 - a 40k doubles tournament with randomised partners every round. Each player has 875 points, making 1750 points a side in total. The missions are all the same, scoring is based on holding objectives at the end of every turn and on the points costs of all the units your side killed at the end of the game. These are scored separately to give totals in Victory Points and Blood Points respectively. For more information, go here.
In round 2 the Tyranids (Hive Tyrant, Malanthrope, Termagants, 2 lots of Ripper Swarms, 2 Tyrannofexes) were assigned Duncan's Death Guard, made up of Typhus, a unit of Plague Marines with blight launchers and assorted melee weapons, a Blight-Hauler, a Bloat-Drone with the fleshmower and a sizable unit of chaos spawn. Team bio-hazard then!
On the other side of the table Ian's Harlequins (2 Troupe Masters, A Solitaire, 3 Troupes and 3 Starweavers) teamed up with Luke's Khorne Daemons (Karanak and Skarbrand leading multiple Flesh Hound packs, Furies and Bloodcrushers.) Both rather striking looking forces, with a fast moving melee focus. Duncan and I definitely wanted them to come to us. In a rare event for 8th edition, Ian and Luke won the roll off and elected to go second.
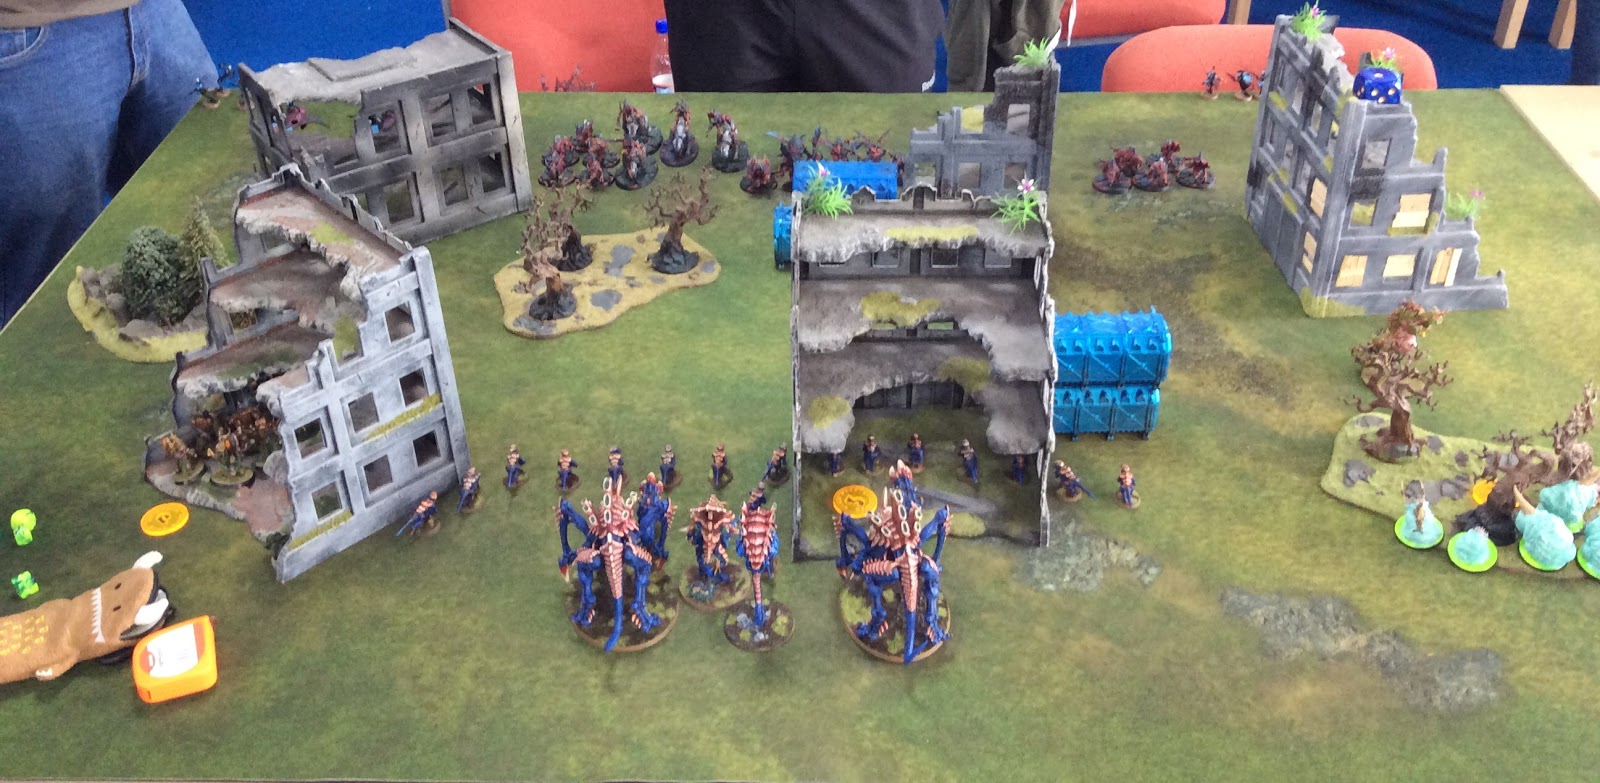
Deployment was largely based around covering objectives with a solid Tyranid block in the centre and speedier Death Guard elements on the flanks. It's an odd day when Nurgle is the fast part of the army.

Our first turn involved a little shuffling and some odd shooting with what little guns were in range. Moving swiftly on...

The Bloat-Drone proved a tempting target for some hounds and Harlequins along with their Troupe Master.

Luke moved his blob of fast moving assault daemons up the centre, wisely keeping them 18 inches from my closest Tyrannofex.

Flesh Hounds and the Harlequin Troupe make it into the Bloat-drone, but the Troupe Master fails to get in. Even with his rerolls to wound the Bloat-drone survives more or less intact.

On the left flank more Hounds charged into the Blight-hauler. Another Harlequin troupe tried to charge in first but even ignoring the terrain with their flip-belts they couldn't make the distance. Ian's dice were not giving him much help at this stage!
Our turn was successful in terms of killing things, but we didn't move much. I shuffled forwards to get the Acid Sprays in range, and melted some daemons, including all the Bloodcrushers. I also had the Rippers dig up behind our lines to deny Skarbrand a nice landing spot and hold an objective. On the left flank not much happened, while on the right Typhus materialised, destroying the Troupe with psychic powers before failing to charge the Master. The Bloat-Drone and charging Spawn made short work of the Hounds.

Luke's remaining central force closed onto the Termagant screen, looking to take out objective secured units and tie up my monsters via pile in.

The left flank was turning into a slapfest with the Hounds and Blight-Hauler unable to do much to each other, and the Plague Marines and Harlequins getting stuck in with each other as well.

Ian's Solitaire came from nowhere with a Blitz move through terrain to get a charge off on my warlord Malanthrope, causing enough wounds to kill it off and pile in to the Tyrant and a Tyrannofex to try and stop them shooting. The Termagant screen held firm however, keeping the Furies and Karanak from piling in to my monsters.
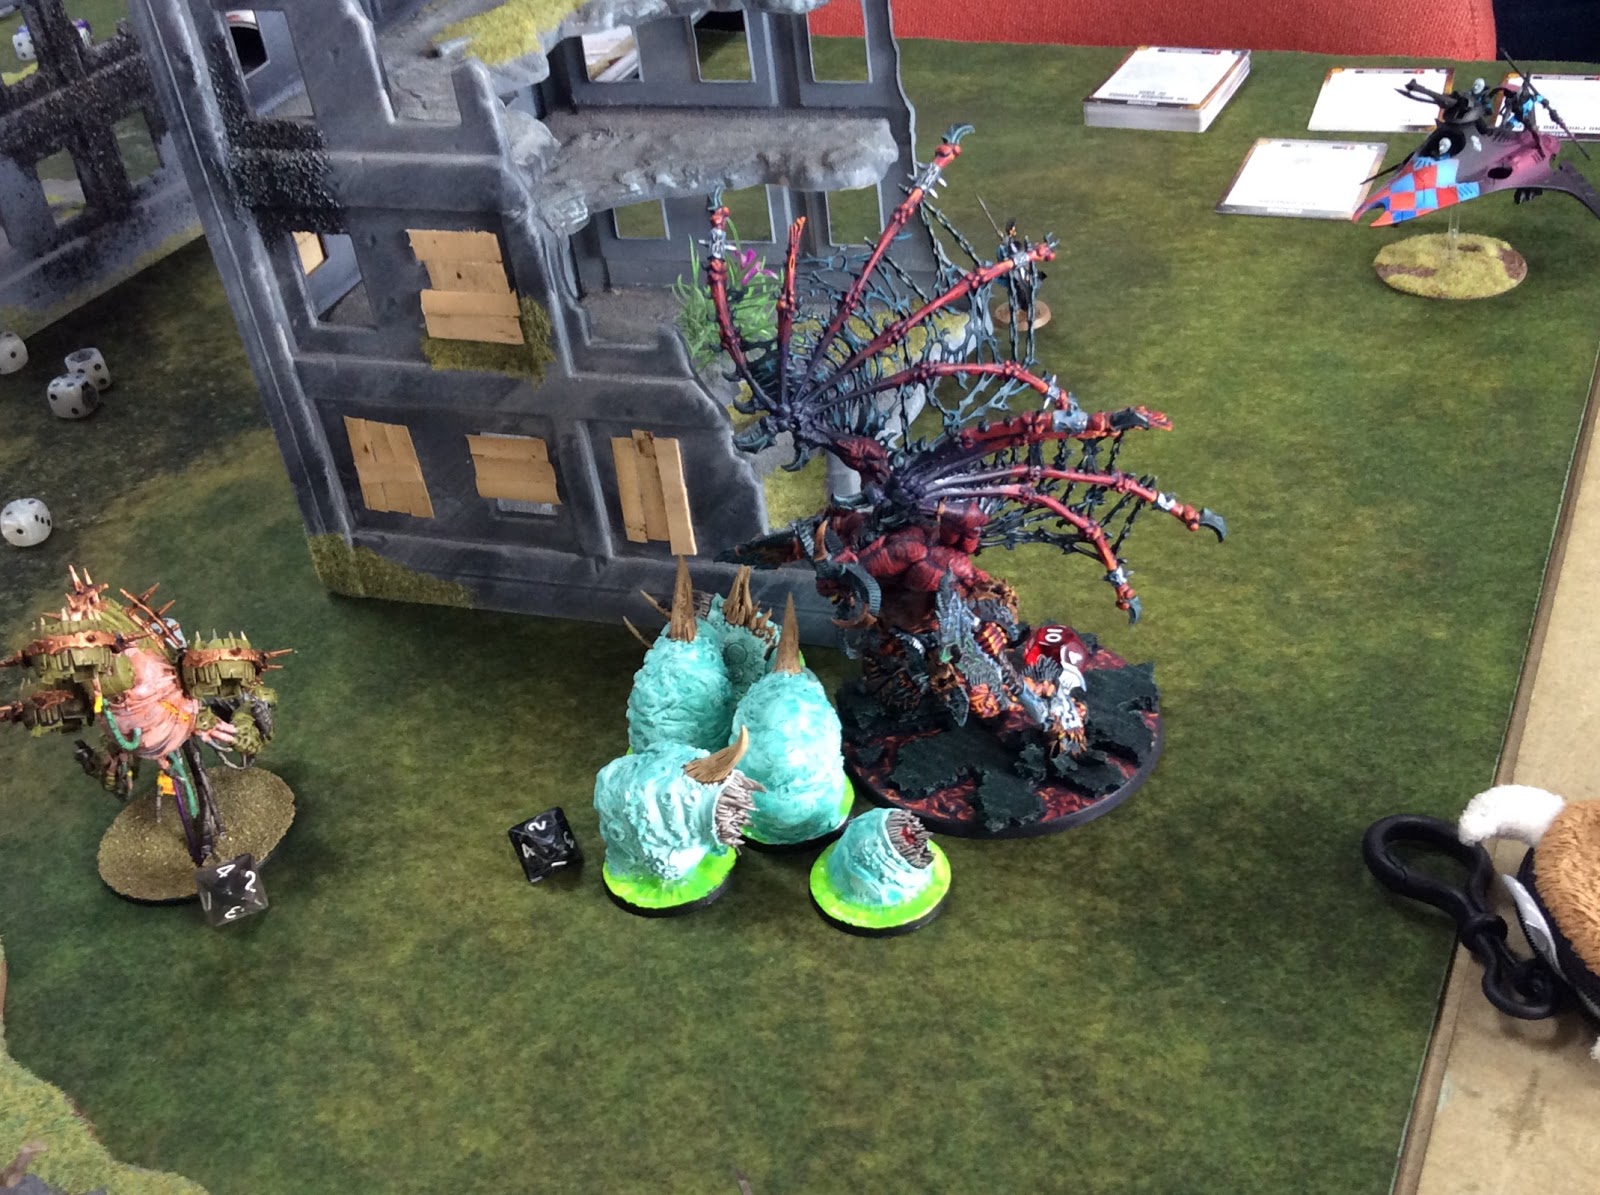
On the right flank Skarbrand appeared and took the fight to the Chaos Spawn,who I think managed to put 6 wounds on him after interrupting. You don’t see Spawn that much but they are pretty strong! He murderated his way through them, leaving one badly wounded survivor.

In our turn a successful Smite from the Hive Tyrant killed off the Solitaire, leaving both the stationary Acid fexes to fire at full effect. Karanak and the Furies were turned into daemon-goo. The Termagants moved up towards an objective and a unit of Harlequins that were still embarked on their transport.

Duncan combined some psychic powers and stratagems to deadly effect, allowing Typhus, the Bloat-Drone and the last remaining spawn to kill off Skarband. First time I've seen the chaos familiar stratagem used in a game. I should remember it exists in future!

With time ticking, Ian focused on claiming objectives. One of his remaining Star Weavers moved up to shoot, then charge the Ripper swarms (who, lets remember, are toughness 3 with a 6+ save and leadership 4) but his dice betrayed him again and they all survived. The Starweaver would promptly be killed by Duncan's forces in the next turn. Elsewhere the other Starweavers did minimal damage to the Hive Tyrant.

My forces moved up, melting a Starweaver and most of it's occupants. I tried to advance Termagants onto an objective but they didn't run fast enough. The melee on the left flank eventually ended with a couple of hounds and some Harlies left hiding from the Tyrannofexes. On the right the Bloat-Drone chased down the Troupe Master that had run away from Typhus and aimed to find out 'will it blend?'. Apparently yes.
With about 5 minutes left at the end of turn 4 we decided to 'play' a further turn with the agreement that no one moves or shoots anything, so that we'd each get a bonus 3 victory points, and the game ended there. Luke and Ian were definitely up against it in this game but Ian played especially cautiously, which paid off as the Harlequins still had a number of assets left to hold objectives after initially looking like a tabling might have been on the cards. This paid off for them, just pipping us at 16 victory points to 15. Not so much with the blood points however, as Duncan and I picked up 1398 to their 742.
Another fun game, played in great spirit. This Tyranid force was proving very tough still, even though the Malanthrope spore cloud and the Jormungandr adaptation provided very little assistance in this one. I was also noticing that I was fairly command point independent - Duncan used the vast majority of ours in this game to good effect while my Tyrannofexes just melted everything they could get close to without having to use any stratagems on them.
No comments:
Post a Comment
Due to spam messages I’m trying to use the comment moderation system. Hopefully this works!