More Titanicus! And this time, it's a blog crossover episode, as I teamed up with Heretic Deb to run a pair of Mortis maniples into the forces of Legio Astorum, commanded by Dave. (Dave and Deb are the couple behind Forsters Foundry who 3D printed the cool Lunar Auxilia minis I painted a little while back.) As usual, AdTit games are a bit of a blur of back and forth decision making, so I'm leaving out a whole load of details!
We (perhaps optimistically, given we were all pretty rusty) played a 2000 point game, using the Titanicus Open War cards, which are rather cool. Having previously discussed after my last game how the standard objective cards are a bit lacking, it was a nice change. We also went for a couple of stratagem points each, and team Mortis decided on the orbital lance strike, primarily because it was cool.
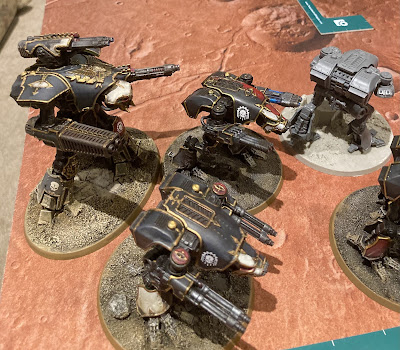
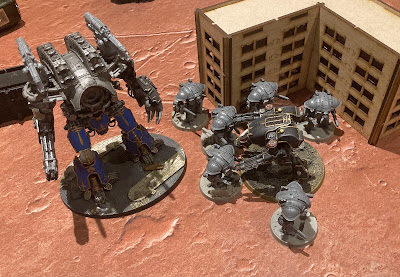
The Mortis team consisted of a minimum Axiom maniple (Warhound, Reaver, Warlord) for Deb and a Venator Light Maniple (Reaver, three Warhounds) for me. We had an assortment of weapons with most loaded up for shield stripping, while the Warlord and my Reaver were rocking heavy duty weapons, Volcano cannons, plasma and melta between them. I also had one of my Warhounds with the always fun flamer and plasma.
The Astorum force had a full Precept maniple, which allows for a chosen order at the start of the turn to be passed on a 2+ by everyone in it. The maniple consists of a Warlord, Warbringer, Reaver and two Warhounds. They also brought along a big banner of six Questoris Knights, which are a right pain!
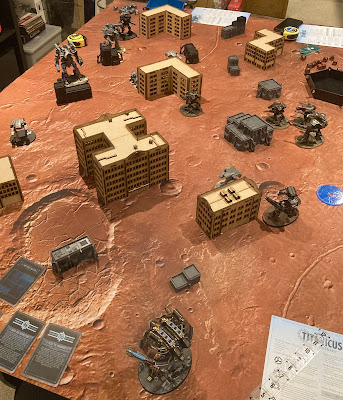
We ended up with smallish deployment zones that were each half a table edge, in opposite corners, with a mission to just kill everything. Our secondary mission was to hold table quarters, while the Warp Runners had to hold a building in their deployment zone.
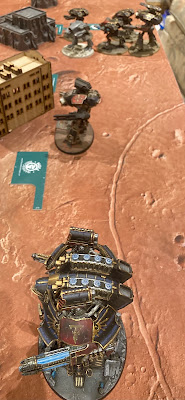
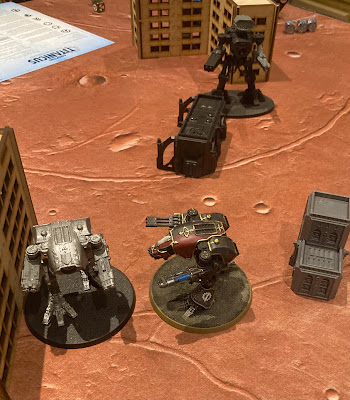
We deployed with a Warhound gang in the middle to charge through the city ruins, and the bigger Titans taking some cover, the Warlord on the flank to swing round and secure the near quarter.
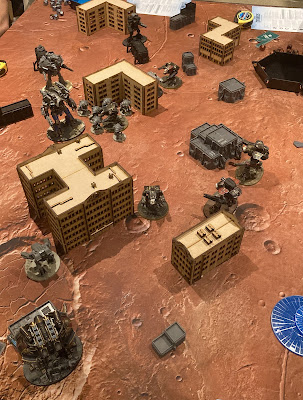
Turn one featured a lot of Full Stride orders and Titans moving into position. Notably the Warbringer stepped back to make the Mortis Warhound gang a target, combining with the Reaver to strip some shields and leave some of them looking vulnerable.
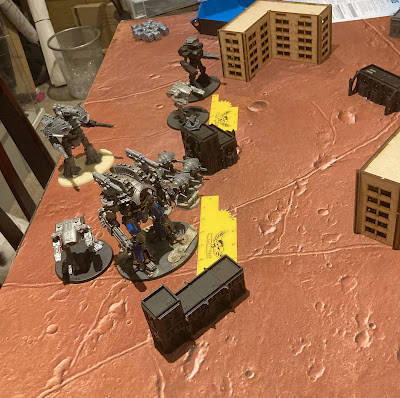
Into turn two, we used the Dominant Strategist Princeps Senioris trait to take priority in order to get the unshielded Warhounds out of sight of the big guns. We also started things off with the lance strike on the knights, bunched up and cowering behind a building, but it was a bit of a whiff.
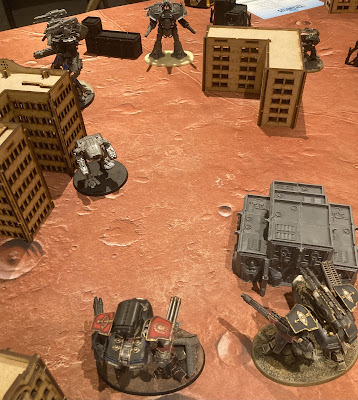
Speaking of those Knights - this Warhound may have dodged heavy firepower but it was about to be torn apart by the banner! They chopped away and took it down to critical.
Elsewhere the unshielded Warhounds were not as lucky, both falling. The one fighting the Knights got taken out embarrassingly by the Warlord's defence laser, and sadly did not explode, instead wild firing backwards at my Reaver! This did leave the Knights open to the Reaver battery, and when the smoke cleared there was only one left. Note - Knights do not like Melta cannons!
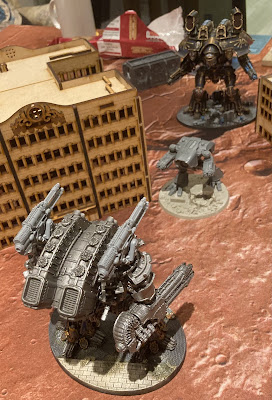
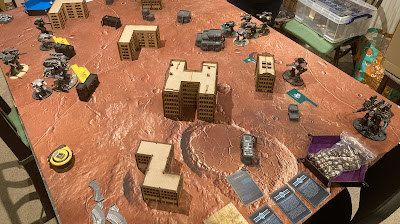
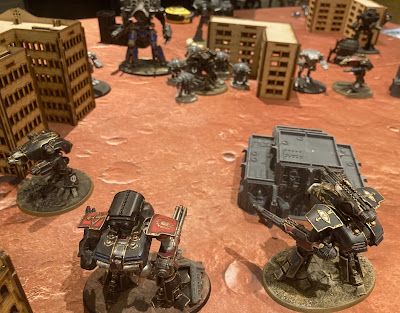
Going into turn three and some interesting duels and shootouts were developing. The Mortis Warlord finally cleared the buildings to start firing, blasting away at it's counterpart - though in spite of everything the shields held. The Axiom Warhound went and got in the way to dutifully receive a powerfist to the face for it's master.
Our Reavers were being harassed by the enemy Warhounds, eventually killing one of them but allowing Deb's one to be lit up by the Warbringer and take serious damage all over. The last Knight got caught by a blast template and removed, while my last Warhound zipped around to get beside the Warbringer and within range of the Astorum's protected building.
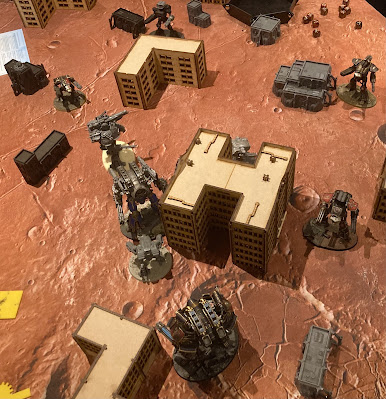
Turn four saw some shuffling, including the damaged Reaver shuffling off to cover. Mine started to take some heavy damage as well, but the Warbringer took some from the Warhound as well, and the enemy Warlord did eventually lose it's shields, but the Mortis one was shedding it's shields like they were going out of style!

Sadly at that point it was time to call the game and pack up. At that stage we had killed a Warhound and six Knights to two Warhounds for Dave, and some critical damage here and there. He also partially controlled his building, while we didn't hold enough quarters to score, giving him a narrow victory. We talked through a few options for what might have happened in turn five, but there would be too many variables to really call a result so I think we settled on a draw.
In any case, a very close, fun game with cool hosts! There was some talk of perhaps running a campaign in the future, and possibly the option of a get together with multiple AdTit people (I know The Claw has been thinking of something like that as well) - so watch this space! Whatever happens, I'm sure there will be more Titanicus on the blog in future. Hope you enjoyed reading, and stay safe.
No comments:
Post a Comment
Due to spam messages I’m trying to use the comment moderation system. Hopefully this works!