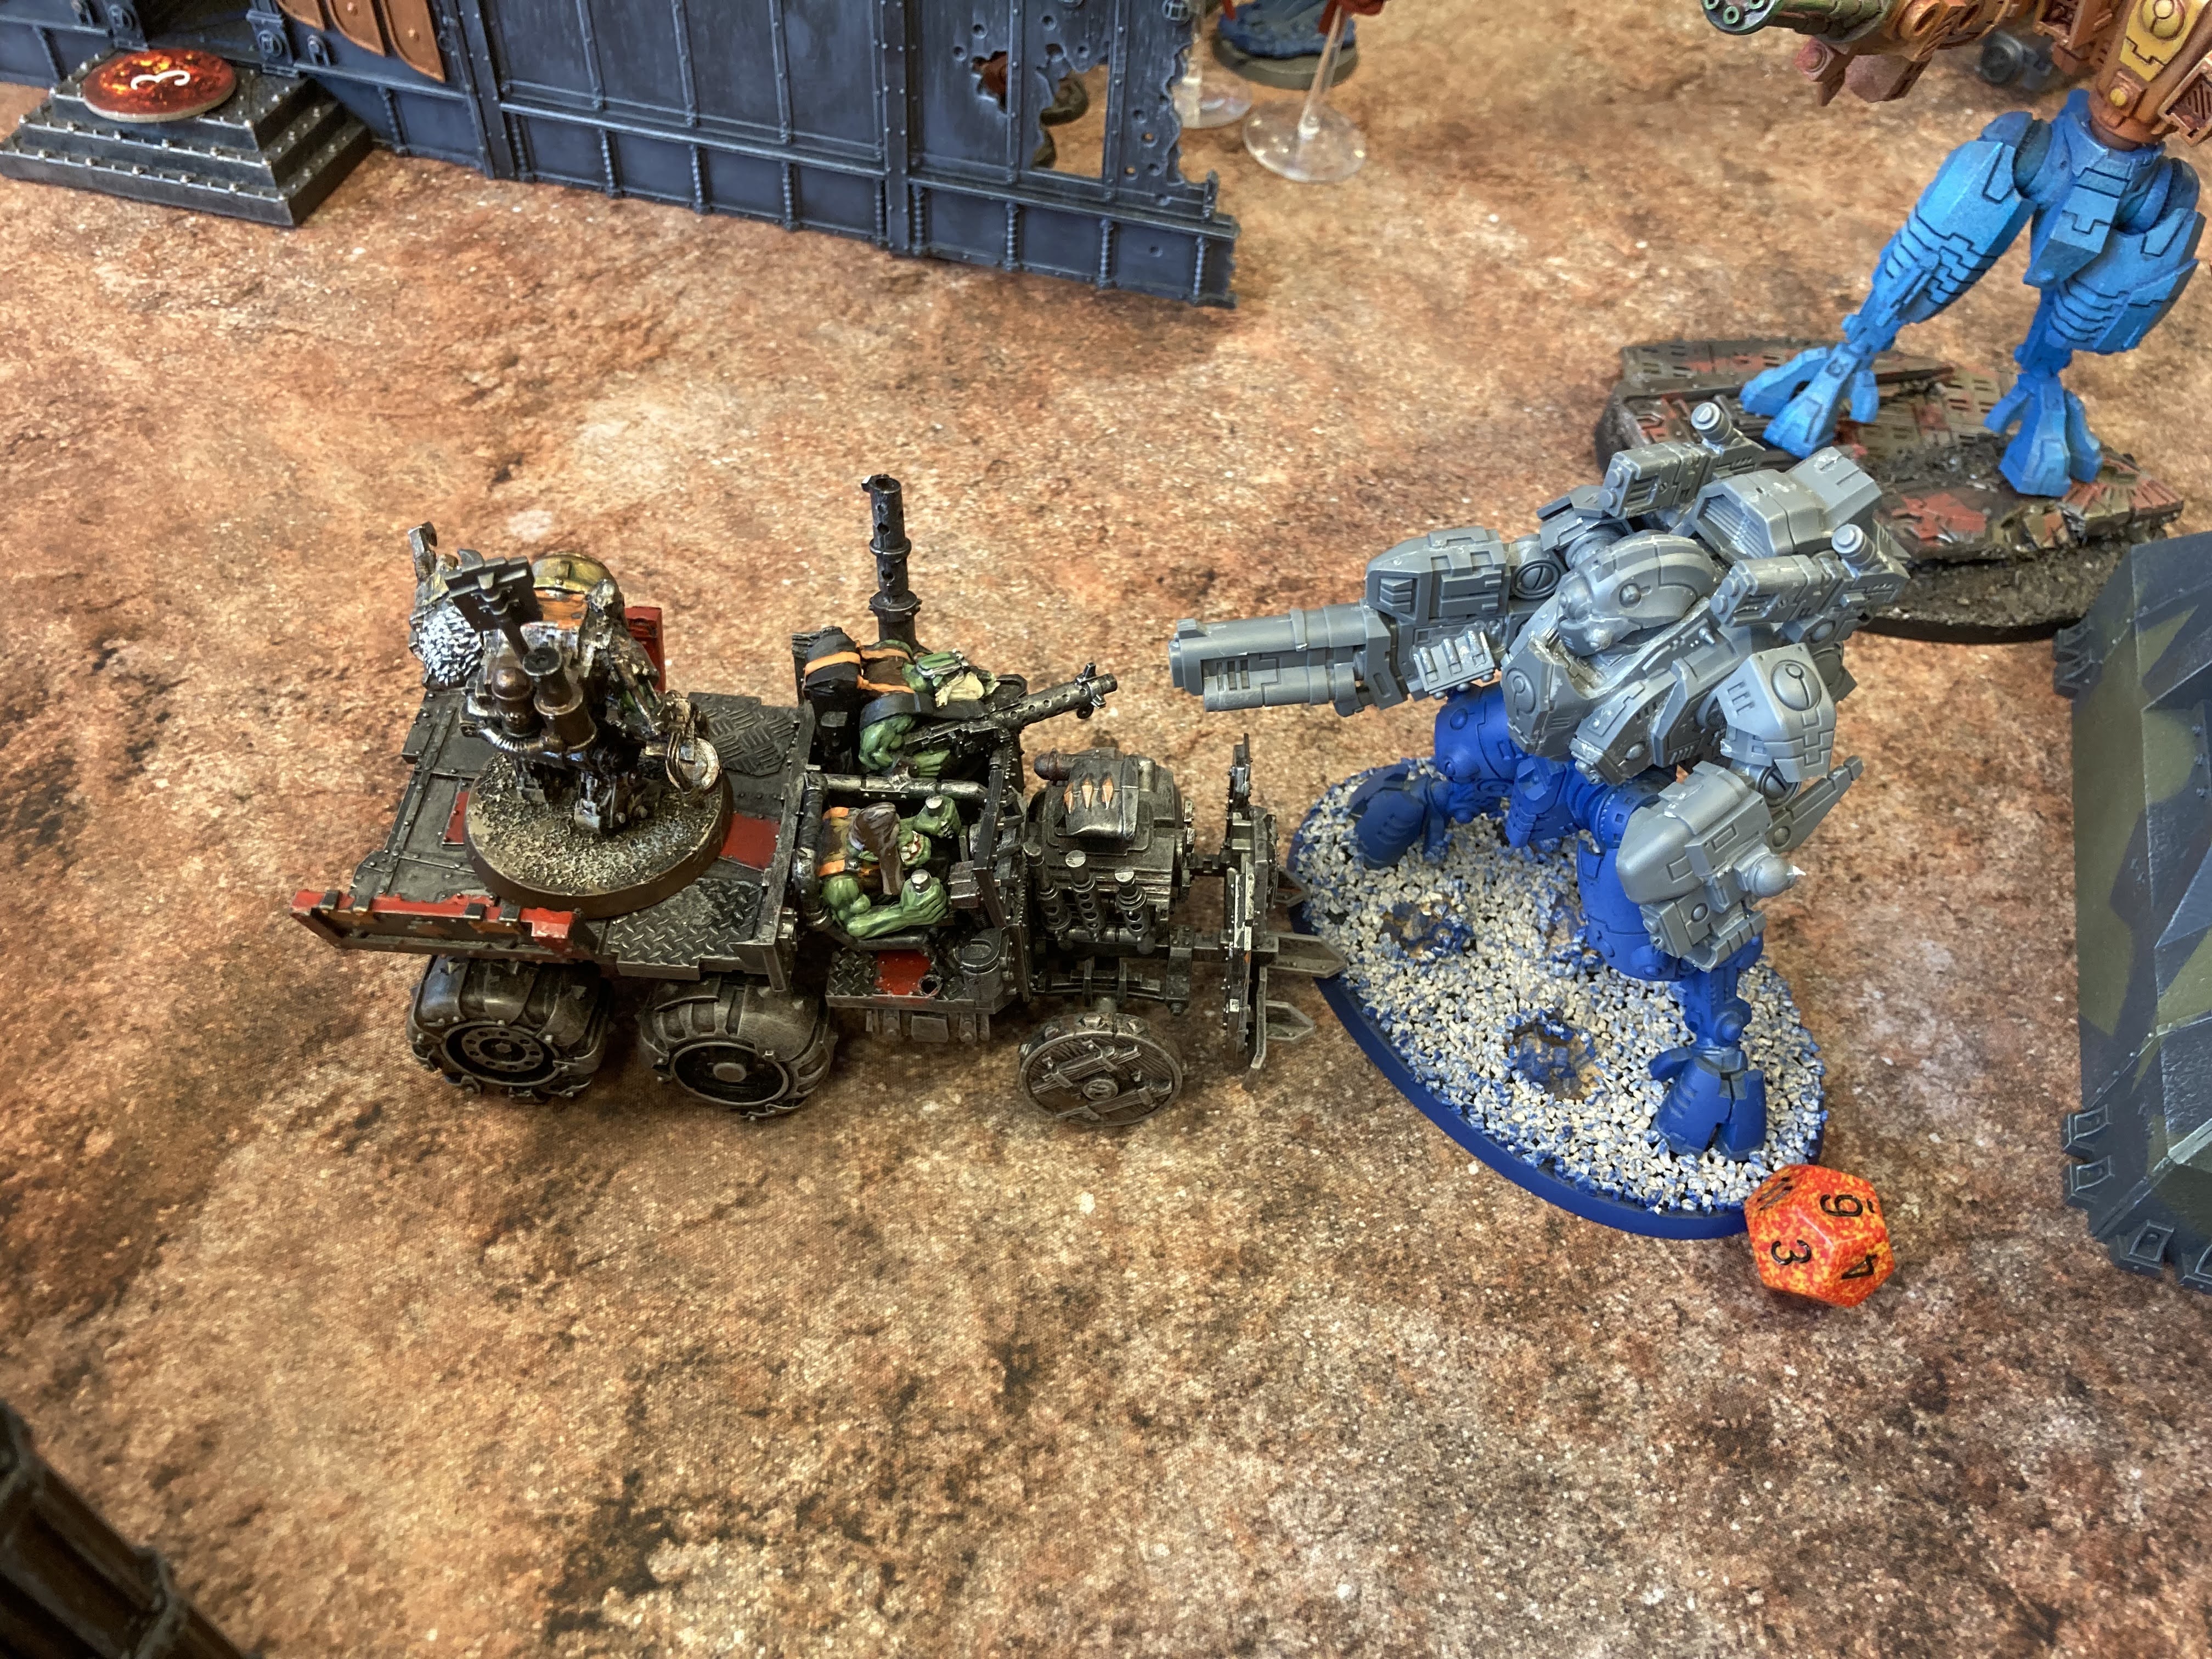
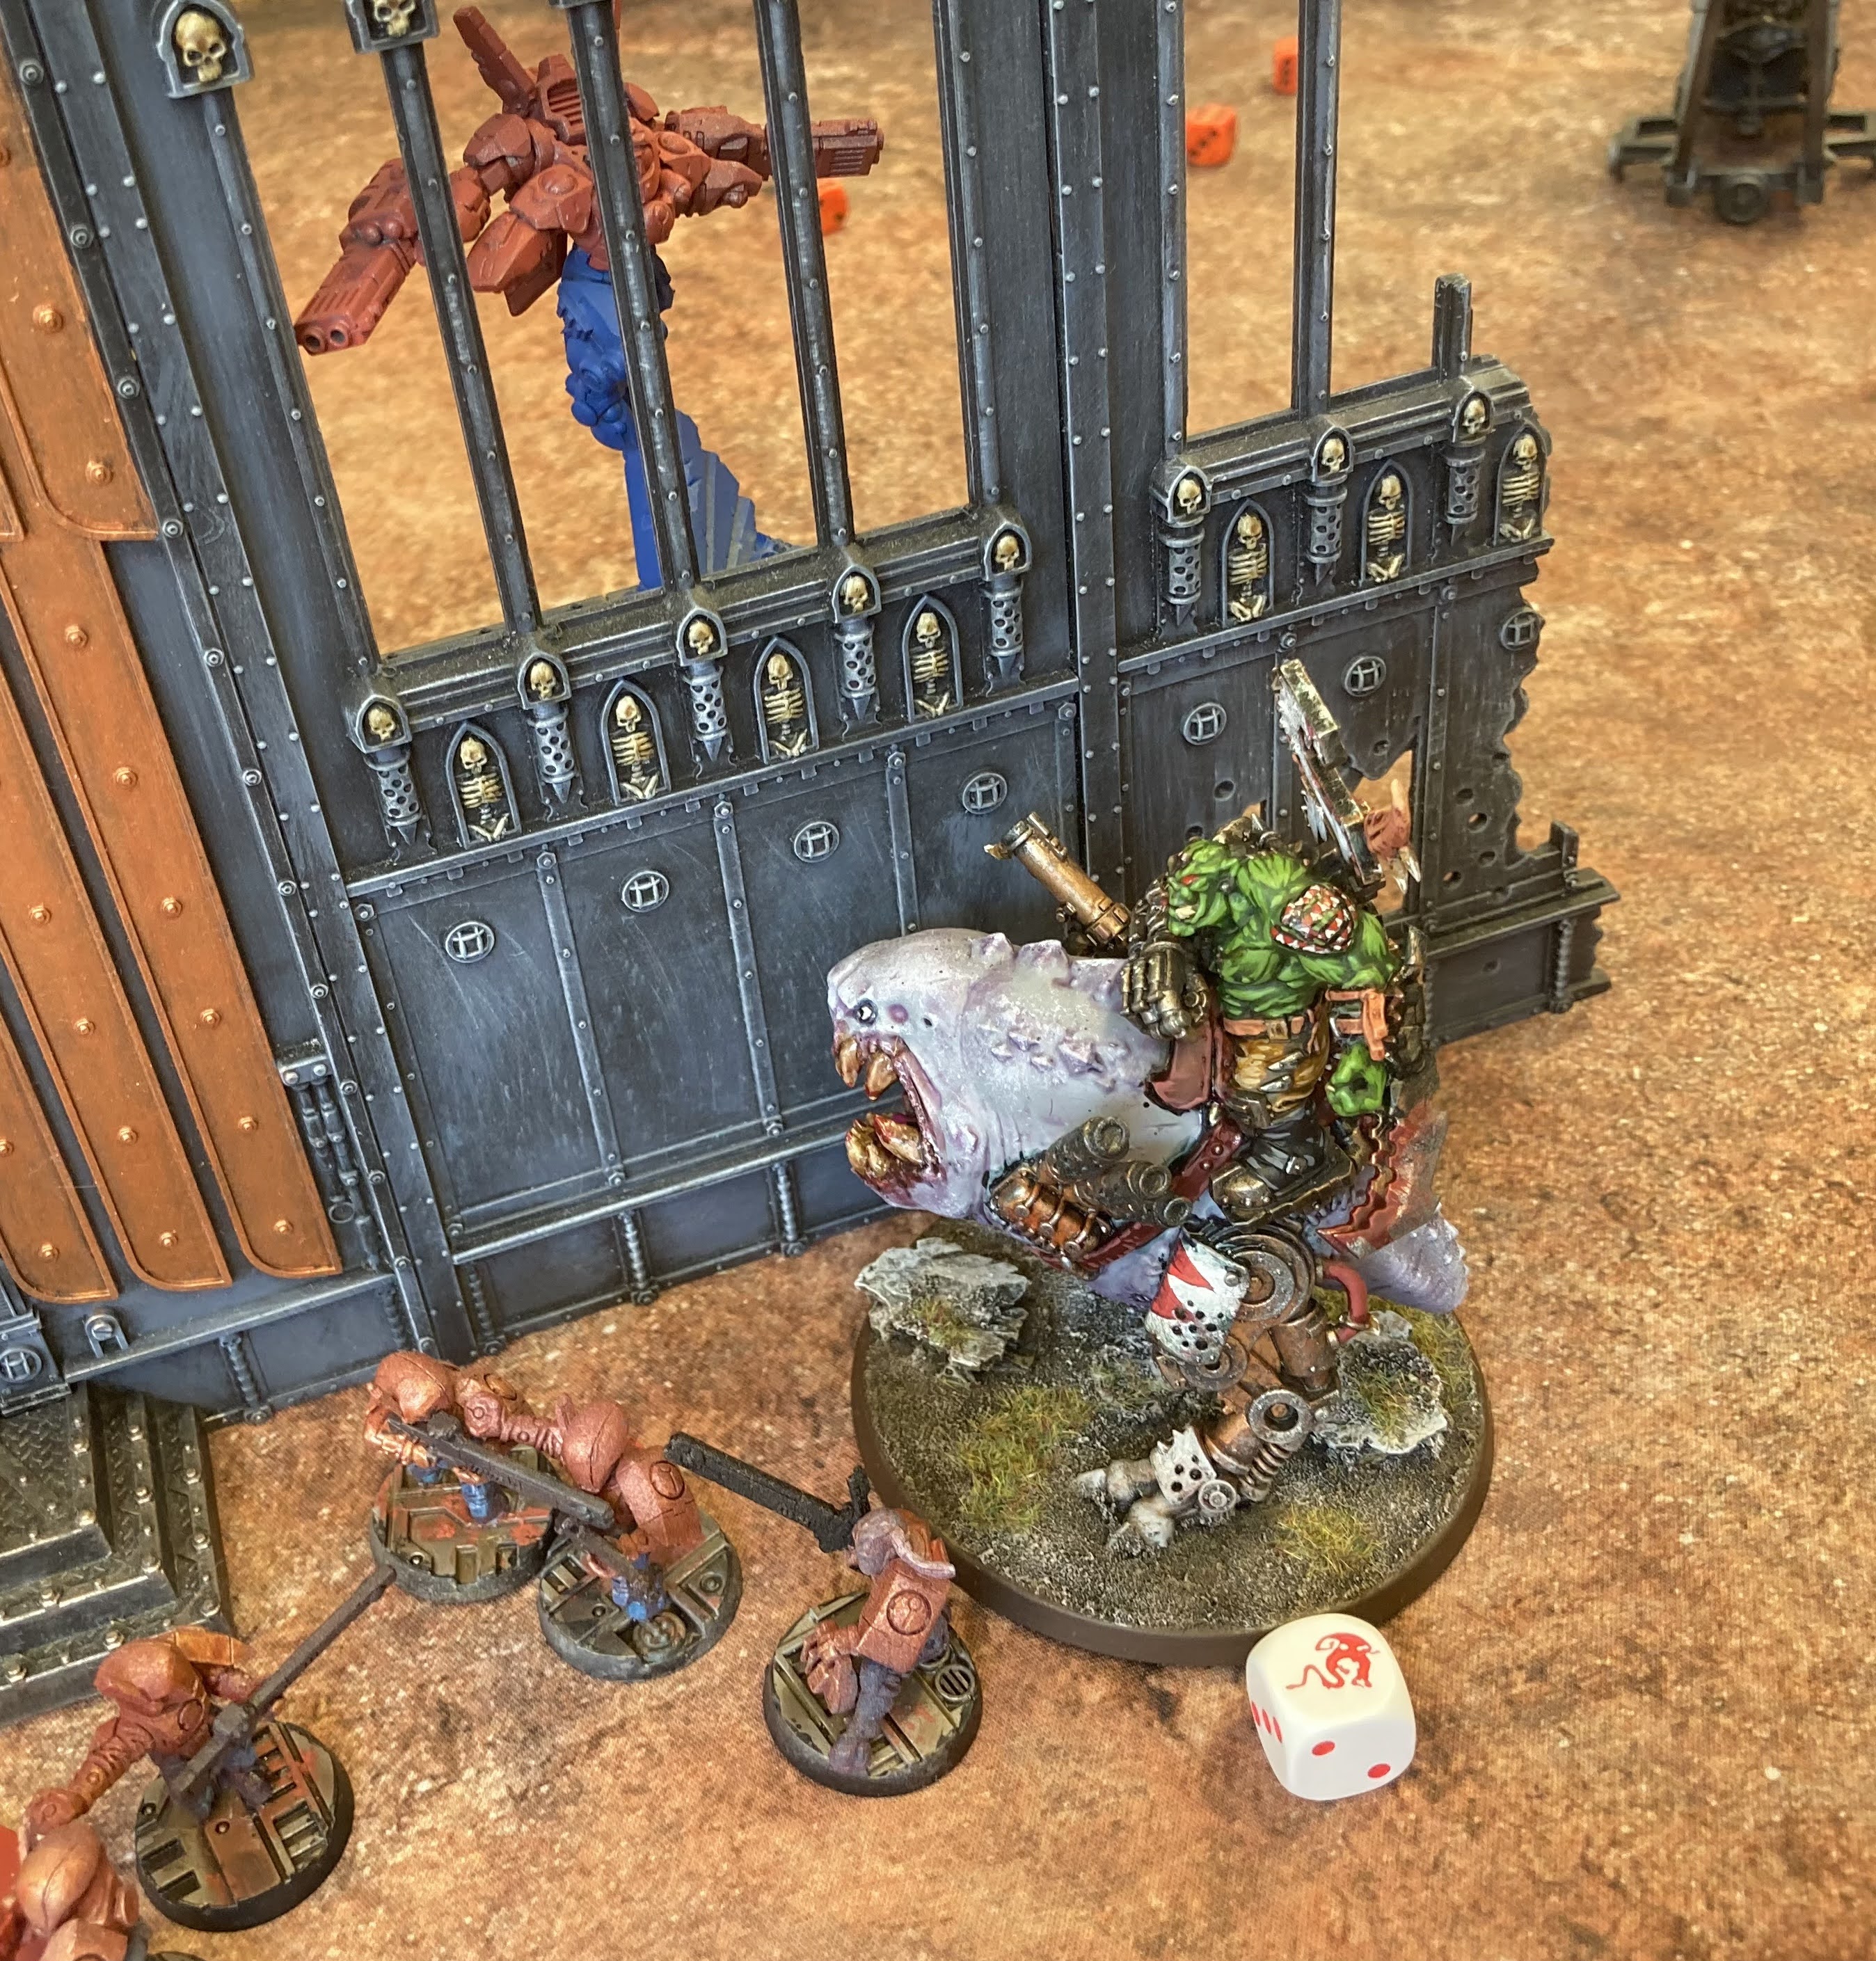
Monday, 11 April 2022

Learning Age of Sigmar Part Three - Seraphon vs Khorne

Hello!

Here we are at part three of my little series of mini-battle reports for my attempts to learn how this game works. So far I've pretty much learnt the basic rules, remembered most of my army rules and started to work out how to play around the double turn - I think! As with the first and second game, this was 2000 points matched player against Dargiris and his chaos forces - this time pure Khorne!


My Seraphon force was basically the same as last time, I just swapped a spell on the Slann. Coalesced, Coatl's Claw, Oldblood on Carnosaur, Oracle on Troglodon, Slann, Bastiladon, 2x10 Saurus Guard, 3x5 Saurus Cavalry, 2x10 Skinks.

The Khorne army consisted of a whole host of mortal infantry units of various flavours of blood and skull related names, 30 Bloodletters, three Bloodcrushers, assorted characters and a big old (and by that I mean metal) Bloodthirster. As before I wasn't super worried about remembering all the rules or names of my opponent's units, just general broad strokes for now.

We played the Marking Territory mission from the General's Handbook, the first one, featuring four objectives in a square with two in each deployment zone. If you control all four from round three onwards, you just win. Otherwise it goes to secondary scores.


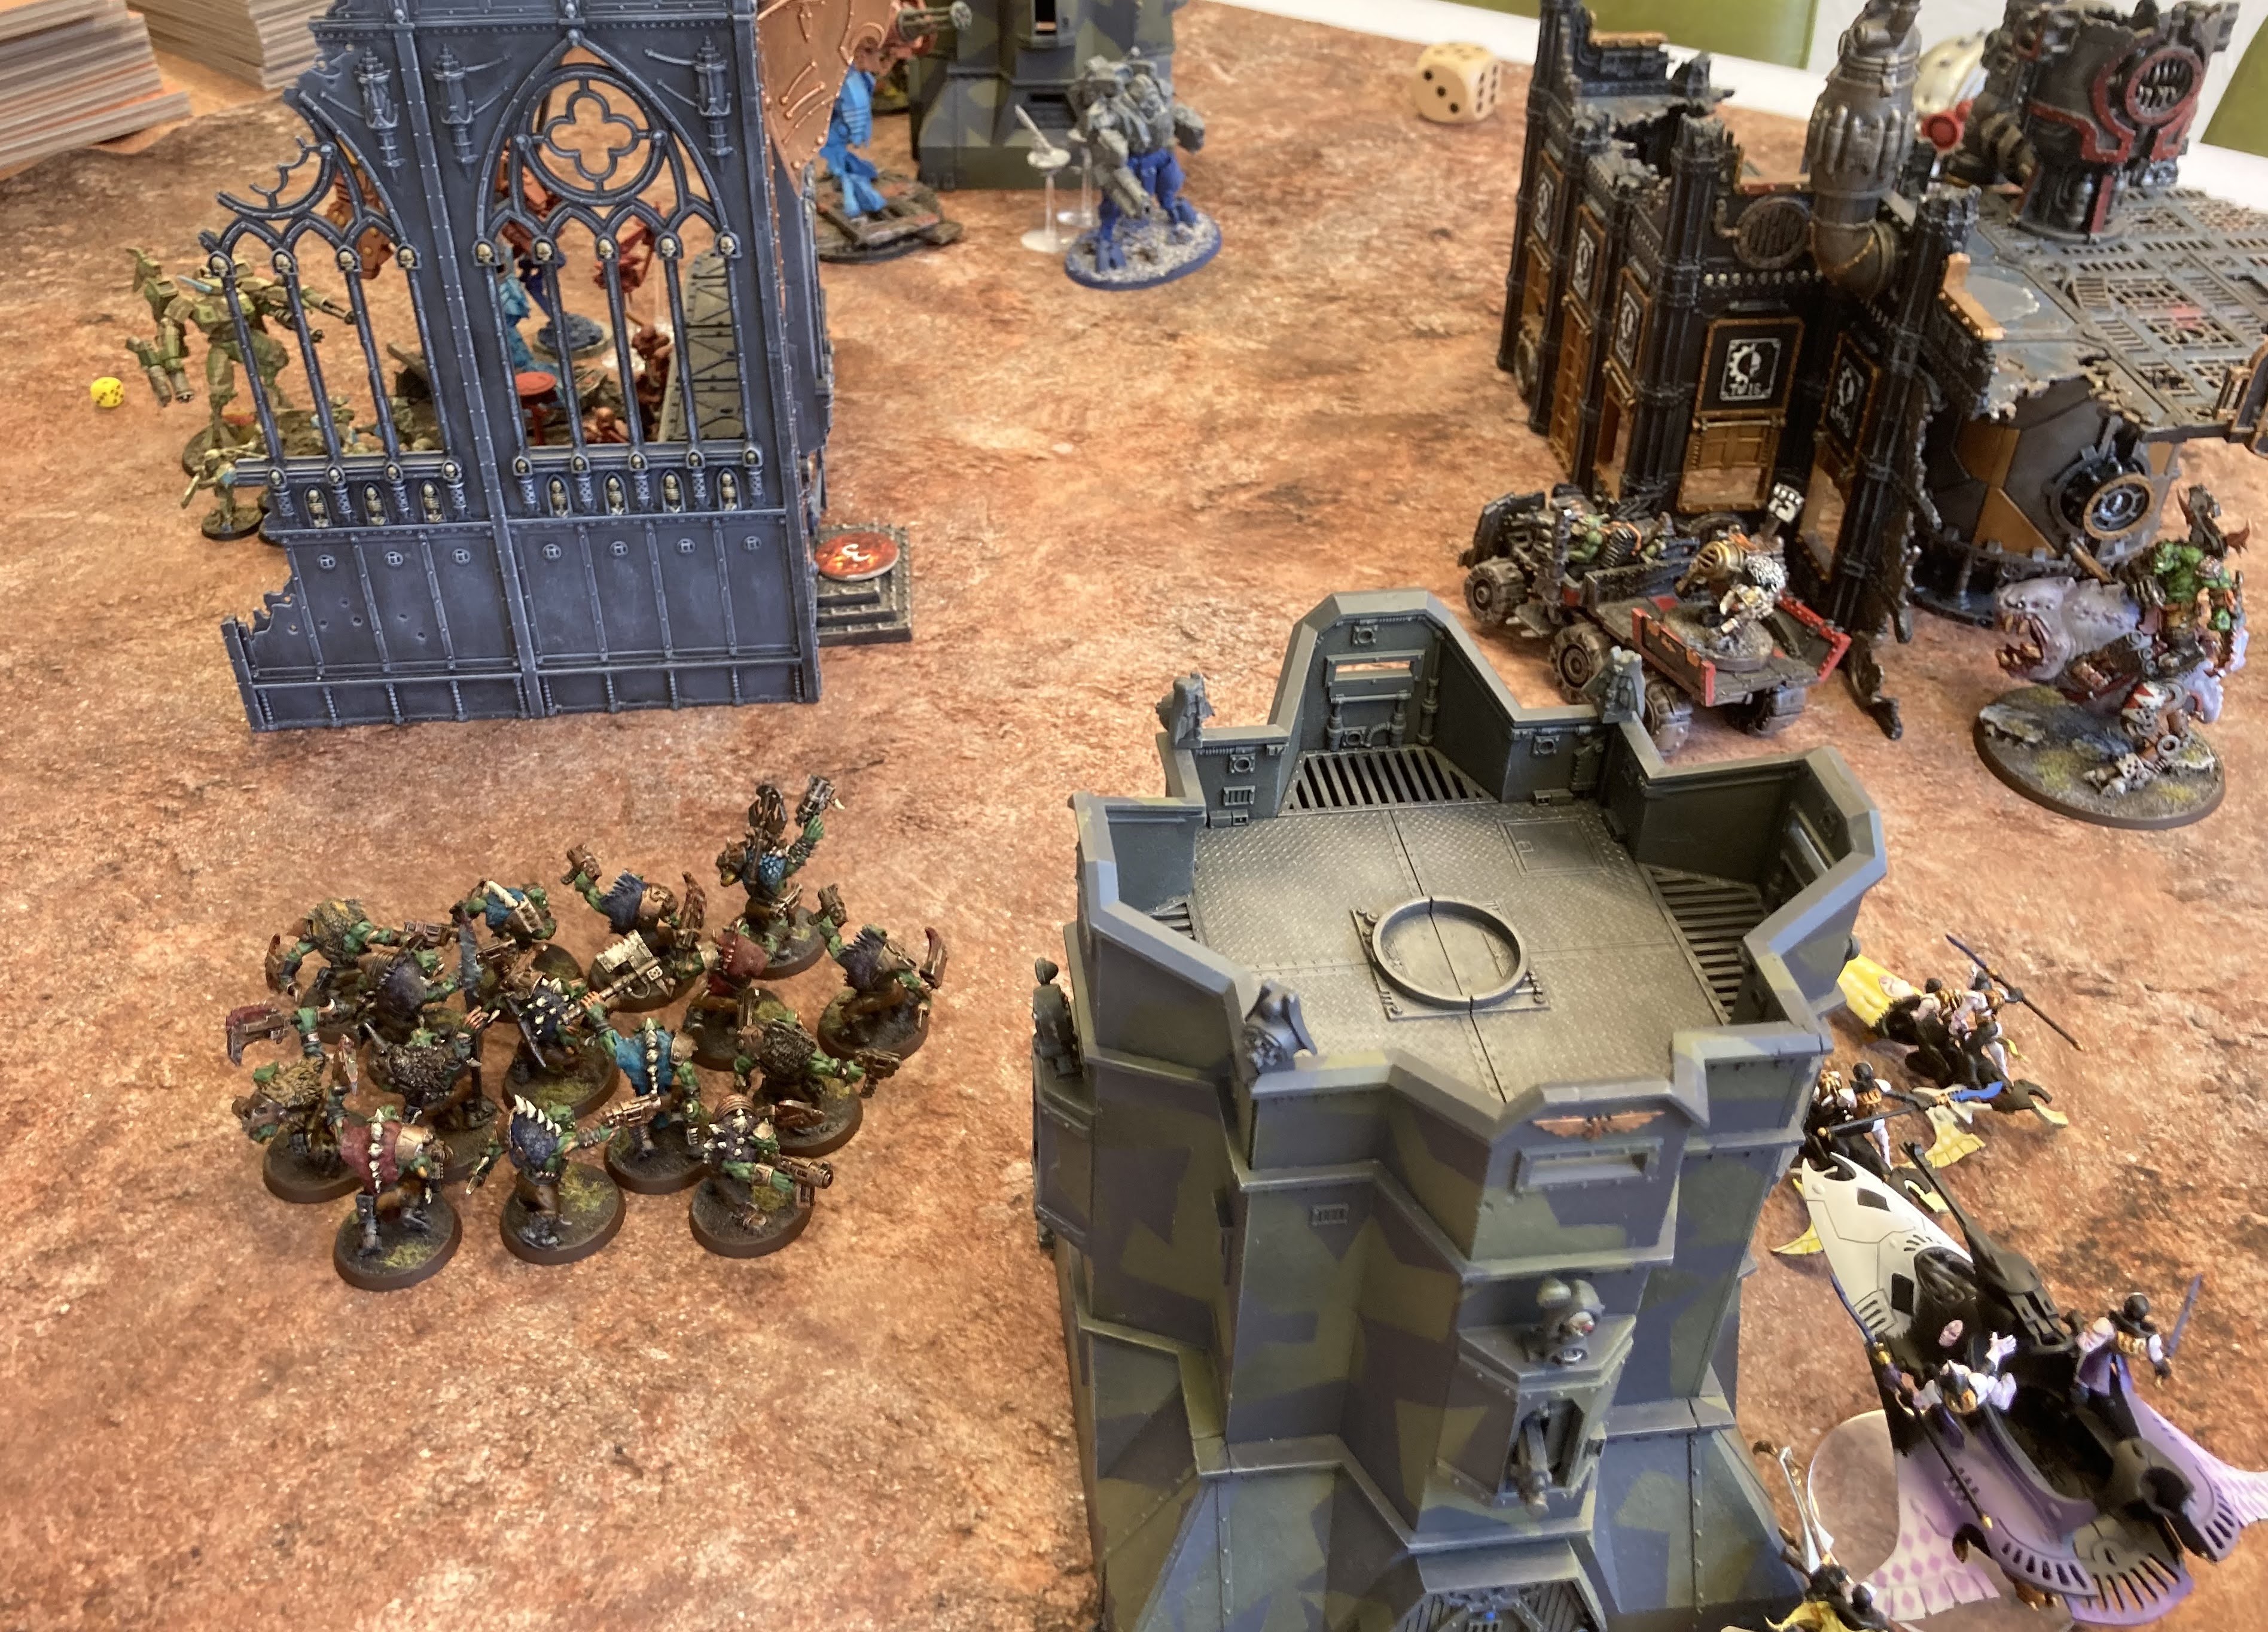
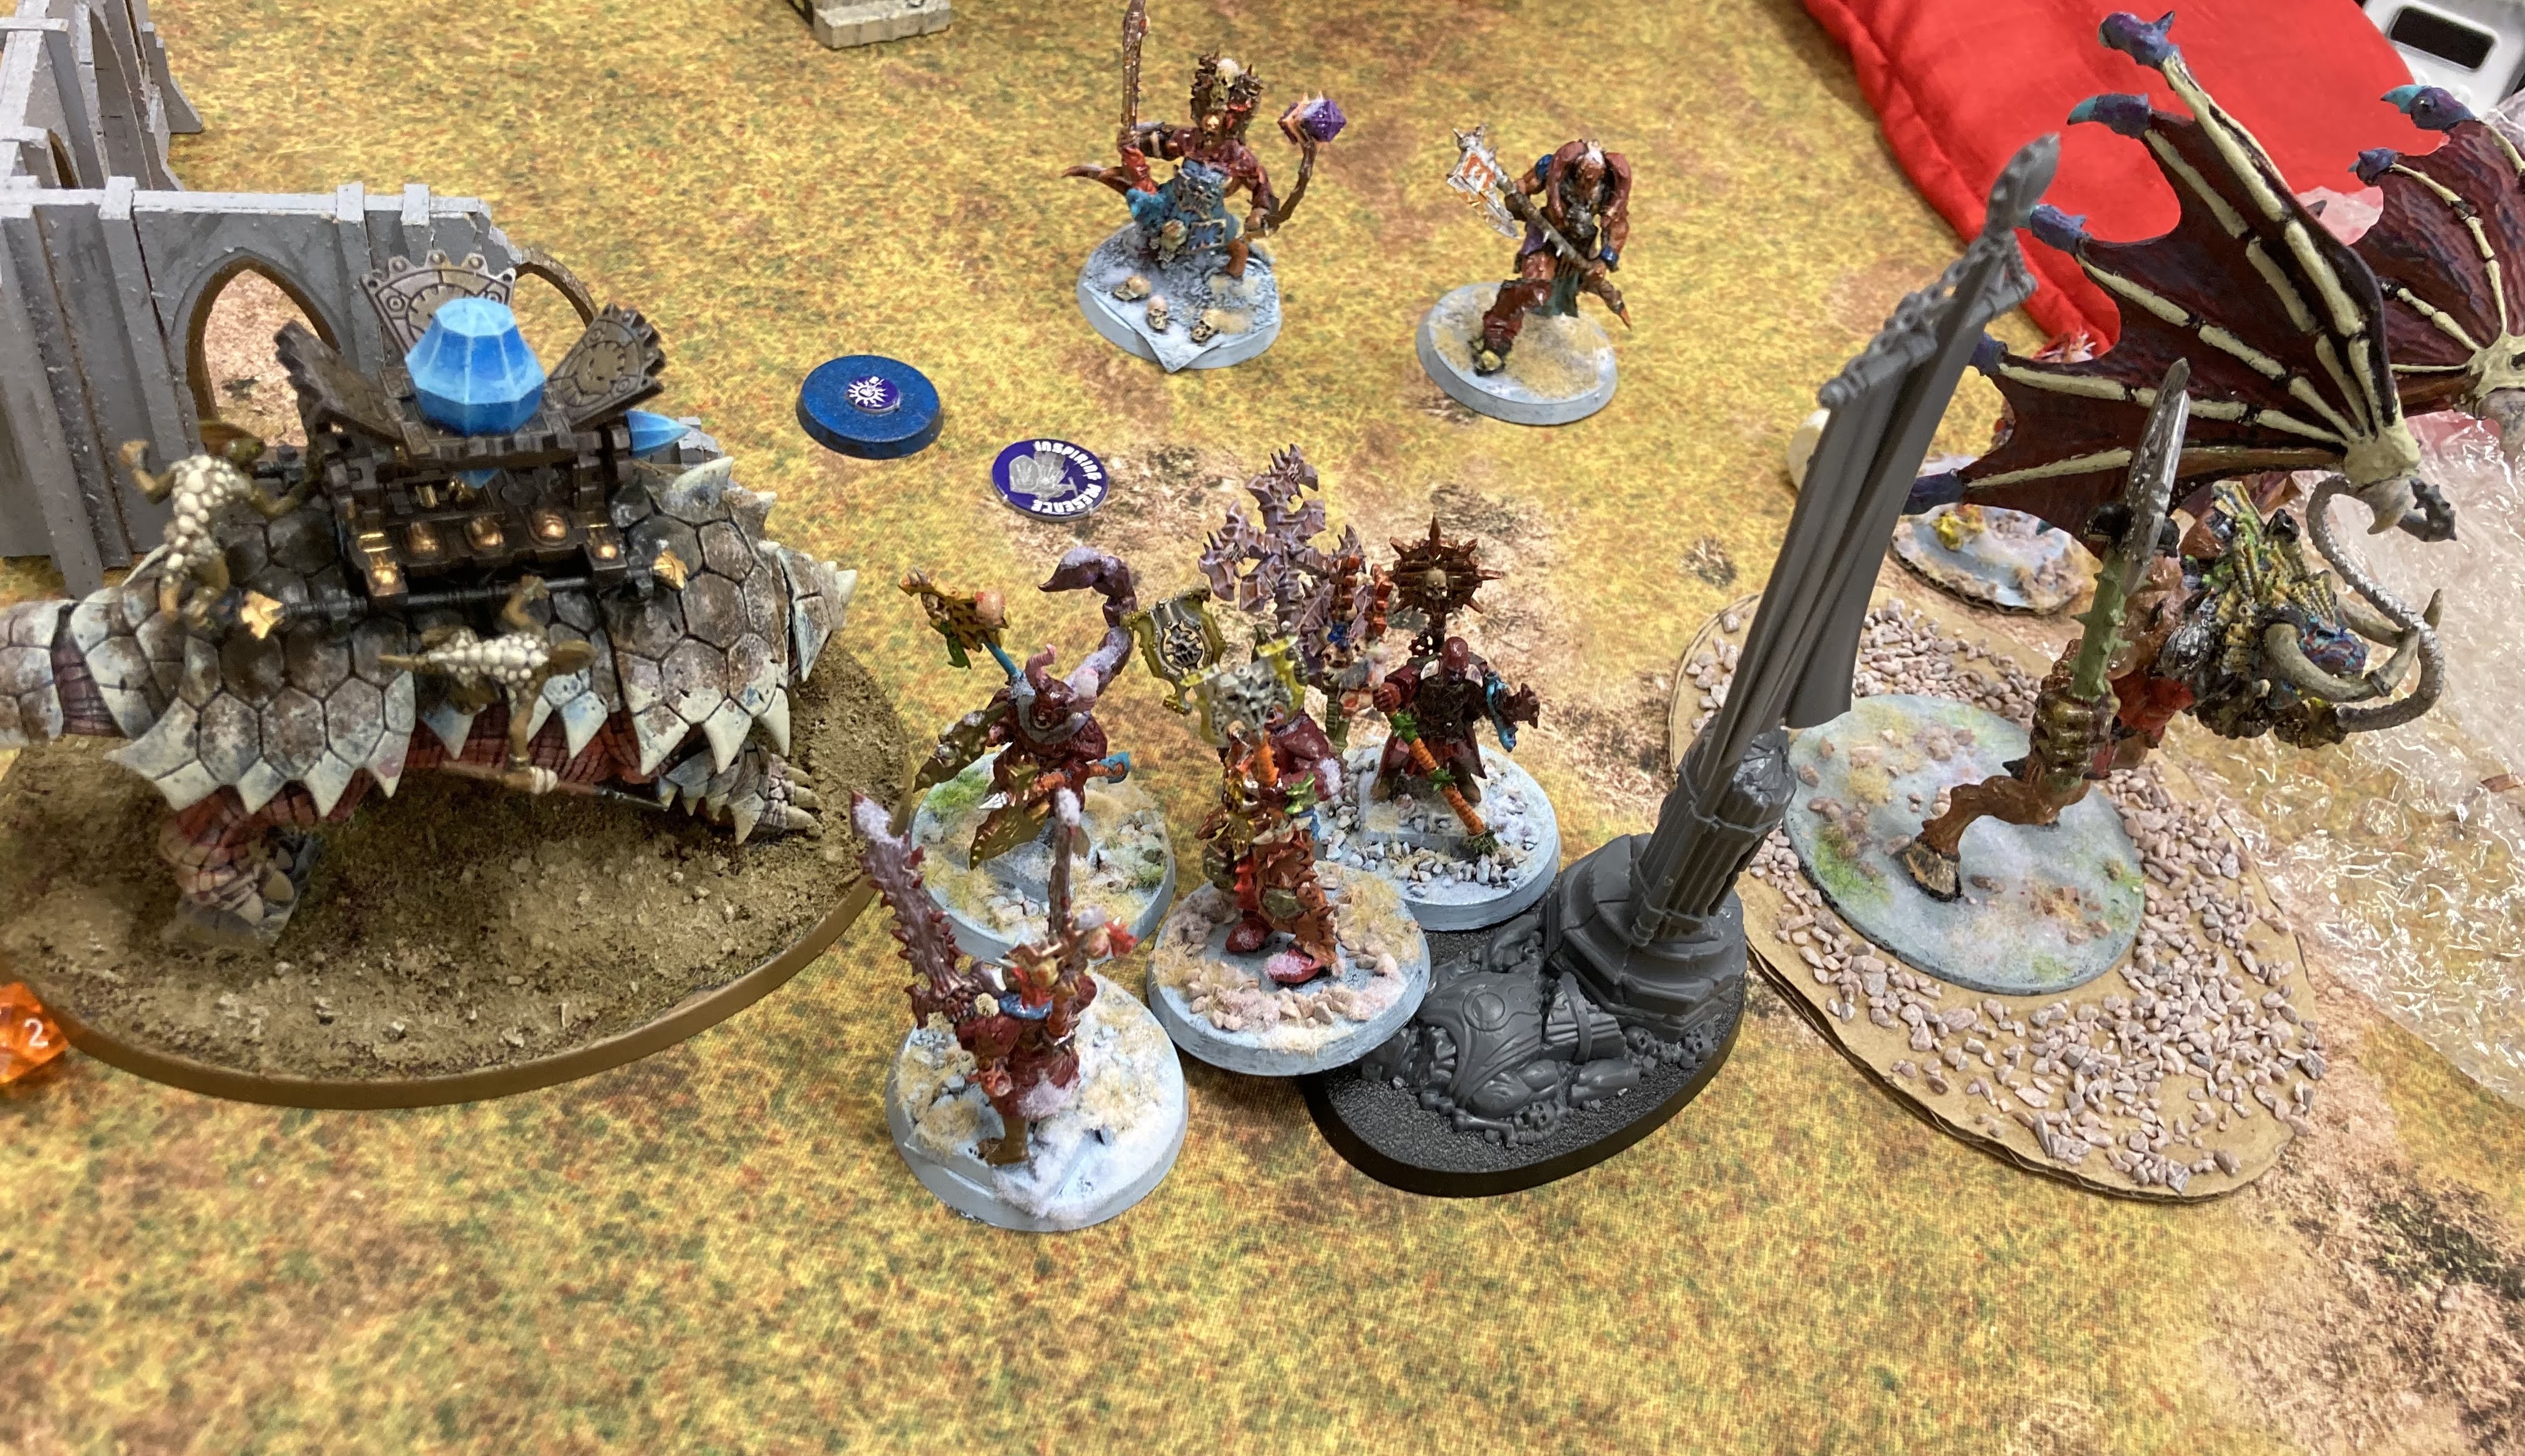
Deployment - dinos in the middle, some Guard and faster units on the flanks and a cav unit providing the counter charge. The Slann was on the left next to some arcane ruins (we decided to use the random mysterious terrain and got three pieces of +1 to cast and dispell, and one +1 bravery which never came up)


For the first time I won the priority on turn one, and decided since he had basically no ranged weapons or magic, to let Dargiris have first turn. This feels like it was the right move.


Khorne forces ran up towards the centre, a line of chaff units in front, and making sure the big Bloodletter block was outside of 24 of the Slann for it's 'everyone gets mortal wounds on a 5+' spell.


I took my turn and moved up somewhat cautiously on the flanks, but pressing forward in the middle. I choose a battle tactic to kill a specific battle line unit - in this case the smallest unit of the chaff infantry. The dinosaurs all got some decent damage with shooting, then made their charges in, cutting through the chaff and getting me a point. I'm not entirely sure if I was a bit hasty here - perhaps I should have held back for them to come at me a bit more, but with the Bloodthirster on the flank I thought they might have a chance of doing some damage before an immediate counter attack.

We rolled priority, and I won again, so time for the double turn!


Having moved the Slann up a little, I tried to nuke the Bloodletters, but it was denied by the Bloodthirster with an 8 - Khorne's number dealing out mortal wounds to the poor frog! Elsewhere my Dinosaurs got blasting, clearing the rest of the chaff and freeing up the Oldblood for a charge. Cavalry made it into the Bloodcrushers, killing two of them, but looking a bit exposed after that.


Fighting in the middle was a mixed bag - I whiffed on most of my attacks leaving the nasty Khorne units behind the chaff screen fairly strong, but they also rolled poorly, or my saves were good, and the big dinos stuck around for another go.

In Khorne turn two the weight of attacks and mortal wounds started to show, and my big hitters began falling. The Bloodthirster was still out of combat though and I managed to stick around with the remnants of my cavalry on the left flank.


Turn three, I sent the Guard in to try and clear the larger remaining units and control the far right flank objective. It went pretty well going in on the charge, especially after the Slann got his spell off and did nine mortal wounds to the Bloodletters. However both units became bogged down and weren't able to finish the job.

At this stage the game looked like the Seraphon might be ahead - most of the Khorne units were either dead or heavily depleted, and hadn't made much forward progress. It almost looked like I could have auto-won on turn three if the Slann made the cavalry fly onto an objective - except that the Bloodthirster guarding it counts as five models so they'd not outnumber him. However, I had also lost most of my most killy units. And the Khorne force had another twist...

With all the carnage they had accrued enough blood points to summon in a bonus Bloodthirster! It immediately turned the tide on the right flank, while it's brother finally got stuck in on the left.
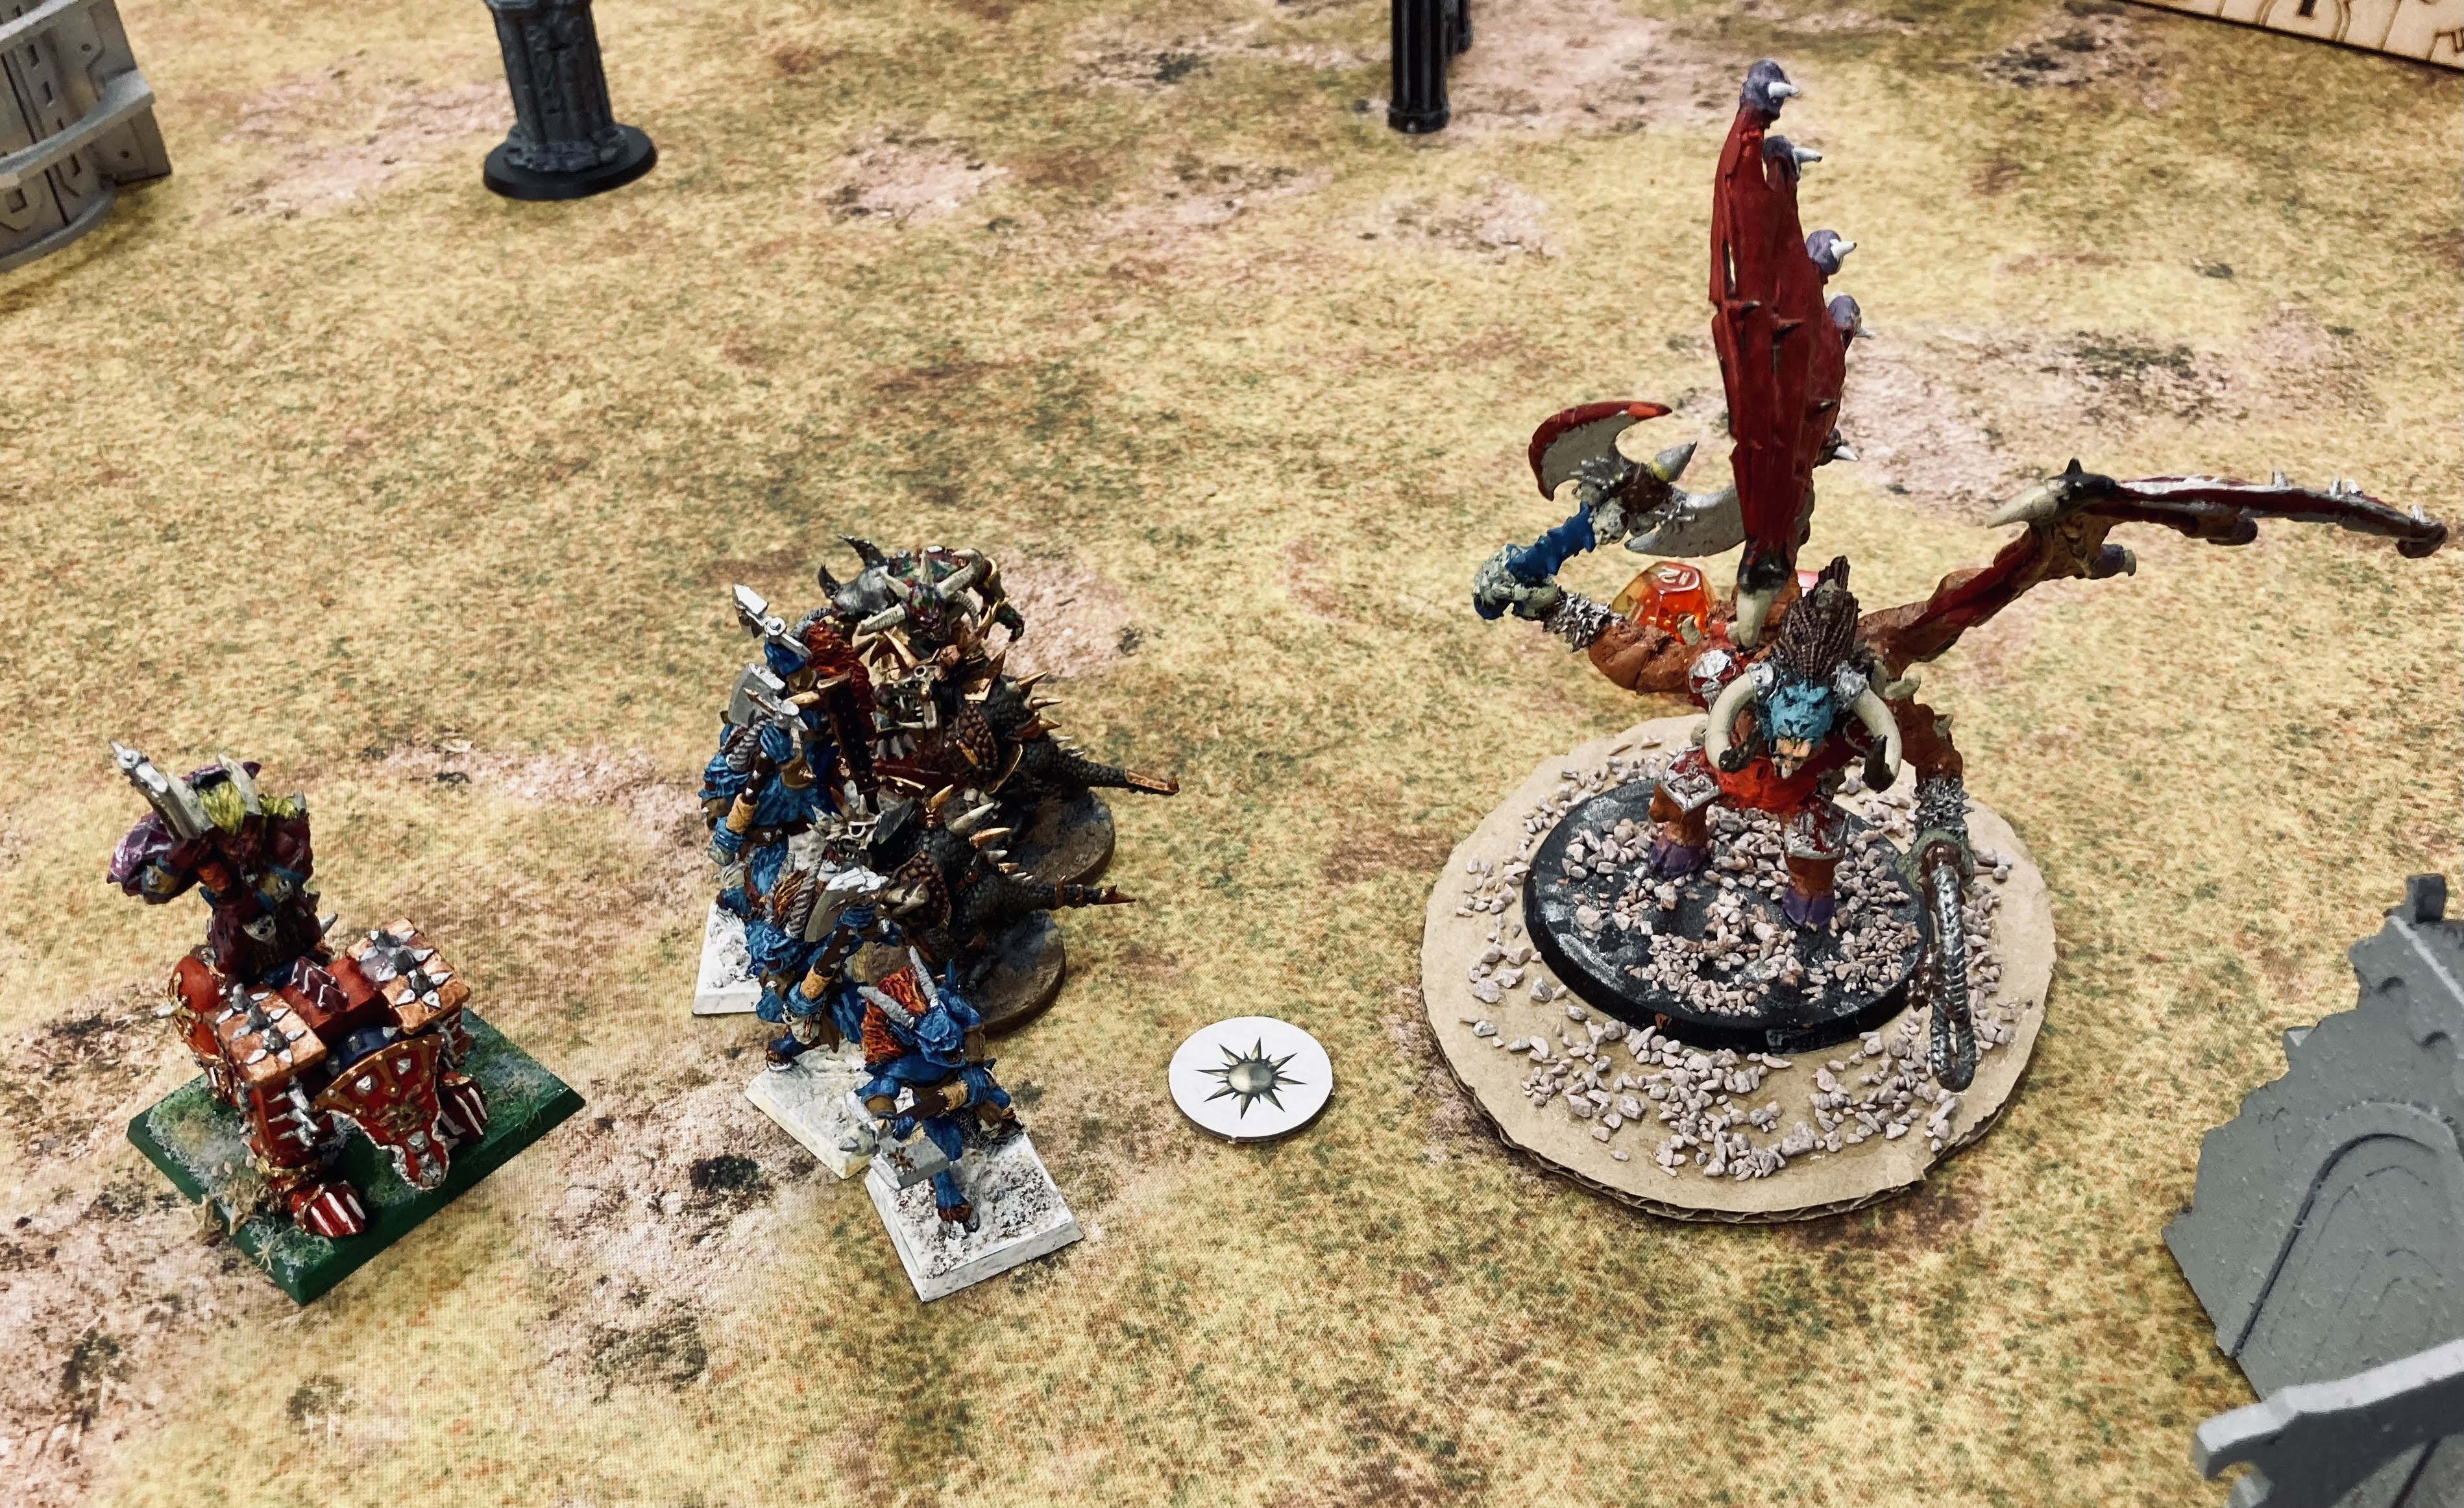

While their melee attacks were a little underwhelming (in part thanks the the Coalesced ability to reduce damage by one) they still did the business, and with nothing left that could really threaten either of them, I conceded that I would not be able to score any more points - though I'd probably cling on with a couple of skink units so it'd be a narrow victory for the Khorne forces at best.

And that was that - once again I feel like I remembered most of the rules (though we did both forget out monster actions at the start of the fight phase) but I'm not entirely sure if I made the right tactical decisions. I'm finding it hard to judge thanks to both not being able to predict the priority rolls, and not really knowing what the armies are supposed to do (my army is mostly melee but the Khorne forces definitely outclassed them there - should I have held back a bit, or would I have just been overrun like in the first game?) I'm also a little confused as to how the game seems to take so long to play, even though compared to 40k it doesn't seem like that much is actually happening - just two lines meeting in the middle on a basic level. Perhaps this is just due to my army choice though.

On that note, I am thinking next time I might venture into running Starborne to have access to teleportation movement and summoning shenanigans, that seems fun and potentially very strong with the objective based game we have here. I did initially think that the -1 damage ability was too strong to ignore, but actually it doesn't come up very much, and I can replicate the +1 to hit ability of the Coatl's Claw with command points. 

Anyway, hope you enjoyed, and thanks for reading. If you've got any thoughts or suggestions feel free to comment below. Stay safe out there!

Wednesday, 6 April 2022

Crusade (Mini) Battle Report - Adeptus Mechanicus vs Orks

Hello!

Fourth game of the Grim Dice Crusade League for the Helios Explorator Fleet, and this was a quick one! After suffering defeat at the hands of the Crimson Fists, Eldane Katronosa's cohort went scavanging through the ruins on a Tech Hunt (hurr), and were jumped upon suddenly by Matt's Snakebite Orks!


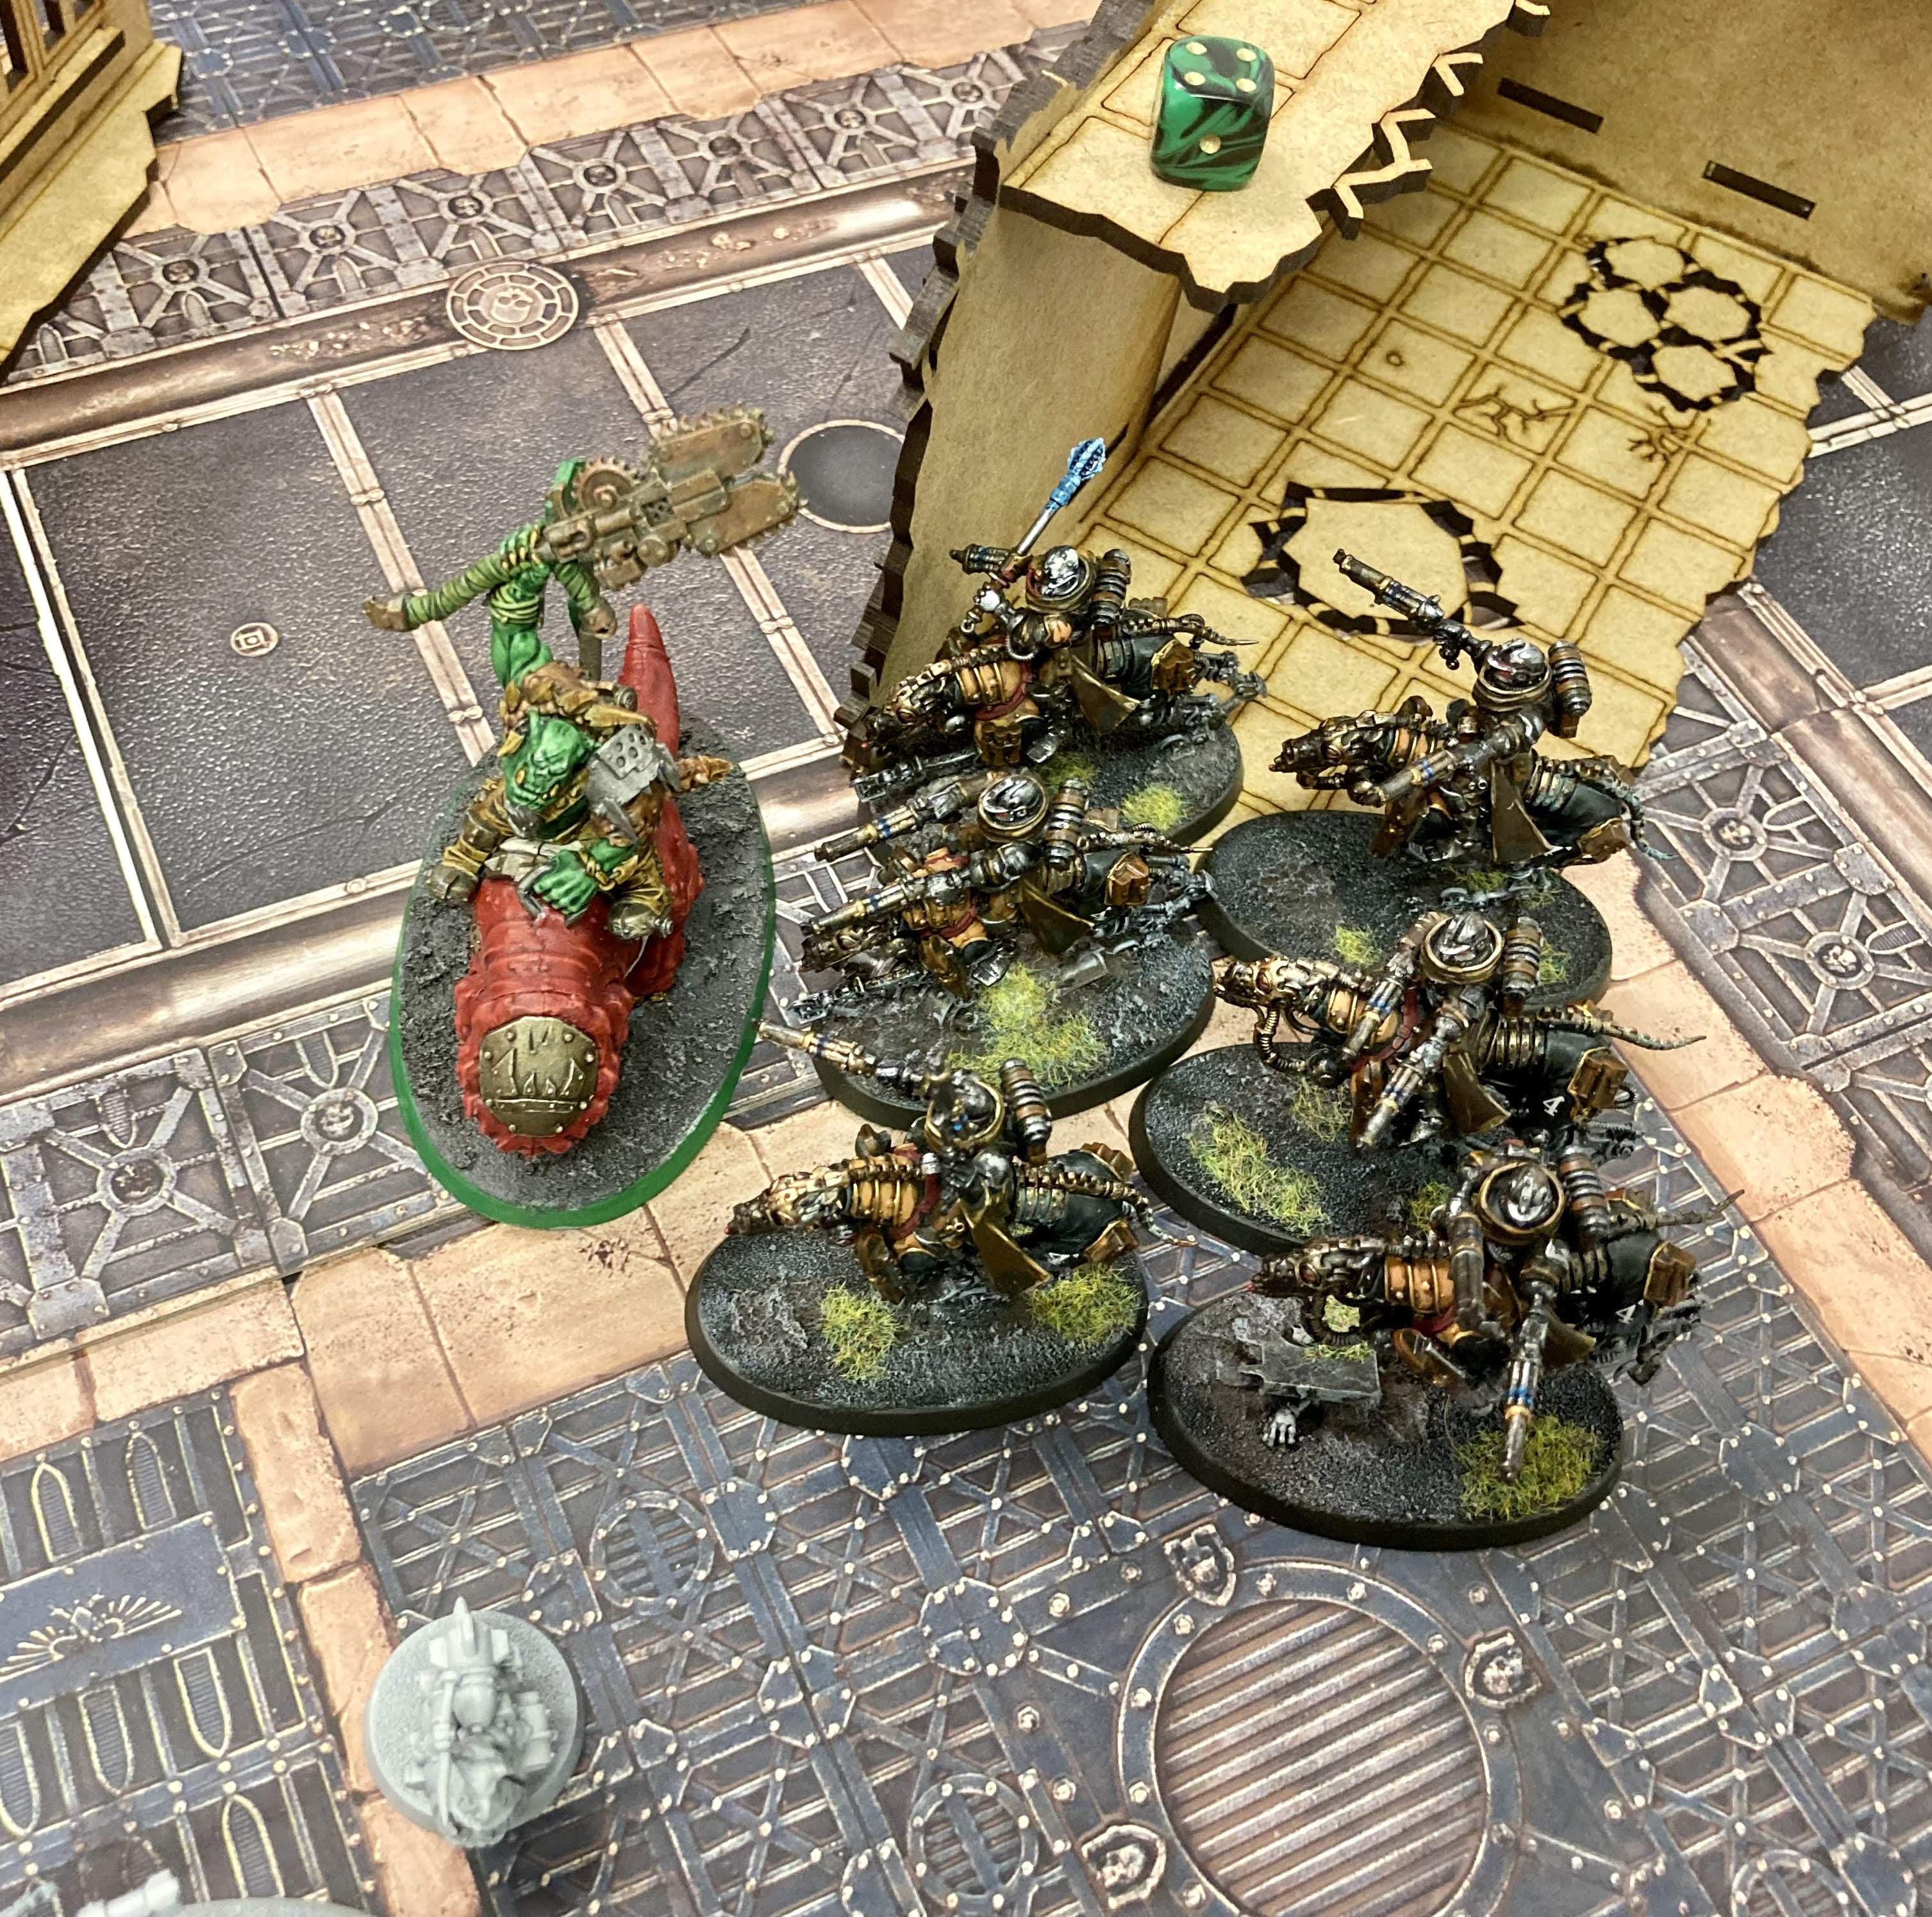
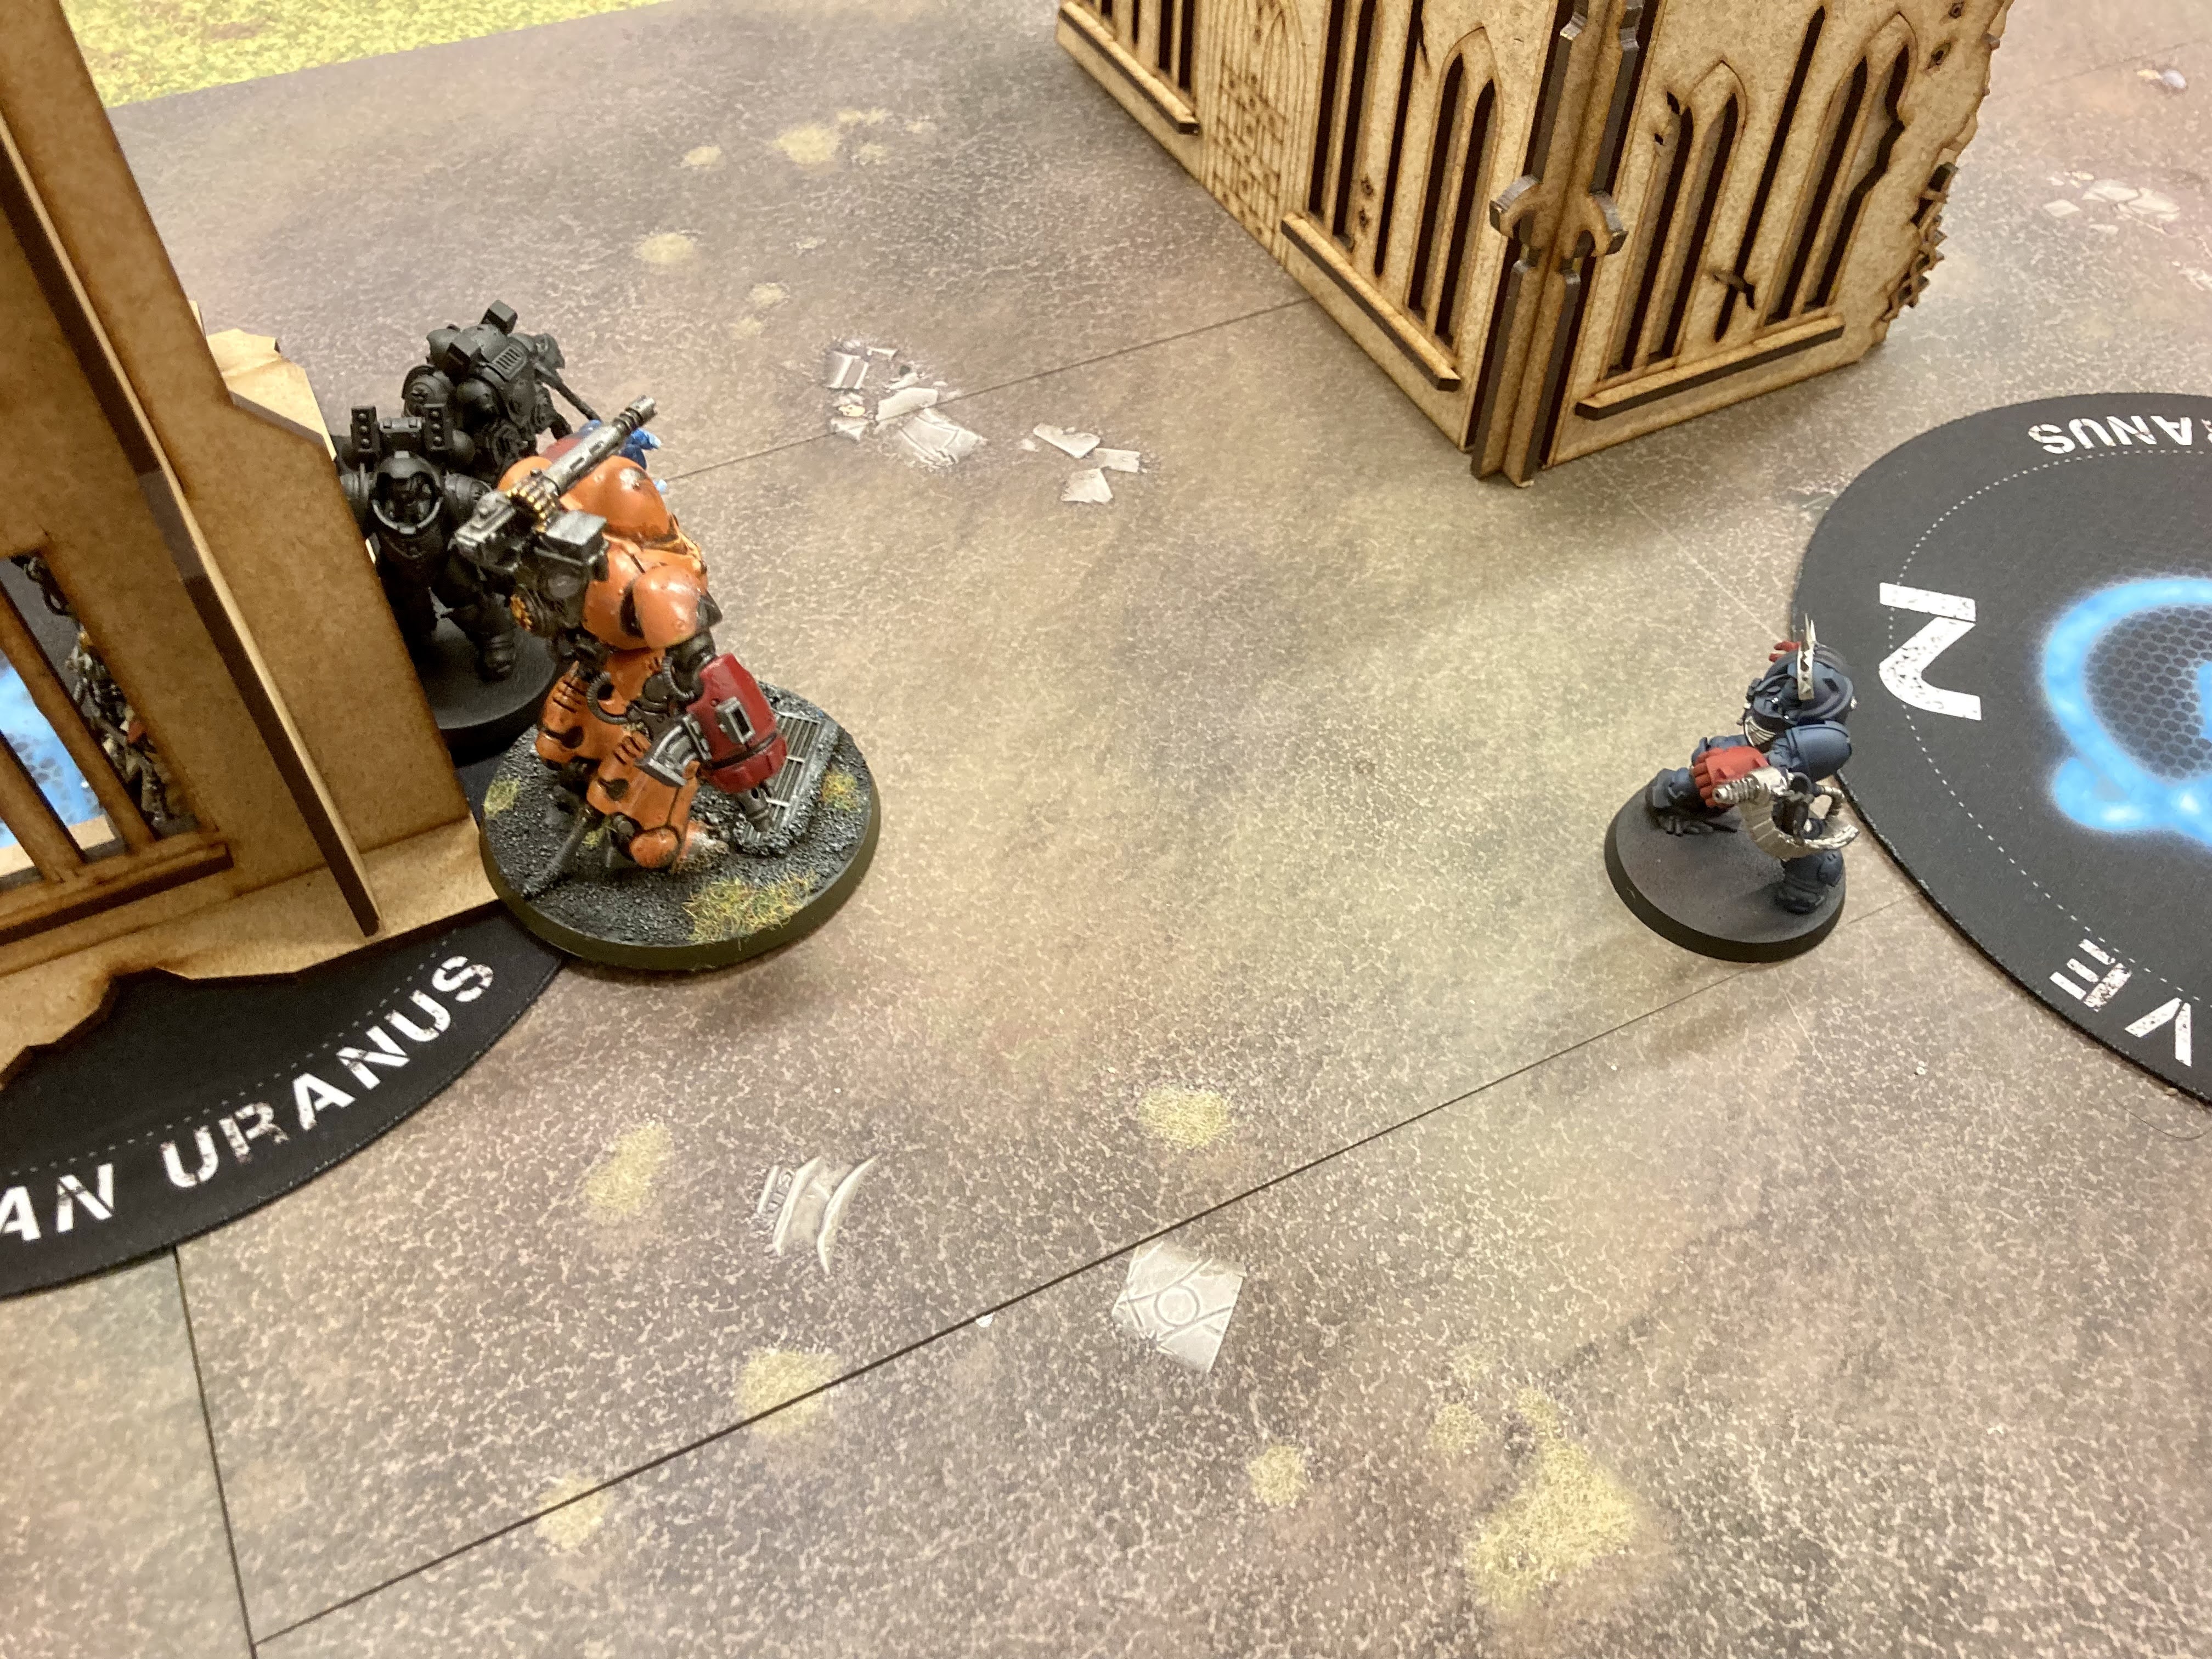
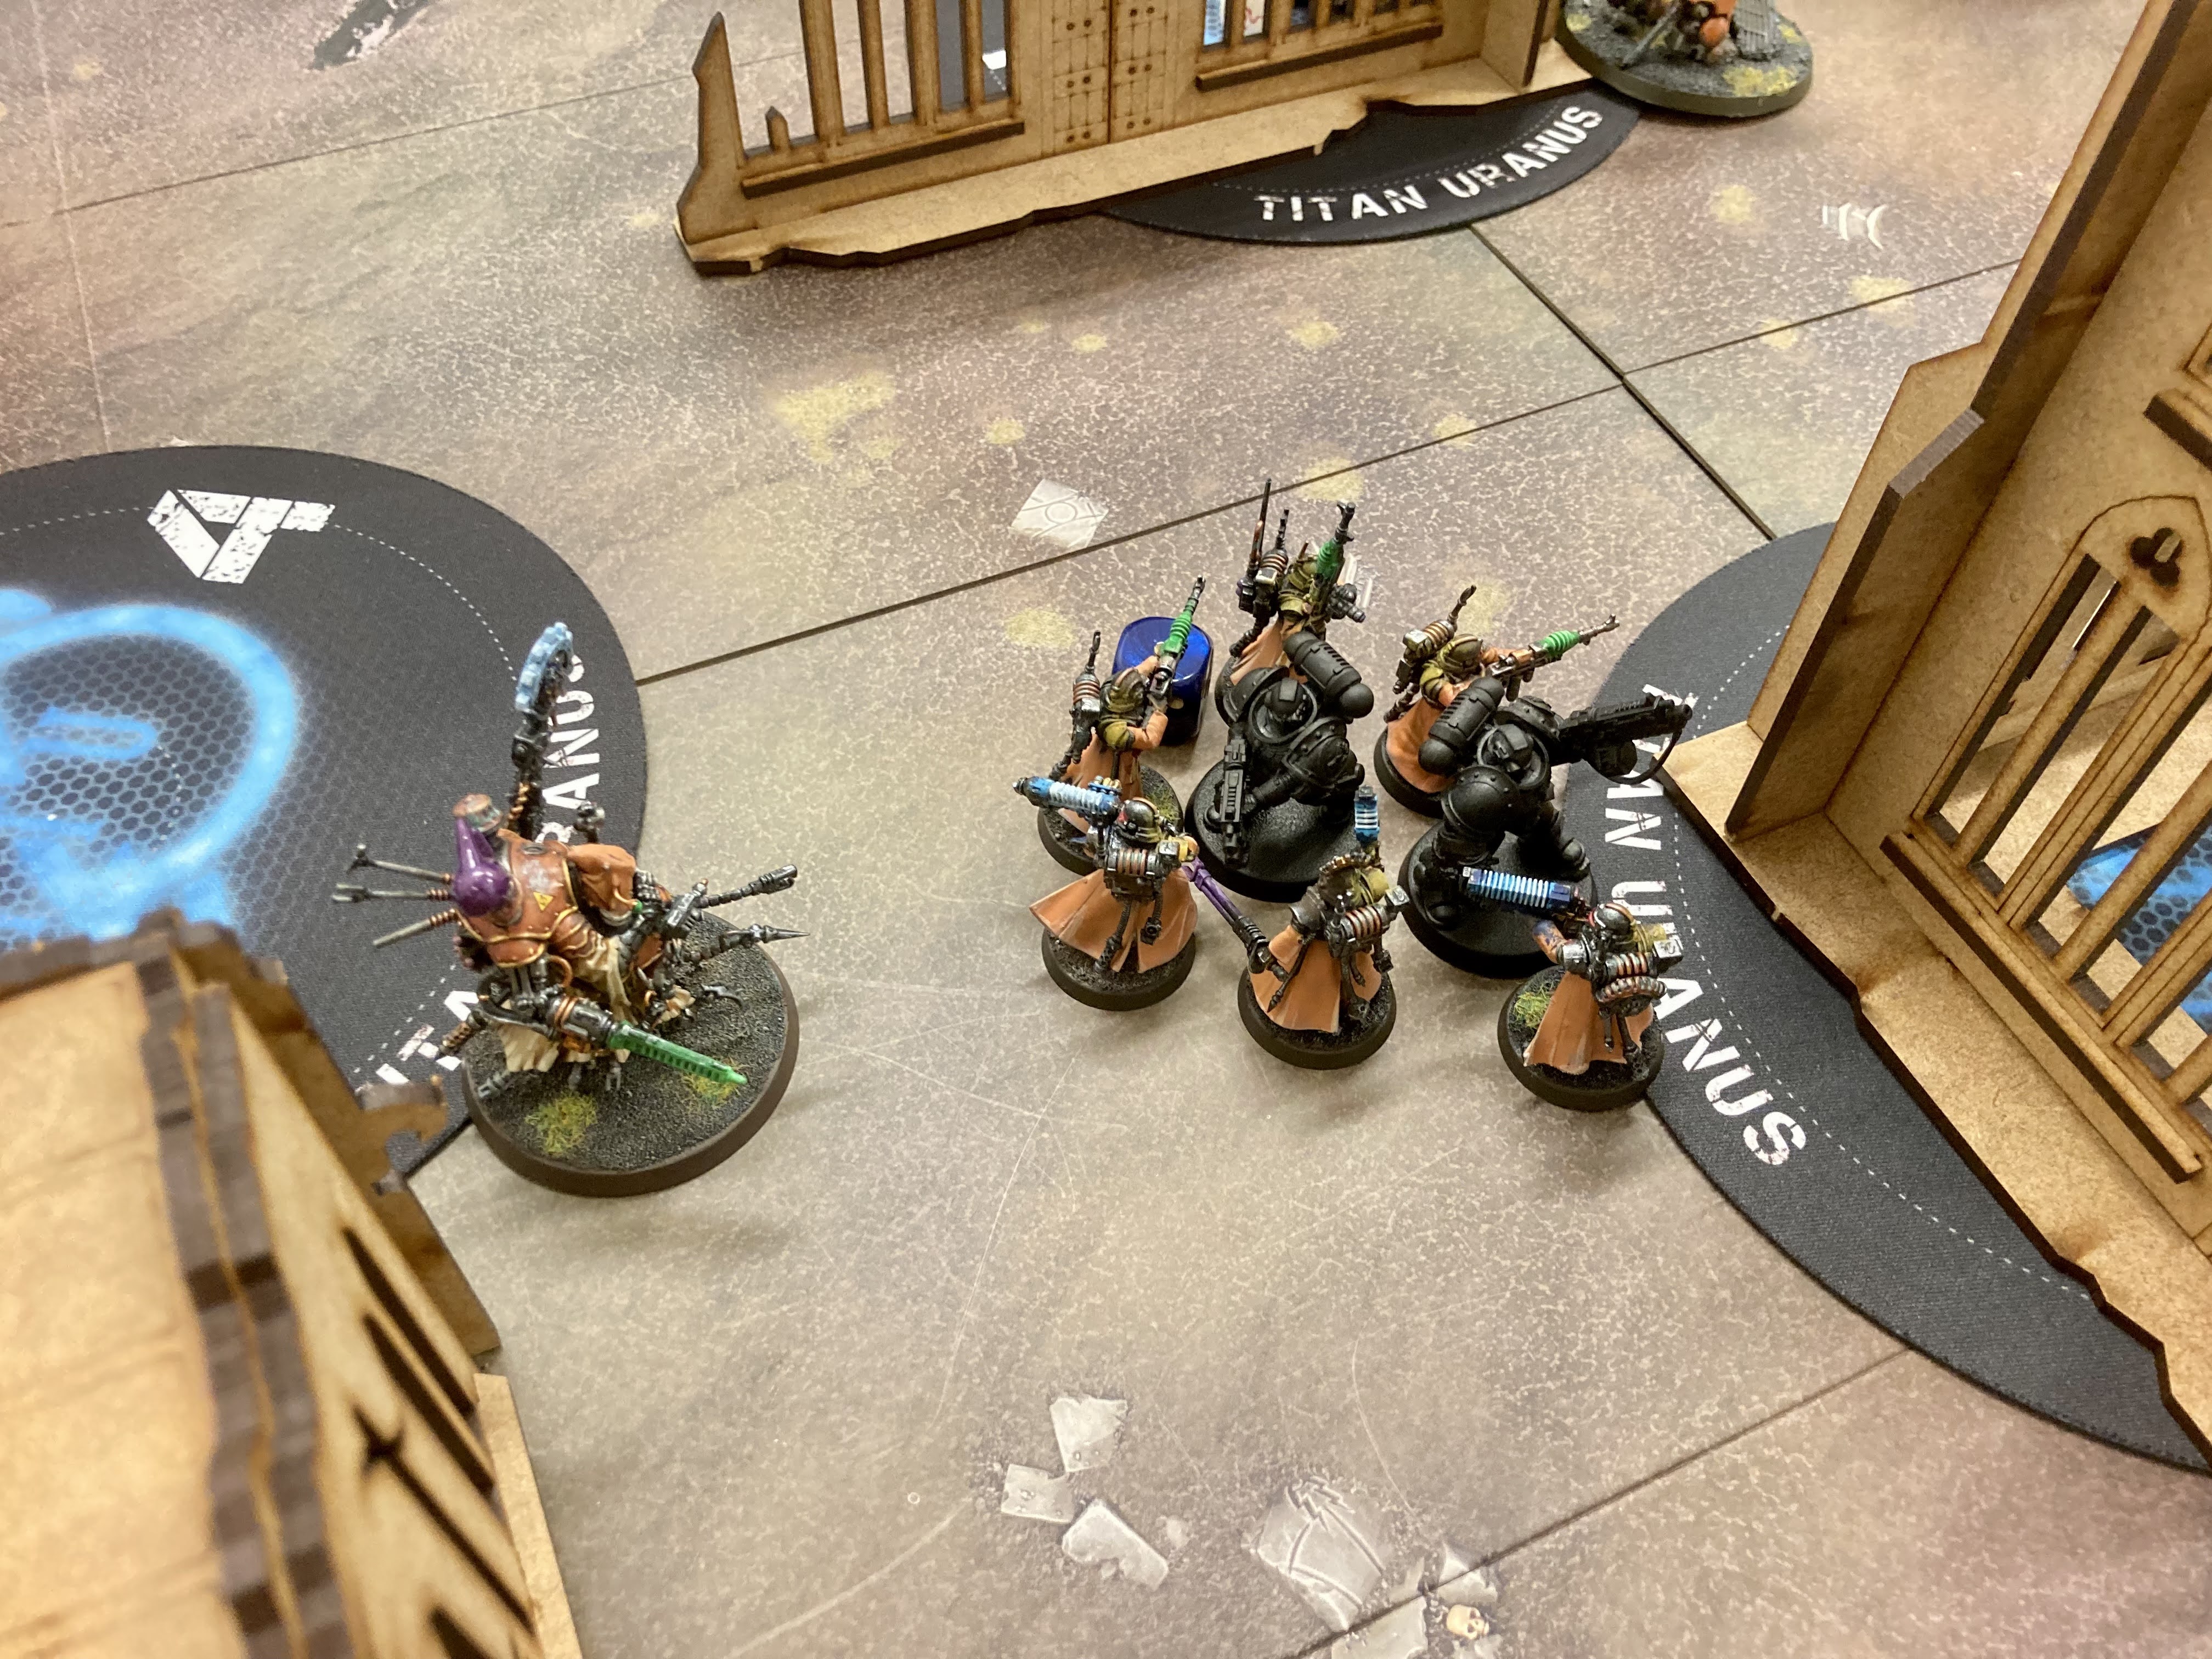
This was a 50 Power Level mission for the Plague Purge pack, where both sides have to search and reveal hidden objectives and control the 'real' ones. Seems like quite a cool mission. As before the AdMech forces from Ryza consisted of Tech-priest Manipulus Katronosa, 10 Skitarii Vanguard, Kataphron Destroyers, Kataphron Breachers, Sicarian Ruststalkers, Pteraxii Sterylizors, 6 Serberys Sulphurhounds, a Cybernetica Datasmith and a pair of Kastelan Robots.


The Beast Snagga heavy Ork force had two big units of Squighog Boyz, a couple of grot mobs, a couple of Beast Snagga Boyz mobs, a Painboss, a Nob on Smasha Squig and a big beefy Squigosaur riding Boss with a load of upgrades. The force had accrued some additional experience to get the Squighogs moving even faster and gave me a few bonus CP to start with.


Here's deployment. A big central blob of Orks with some units on the flanks to grab objectives vs a couple of mini castles and the Ruststalkers on the flank. The Sterylizors were in the sky and I spent a command point to put the Sulphurhounds into strategic reserves. 

We rolled off for turn one, and I won. I contemplated going first to try and put some hurt on with the Destroyers, but I wouldn't really have been able to do much else (and they have been whiffing a fair bit recently so I wasn't confident in them!) Instead I opted to go second, in the hope that the Orks would move up and fail a few charges to give me the counter attack. In hindsight this was a mistake.


Turn one for the Orks, WAAAGH! Matt's greenskin forces made it rapidly across the board and succeeded on all the charges they needed - a couple of them bang on the 8 or 9 needed on the dice. This was going to hurt!


The Ruststalkers were the first to fall, their newly earned improved bionics not able to withstand the avalanche of attacks from six Squighog boyz!


In the middle of my lines I was able to Electro-shock the other Squighogs to hold them off for a moment while the Kastelans smashed them with their fists, killing most of them. The Boss on Squigosaur diced up the Breachers, while a mob of Boyz ran through the Vanguard to tie up the Destroyers and stop them shooting.


In the return attacks I really needed my Manipulus and the Kastelans to power up and do some damage, but the Warlord wasn't quite able to finish off a Boyz mob, and the robots rolled very poorly to only put a couple of wounds on the big scary boss. He chopped into them to cut them down in response. 

In Orks turn two they were holding all the objectives and mopped up the remaining AdMech forces on the board in short order. With victory well out of the picture we went onto my turn two to see if my reserves to grab some experience - I had assassins and Cold Logic - which gave Skitarii units bonus points for doing stuff while the right protocols were in effect - in this turn it was to kill stuff in melee.


The cavalry arrived, and tried to kill the two weakest characters while also doing some damage with their shooting. However some slightly poor rolling (or very poor for the Pteraxii who managed a sea of ones and twos to wound the Painboss) meant that neither of them accomplished their goal - though the Sulphurhounds did roast a load of Orks.


And with that, we went into turn three, and it was all over, the remaining Squighog boyz snuffing out the last of the Ryza resistance. Victory for the Orks!

Well that was Brutal (if not very Kunnin). Really all over with the Orks first charge phase, and definitely over once my Robots couldn't manage to wound the Boss. In hindsight I definitely should have taken first turn and gambled on the Destroyers supercharging with Plasma Specialists to remove a bunch of piggies. Even if they didn't succeed I would at least have got my reserves in before the Orks could do too much damage so they could actually support something. Obviously Eldane Katronosa needs to update their databanks on Ork tactics - they aren't all slow moving infantry and poorly built vehicles!

Hope you enjoyed this quick report - it's unfortunate the game was so one sided but I still enjoyed myself (it is fun to see Orks win after all!) Next time the Mechanicus take to the field the power level will have increased again and I think we'll be taking some more heavy firepower! Thanks for reading, and stay safe out there.

Monday, 28 March 2022

Crusade Battle Report - Adeptus Mechanicus vs Crimson Fists

Hello!

Time for game three of the Grim Dice Crusade League with my Ryza Adeptus Mechanicus aka The Helios Explorator Fleet. After a pair of wins in game one and two, I'd be up against tougher opposition in this round of games, and first up it was Kerryn and his Crimson Fists. Last time I played him was in the last round of the January 2020 (remember those days?) Grim Dice tournament when I got battered by his Centurion spam, so while this Crusade league is a different beast entirely, I was preparing to get a little bit battered.

Once again from the Plague Purge mission pack, this time at Incursion level, we were playing the Tip of the Spear mission, an attacker and defender mission with four standard objectives, a funky chevron deployment map and a bonus special rule for each player. Attacking units got +1 to advance and charge, while defenders got to ignore combat attrition modifiers (or ignore morale entirely if they already did) and use the overwatch stratagem for free.


Tech Priest Manipulus Eldane Katronosa was joined by their usual cohort - Destroyers, Vanguard, Ruststalkers and Sterylizors, and new additions: three Kataphron Breachers with heavy arc rifles and six Serberys Sulphurhounds. By the grace of the Omnissiah, they were also assigned The Implacable Guardians, a pair of Kastelan Robots, and their handler, Cybernetica Datasmith Cykent Bosk. 

For this mission the Ryza forces were attacking the Crimson Fists - presumably they had some valuable archeotech and refused to yield ground for it's rightful recovery. One of my agendas was to search a random objective for archeotech components, and of course it was the one in the Fists' deployment zone, so that checks out.


The Crimson Fists, led by Captain Razal Solano, were fielding a full Primaris infantry force with plenty of experience among them already. Two squads of Intercessors with auto-bolt rifles and one of Veteran Intercessors were backed up by Hellblasters (a squad of both heavy and assault variants) and six boltstorm Aggressors. A sprinkling of upgrades (including a relic powerfist on the Vet. Intercessor Sergeant and an up gunned heavy plasma rifle for the Hellblaster Sergeant) meant I was behind on Crusade points and would get some bonus CP.


Deployment. As is their way the Sterylizors stayed in the skies while most of the vulnerable infantry concealed themselves where possible. Notably Captain Solano stood out in the open, (earning the moniker 'Captain Big-bollocks') though in truth he was protected by a squad behind the ruins - all posturing from these Space Marines.

Katronosa evidently made the calculated risk to offer the Fists a chance to surrender, because they immediately pounced on their attackers, guns blazing. Lessons learned - don't expect reason from Astartes.


In turn one the Crimson Fists got into firing positions, while the Aggressors advanced up to a central objective. The Hellblasters got somewhat unlucky, the machine spirits of their weapons rebelling against being turned on their creators, and suffered a series of fatal weapon overloads in killing a couple of the Breachers and damaging a robot (which reflected some mortal wounds at the heavy 'blasters).

The Veteran Intercessors however proved their worth with a withering volley of bolt fire to completely remove the Sulphurhounds.

In my turn one the AdMech forces moved up to get some shots in and line up some key charges - Kastelan Robots vs  Aggressors and Ruststalkers vs the Veteran Intercessors. Shooting took out the assault Hellblasters (Katronosa getting the killing blow with the upgraded Magnarail Lance) but the Kataphron Destroyers produced a poor volley to only kill one of the heavy variants.

In melee the charges were successful and the Ruststalkers cut down two of the Veterans (could have done with more mortal wounds here - I really needed to kill these guys!) Datasmith Bosk electro-shocked the Aggressors to ensure they would be fighting last so the Robots could have a crack at them - going into Conqueror Protocols and killing three (the others saved by their trans-human physiology.) In response one robot and all the Ruststalkers fell.

A mixed turn one, but leaning in favour of the fists, if they could capitalise on it.


Turn two, the Crimson Fists moved up to put the boot in. Intercessor units in the ruins came out to play, while the remaining Hellblasters charged up and remove the Destroyers, handily winning their duel. 


Captain Solano stepped up to deal with the last robot, but failed his four inch charge (with a reroll - quad ones!) The Kastelan punched another Aggressor to death.


The remaining Veteran Intercessors made it through the wall into melee with the last Breacher, punching it to death and picking up their third unit kill. They followed up by piling into the improved strength Vanguard and suriving the return attacks.


The Vanguard were able to pile into the objective to claim it for the start of my turn, but at this stage there wasn't much left on the table for me and no good places for the Pteraxii, so they stayed in the sky. The Kastelan did manage to kill the last Aggressors, though I was hoping to do it in shooting so it could charge the Captain. Sadly it wasn't to be, and even though the Vanguard Alpha did good work with his taser goad, the Sergeant of the Veteran Intercessors remained to eventually wipe the unit.


Crimson Fist turn three and it was time to turn the screws. The heavy hellblasters combined with bolter volleys from the Intercessors to finally down the last robot. With just one model left on the board - Eldane Katronosa - Captain 'Big-bollocks' Solano stepped up, actually passed the charge this time, and punched out the Tech-priest.


In my turn three the game had definitely gone, but it's Crusade so there was still glory (and experience) to play for. The Pteraxii Sterylizors dropped in and proceeded to roast the lone Veteran Sergeant from those distructive Intercessors, getting a measure of revenge (and a bunch of XP since he was on an objective and that achieved an agenda.) In turn four Captain Solano cleared them away with his dual fists, leaving no active combatants for the forces of Ryza. A victory for the Crimson Fists.

Clearly, this could have gone better - (though at least I did kill some units this time round!) But it was not all doom and gloom, since with the experience for taking part a lot of my units ticked over to Blooded rank. Sadly the Robots and Sulphurhounds were damaged and got no experience out of it, but all of my original 25 PL force are now rocking some form of upgrades.

The Skitarii units received battle traits from the AdMech book, the Ruststalkers getting Enhanced Bionics (giving them a 4+ invulnerable save) while the Sterylizors received Blessed Bodies (mini transhuman, can't be wounded on twos.) I felt that it seemed a bit odd to give the Destroyers a 'trait' so opted to go for a weapon upgrade on one of the Plasma Culverins - getting two rolls since it's not a character or vehicles/monster, and ending up with +1 strength and AP.

Finally Eldane Katronosa was both rewarded and wounded - a chest wound reducing their wounds characteristic by one and a battle trait from the AdMech book - Teleportation Node. This ability lets them jump into reserves at the start of a movement phase, to be deployed back in my deployment zone the next turn. A bit niche but could prove to be a powerful trick!

Anyway, that's two wins and a loss for the Second Cohort - including two battles against other Imperial forces! Obviously they are not here to make friends, only to recover archeotech - and there will be more opportunities. Hopefully you've enjoyed reading, thanks for checking this post out, and stay safe!

Tuesday, 22 March 2022

Battle Report - Orks and Harlequins vs Tau

Hello!

This one is a bit of a throwback to pre-pandemic days when I used to play with John a lot and we played a couple of four players games in the early days of Grim Dice, before they had a store. I teamed up with Ken running some nice new Harlequins, while John was joined by Jim, both of them with new Tau. Not having any space elves, I took Orks, being fellow children of the Old Ones. With three out of the four of us with new books, being a bit rusty and us all not really having met up since the lockdowns began, it was destined to be a not particularly serious game with plenty of mistakes!

With that in mind we opted to try and keep it simple, with 1000 points a player, acting as two complete 2k lists (with the exception that our alliance didn't break our faction rules) and using the Only War mission from the core rules - basically four objectives, a point for each one held in the command phase, that's pretty much it.


For my detachment I went Beast Snagga themed - 15 of the Boyz, Squighogs, Nob on Smasha Squig and Mozrog Skragbad to lead them. A unit of five Meganobz in a Trukk provided some extra muscle and a couple of ten strong units of Boyz and a Weirdboy rounded out the force with some utility.

The Boyz were joined by Ken's Harlequins - three Troupes in Starweavers, three Skyweaver jetbkes, a Troupemaster, Shadowseer and a couple of Deathjesters - one of which had some crazy exploding sixes rule and a way to get an automatic six to hit.


John and Jim both took Farsight Enclaves for ease of use, with John having written both lists weeks in advance (and Jim apparently having read his half the night before!)

John (camouflaged) took Farsight, a scary burst cannon Coldstar commander, some Fire warriors, two missile armed Broadsides and a big mixed loadout Crisis blob that started off the board.

Jim (blue and red) had Shadowsun, some more Fire warriors, a Ghostkeel, a sneaky Gun Drone squad and a pair of Riptides. Plenty of dakka in these lists!


Deployment, trying to take advantage of terrain where possible and with the Boyz mobs on a couple of objectives. I had a strong presence on the right flank while the 'quins were poised to sweep round on the left. Luckily we rolled first turn, giving us a chance to move up before all those guns hit us.


Our turn one movement wasn't too fancy, just shoving everything forward apart from the objective holders and tucking in behind cover where possible. In the psychic phase the jetbikes got protected from being targeted at long range, and the Wierdboy cast Da Jump - rolling a double one...


But then succeeding with a reroll. The Beast Snagga Boyz jumped up and over to the Tau lines, within charge range of a couple of juicy infantry squads and behind a wall for overwatch.

Our shooting was fairly minor - putting a bit of damage on the Ghostkeel, but we were hoping for more in melee...


Sadly, for us, the Boyz failed their charge, which could have made things very interesting early on. Instead the Trukk managed to Ramming Speed into the Ghostkeel, giving the Tau something to think about (and causing John to question Jim's placement of the suit!)

In Tau turn one, they... well they did Tau things. Thanks to the Harlequins' various protective rules against ranged firepower, most of the guns got pointed at me. The Trukk, Meganobz, Beastsnagga Boyz and Squighog riders all melted under the barrage. Brutal! However this did leave the 'quins open to cause mayhem.


Turn two, we scored a couple of points and then our remaining forces pressed the attack. WAAAGH! Was called, and Mozrog (who had survived being shot by a Riptide) got into position to have a go at Shadowsun, while the Harlequins moved around to get charges all over the place. The Weirdboy had a go at Jabbin Fingerz on the Broadsides, but he double one'd it, even with a CP reroll!


This time the Harlequin shooting was more potent, with the mortal wounds from the Skyweavers combining with shuriken cannons to take out one of the Riptides. A few Tau infantry were killed as well, and one of the Death Jesters nearly killed the burst Commander.


Charges happened. The Troupes made a mess of a Fire Warrior team, while on the other side of the board another unit combined with my characters to take out the Ghostkeel, which forcefully exploded dealing mortals to a range of our units, and disuading my Nob on Smasha Squig from piling into the Broadsides thanks to their improved melee profile!

The duel in the middle ended in disapointment as, thanks to her drones, Shadowsun survived Mozrog and Big Chompa's onslaught with a single wound remaining! 


Tau turn two, and the Crisis Suits arrived. They picked up a point for an objective, then had an extensive discussion about where to place their units. John wanted to use the suits to take a more central objective with their move-after-shooting stratagem, while Jim wanted them to go after an objective in our territory currently covered with Ork Boyz. After much debate, John suggested that Jim should "play your own game" while he focused in his unit. As such a Riptide moved over to hold the objective John wanted to control, meaning he might as well go for the Ork held one. A true big-brain 4D chess moment! 


In any case the Tau once again did Tau things, killing almost all the remaining Orks, including dropping Mozrog (though he got back up again with his warlord trait) - leaving just a couple in the unit on the Objective so the Crisis Suits could charge in. Perhaps against the odds, the Nob managed to survive on one wound (even saving on a 6 a late attack from a forgotten drone), then promptly used the auto pass morale strat to hang in their and Obsec the Objective.

In our turn three I had two models left so a pretty easy time of it. Ken's Quins turned their guns on the last Riptide, killing it thanks to nine hits from three shots by the Death Jester. They also removed the last of the Fire Warriors. Mozrog braved the Broadside overwatch, getting away with it to reach melee and kill off their drones.


In Tau turn three they were a bit behind on the objectives, but they were about to go about clearing the field. The Broadsides failed to kill Mozrog with close range shooting, and having opted to split fire, wasted their smart missile shots. The burst commander made a mess of a couple of Harlequin troupes, while the Crisis team and newly dropped in Gun Drones blasted that Death Jester and knocked the 'quins off their objectives (while also killing the last Nob with some token fire).


At the end of turn three it came down to Farsight eyeing up a charge on Mozrog - if he didn't get him those Broadsides might have been in trouble! He made the charge and just about took off the Snakebite Warboss' last couple of wounds with his sweep attack!

With that we were just about running out of time (and I had run out of models!). We agreed that while the children of the Old Ones were ahead on points, the Tau controlled two objectives with their two toughest units and we didn't have much left to remove them - plus their shooting would surely kill whatever we plonked on the objectives - it was a narrow Tau victory, probably hinging on if Mozrog had survived and killed the Broadsides.

And that was that. Awesome chaotic fun with much rules confusion and good natured bickering thrown in. Seeing the new Tau and Harlequins in action was... something. I can definitely see why in optimised competitive scenes they are both a nightmare at the moment! Luckily in this kind of game it's all a bit of a laugh so it doesn't really matter that we got half the rules wrong!

Hope you enjoyed this report, it was a fun one to go back over. Thanks for reading, stay safe out there, and remember: Play your own game!

Thursday, 17 March 2022

'Sponge Nid' Project Part Five - Heckin' Chonkers

Hello!

To finish off the big spongey Tyranid project, here are a selection of some very large bugs (and some bonus Zoanthropes). This is, for now at least, the last of this project so they'll be boxed up soon and sent on to a hopefully very happy client, but not before I post a load of pictures of the last few models - and I think I've saved the best for last here.

Before that though, a quick recap. I used a combination of 'cheating' techniques like sponging and contrast paints to get a nice natural looking, but fairly efficient and easily replicated scheme. I've painted a swarm of little bugs, a host of medium ones, a herd of Carnifexes and a selection of big monsters so far, and now:


First up, a pair of Tyrannofexes. These are another of my favourite Nids, so it was fun to paint them. As you can see they were struggling to fit in the light box!


The Acid Spray is my favourite of these weapons - it looks really brutal and it's always fun to spew out a wave of auto-hitting attacks, especially if they melt elite infantry or take out low flying aircraft!


The somewhat phallic Rupture Cannon is probably the 'standard' option for these guys, filling the long range anti tank roll that traditionally Tyranids struggle with (unless you have 18 Hive Guard...) - however at time of writing a new Tyranid Codex is on the way, so who knows which option will be the best? With that in mind they've been magnetised so the client can use whichever version they want...


...Including the usually weak but always cool looking Fleshborer Hive!


Next up, some extra Zoanthropes. Always useful bugs, they have been modified to be finless like the other three from the medium bug post. This was kind of a test of the painting method to see how consistent they are with previous versions. Turns out, fairly close!


All six together - new at the front and old at the back. I think it's pretty hard to tell (aside from the missing 'legs' on the original three) so I'll call that a win.

Finally, something truly alien...


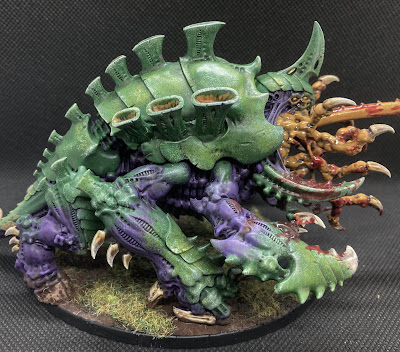
The Haruspex! What an absolutely crazy kit, turning the gribbly factor up to eleven! Using the tongue colour for all of it's grasping jaw tendril things, and covering it all with blood and gore, makes it really stand out!


I've actually got this kit myself - I was waiting for a new Codex to decide how to build it for my Nids, but I think it has to be the old Grabby Tongue now. Having previously painted an Exocrine, I know that is also a cool model, but it's just not nearly as fun as this monster!

Anyway, I've had fun with this one, and I hope you've enjoyed reading along. Thanks for checking out the blog, and stay safe out there!